Sunday, April 21, 2019

Mother's Day Lever Card


Hi Crafty Friends,

Today I am sharing a card I created for Divinity Designs Color Combo Design Team Challenge. This month the colours to be used are Hot Pink, Light Gold, Medium Pink. 


For my card today I created a Mother's Day themed Lever Card using Divinity Designs Lever Card Die, Lever Card Layers Die and the Grandmother's Heart Stamp set.

The designer paper used on this card is from Divinity Designs Beautiful Blooms Paper Pad which is where the colours for this challenge were taken from.


I added the flower and sentiment to the centre square panel of my card which can be seen whether the card is opened or closed.

For the Happy Mother's Day Sentiment, I die cut the sentiment using the fishtail label die from the Test Tube Trio die set.


For the inside of my card I used the Long & Lean Letters die set to add MUM to the panel near the end.

I also added one of the sentiments from the Grandmother's Heart stamp set, which I die cut using one of the squares from the Squares die set.

Don't forget to check out the Divinity Designs Blog, so you can see what the other Design Team members created for this challenge.
Thanks for visiting my blog today!


Supplies:
For your shopping convenience, all products are linked below. Compensated affiliate links are used where possible with no extra cost to you. This helps me to continue to share all the projects I include on my blog. Please note I only use and share products I love.


Saturday, April 20, 2019

Just Saying Hello


Hi Crafty Friends,

t’s challenge time with the “Crazies” over on the Crazy 4 Challenges blog. Rebecca Ednie our challenge hostess for the month, continues to issue the challenges.

Being the third Saturday in the month it is time for a sketch challenge.


For my card today, I took the opportunity to play with some new floral stamps I purchased recently from Altenew. These flowers are from the Rinnie Roses Clear Stamp set. I also received some of Altenew's Artist Markers for my birthday at the end of last month, so I used those to color the flowers. The leaves were colored using Copics as I don't have any greens in Altenew Markers as yet. I guess that will be the next color I will need.

One of the things I like about the Altenew markers is that they match their ink pad colors etc. Of course as luck would have it, I don't have the colors I used for the roses, so I used the closest I could find to ink up the background I used for my card. The stamp used here is Hero Arts Ocean Waves Bold Print, I have a feeling I will be using this stamp a bit in the future.

I added a sentiment to the circle panel which is from Altenew's Build-A-Flower: Japanese Mum Clear Stamp set. I also added a fish tale flag to the side of the circle panel and then added transparent blue droplets to it.

For the inside of my card I created a pop-up card using Karen Burniston's Katherine Label Pop-up die set. 
Along the top and bottom edges, I created a multi colored panel using the Hero Arts Ocean Waves Bold Prints stamp which I inked using the same colors I used on the front of the card. To create the wavy edge, I die cut the panels using one of the borders from the Lawn Fawn Stitched Hillside Borders die set.

I added a sentiment to the label using one of the sentiments from the Altenew Versatile Vases Clear Stamp set.


I added a few more flowers from the Rinnie Roses Clear stamp set to the bottom panel of the card and also to decorate the label.


Don't forget to check out the rest of the “Crazies” cards over on the Crazy 4 Challenges blog and also their individual blogs for more details.


Supplies:
For your shopping convenience, all products are linked below. Compensated affiliate links are used where possible with no extra cost to you. This helps me to continue to share all the projects I include on my blog. Please note I only use and share products I love.




Friday, April 19, 2019

Mother's Day Explosion Box


Hi Crafty Friends,

Today we are taking a look back at Divinity Designs April Release. For my project today I created a Mother's Day themed Explosion Box using the Explosion Box, Explosion Box Layers & Mini Box die sets. For more inspiration using the April Release and to see the other designers projects, be sure to visit the Divinity Designs blog.


I used papers from Divinity Designs Blushing Rose Collection 6 x 6 paper pad for all the layers of my explosion box. 


To decorate the top of the box I used the heart, flower and leaves from the Festive Favors die set. The "Mother" sentiment is from the Family 1 die set.

To finish off the flowers I added Nuvo Drops to the centre of the flowers.


When you removed the lid of the Explosion Box, it reveals three different layers of boxes with a mini box in the centre of the Explosion Box.

I added the letters "M" & "U" to each of the pink dotted panels around the mini box ... if you look at three of the panels it spells MUM. These letters are from the Long and Lean Letters die set.


I used two of the pockets from the Explosion Box Layers die set, two of the pockets are attached to the layers outer box and the other two pockets are on the centre layers to the opposite side of my explosion box.

Inside the pockets I stamped Mother's Day themed sentiments which are from the Daughter's Best Friend Stamp set. These sentiments were die cut using either the Squares & Scalloped Squares or Rectangles & Scalloped Rectangles die sets.


The bow on the centre Mini Box is from the Test Tube Trio die set.

In the photo above you can see the two pink pockets. I added the "For You" sentiment which is from the Festive Favor die set. 


Here is one more photo of the inside of my explosion box, so you can see the centre pocket a little easier.


Here is a close up look at the sentiments which are tucked inside each of the pockets. These are from the Daughter's Best Friend stamp set.

Thanks for visiting my blog today, I hope you enjoyed my project.


Supplies:
For your shopping convenience, all products are linked below. Compensated affiliate links are used where possible with no extra cost to you. This helps me to continue to share all the projects I include on my blog. Please note I only use and share products I love.


Thursday, April 18, 2019

Hope Your Day Is Amazing


Hi Crafty Friends,

It's challenge time with my friends over on the CCEE Stampers challenge blog. Lynn McAuley our challenge hostess for the month, continues to host the challenges.

April is the National Month of Hope. Create a card with a sentiment of encouragement and send it to a friend who is in need a spark of love and hope in their lives. Sometimes the smallest gesture can light that spark!


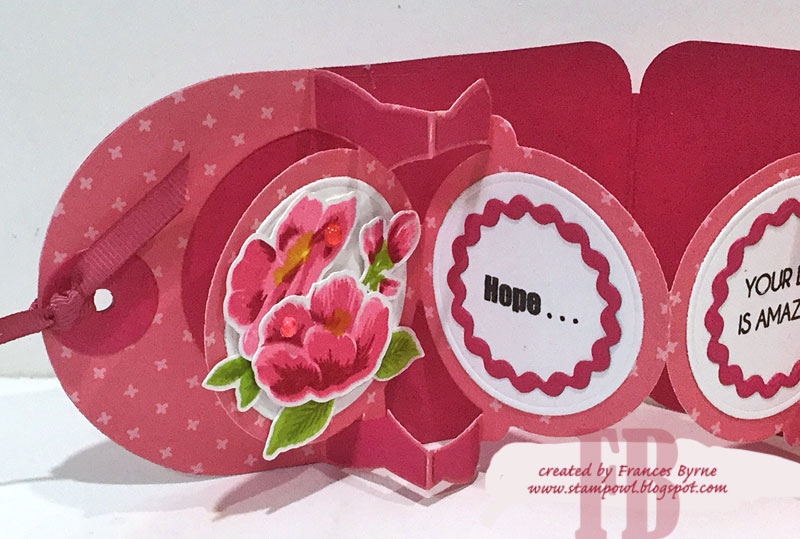
For my card today I pulled out some stamps/dies from Altenew. The flowers used on this card come from the Climbing Clematis Stamp set. I arranged my flowers onto ovals using Karen Burniston's Crosshatch Ovals die set.

The 'hope' sentiment is die cut using the coordinating die set for the "Hope" stamp/die set.


I created a tag book using the Circle Tag Book Pop-up die set from Karen Burniston.


I added more of the Climbing Clematis flowers, to the end circles of my tag book.


For the two centre circle panels I added a sentiment.

Don't forget to check out the CCEE Stampers blog (goes live 12 AM EST) to see the rest of the creations the CCEE Stampers created this week. You can also see more details of their creations on their individual blogs:


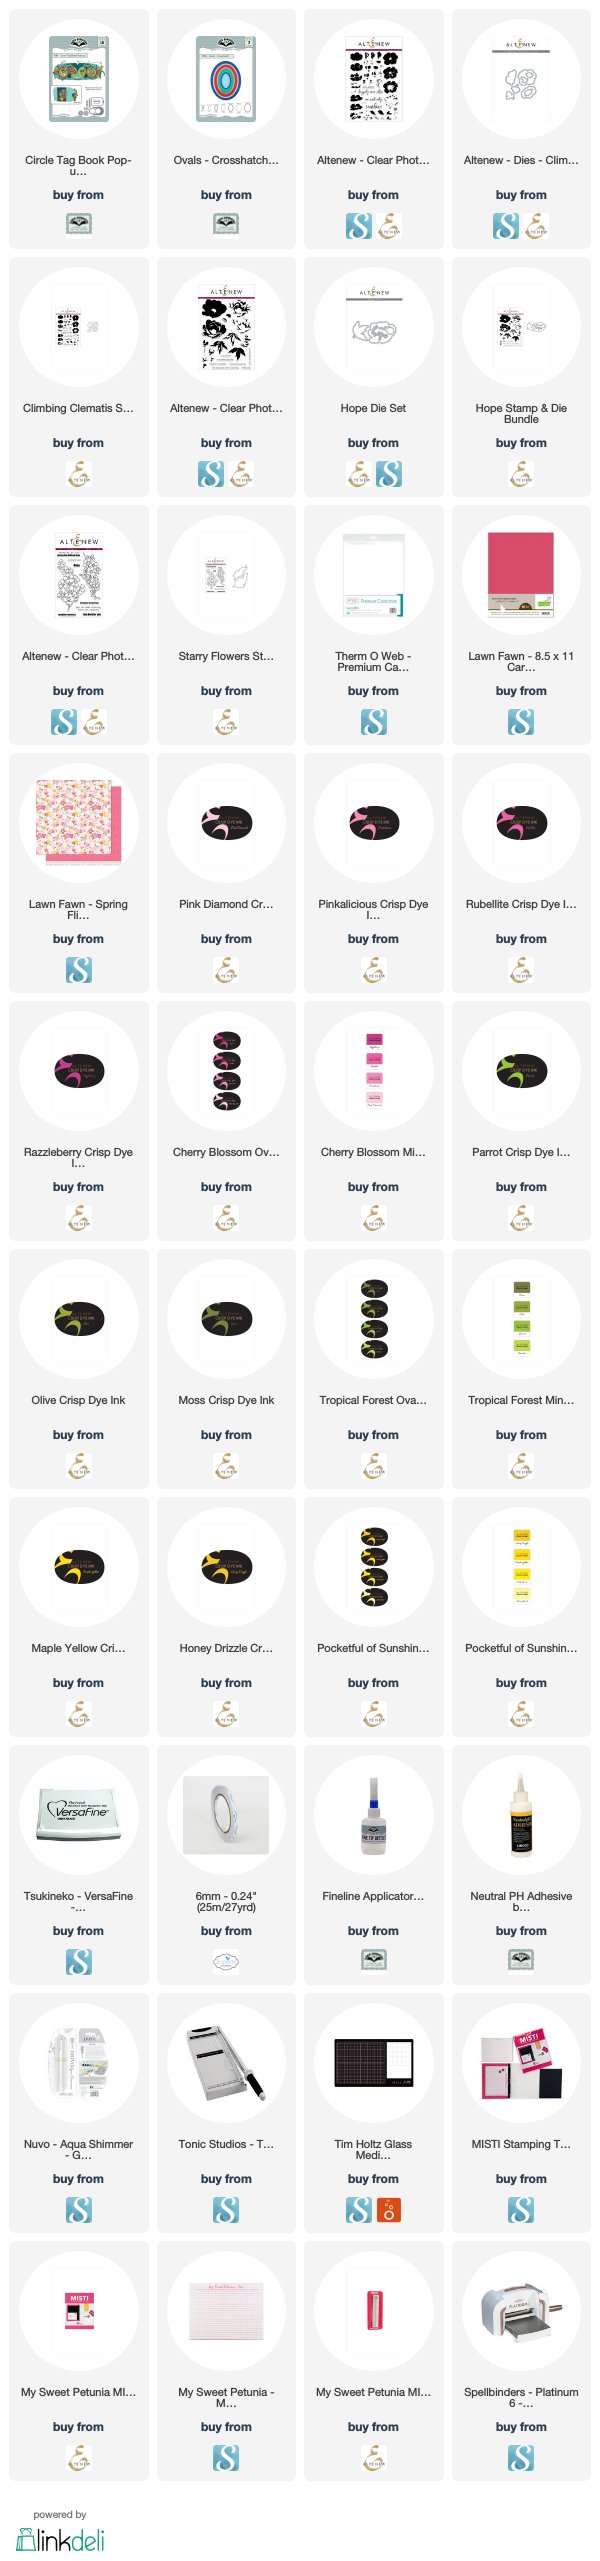
Supplies:
For your shopping convenience, all products are linked below. Compensated affiliate links are used where possible with no extra cost to you. This helps me to continue to share all the projects I include on my blog. Please note I only use and share products I love.


Wednesday, April 17, 2019

Be Somebody Nobody Thought You Could Be


Hi Crafty Friends,

Today I am sharing a card I created recently using the Crafter's Companion Timepiece Easel die set.

I used Distress Oxide inks in Wilted Violet and Picked Raspberry to create the cloud background on the top option of the card. For the base I used Twisted Citron and Mowed Lawn Distress Oxides.


To decorate my card I used The Caterpillar from Visible Image. I also added the sentiment that was included in the stamp set, which I placed on both the main panel and the base panel.

For the base I cute the easel a couple more times and then used the grass border from the Lawn Fawn Mushroom Border die set to create my layers. I also added some of the mushrooms and the mushroom border.


Here is a look at my card when it is closed ready to be placed in an envelope.

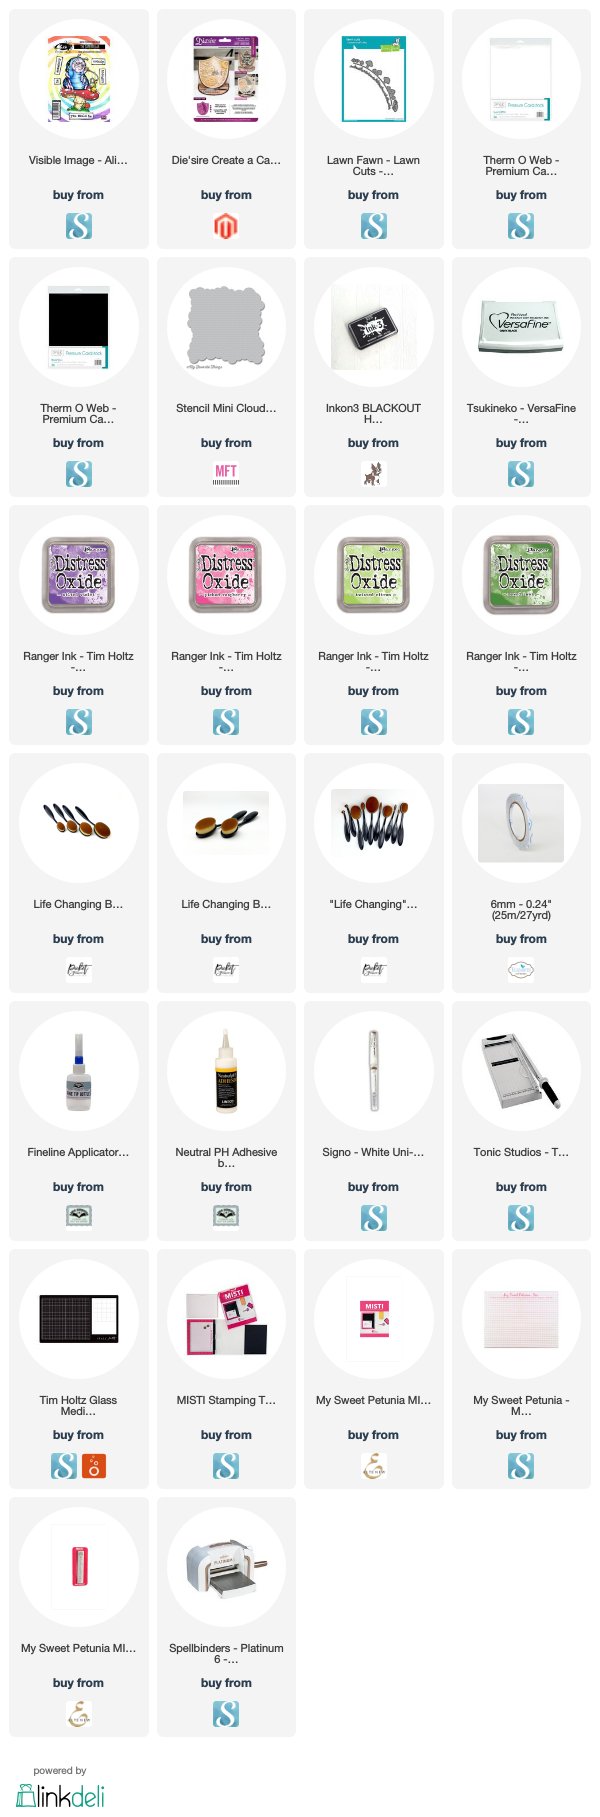
Supplies:
For your shopping convenience, all products are linked below. Compensated affiliate links are used where possible with no extra cost to you. This helps me to continue to share all the projects I include on my blog. Please note I only use and share products I love.


Tuesday, April 16, 2019

Best Fishes On Your Birthday


Hi Crafty Friends,

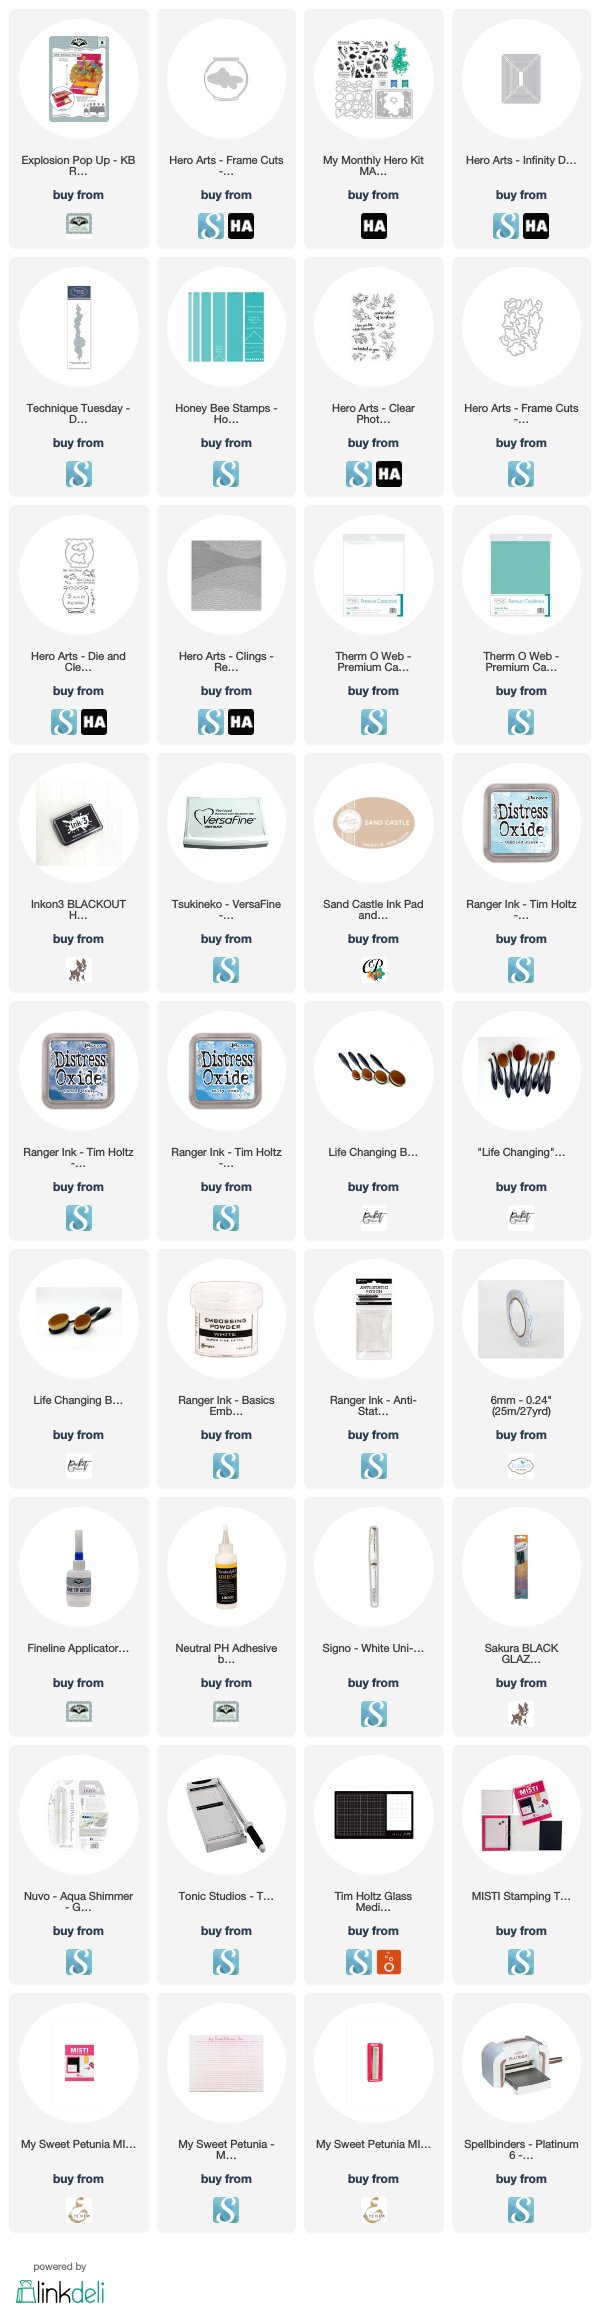
As my birthday was in March, I decided that my birthday present this year would be the March Hero Arts My Monthly Hero Card Kit and some of the add-on stamps/dies sets. 

For my first card I decided to create a pop-up card using the pop-up die included in Karen Burniston's Explosion Pop-up die set.


I die cut the pop-up portion of the card from white cardstock. For the base of my card, I added color to the white cardstock using Catherine Pooler's Sand Castle ink, applying the ink to the card using one of the Life Changing Brushes from Picket Fence. Once I had the color added to the card, I then stamps Hero Arts Ocean Waves Bold Prints stamp to the card using the same ink, stamping it a couple of times to get a tone on tone effect.

I added patterned paper to the top portion of my card.

I used the fish bowl from Hero Arts Paper Layering Goldfish in Bowl die set. I sponged the inside of the fish bowl using Distress Oxide inks in various blues. I then added the goldfish and plants from the Pet Goldfish Clear Stamp set.

The sentiment used on the base of the card is from the March Card Kit and layered using rectangles from Hero Arts Infinity Rounded Rectangles die set.


I added borders to the top and bottom edges of the card using Technique Tuesday's Bubbles On The Border die set. 


To decorate the front of my card, I created a scene to resemble the inside of my card. This time I used  Fishy Stamp & Cut set, adding the fish & plant to the inside of the fish bowl which are again from the Pet Goldfish Clear Stamp set.

I used one of the banners from Honey Bee Stamps Banner Builders for the sentiment.


Supplies:
For your shopping convenience, all products are linked below. Compensated affiliate links are used where possible with no extra cost to you. This helps me to continue to share all the projects I include on my blog. Please note I only use and share products I love.


Monday, April 15, 2019

Easter Wishes X Fence Gatefold Card


Hi Crafty Friends,

It's just under a week until Easter, so today I am sharing another Easter card I created recently.


This time around I have created a Gatefold Card using Mama Elephant's Gatefold X Fence die. I was originally planning on creating a square card, but then I decided to pull out the cute Cottontail Cutie from MFT Stamps, which is a little taller than the fence. So as you can see I created an A2 card.


When you open the gate/fence, it reveals this Easter scene. I used Distress Oxide inks blues to create the sky area. The grass was die cut using Lawn Fawn's Grassy Hillside Borders die set and colored using Distress Oxide inks in greens.

I added the rabbit to the centre of the card and then added Easter Eggs from Karen Burniston's Easter Charms die set.

The "EASTER" sentiment was die cut using Karen Burniston's Alphabet die set and then I white embossed the "wishes" sentiment.

I die cut the Gatefold X Fence die 4 times. First attaching two of the fences to either side of the card and then adhering the other two to the inside of the fence for a neater look.


I added another rectangle panel die cut using the largest rectangle from the Heffy Doodles Imperial Stitched Rectangles die set to the back of the card to hide the tabs of the Gatefold X Fence.

I added some grass as well as Easter Eggs & the Happy Easter sentiment from the Easter Charms die set.

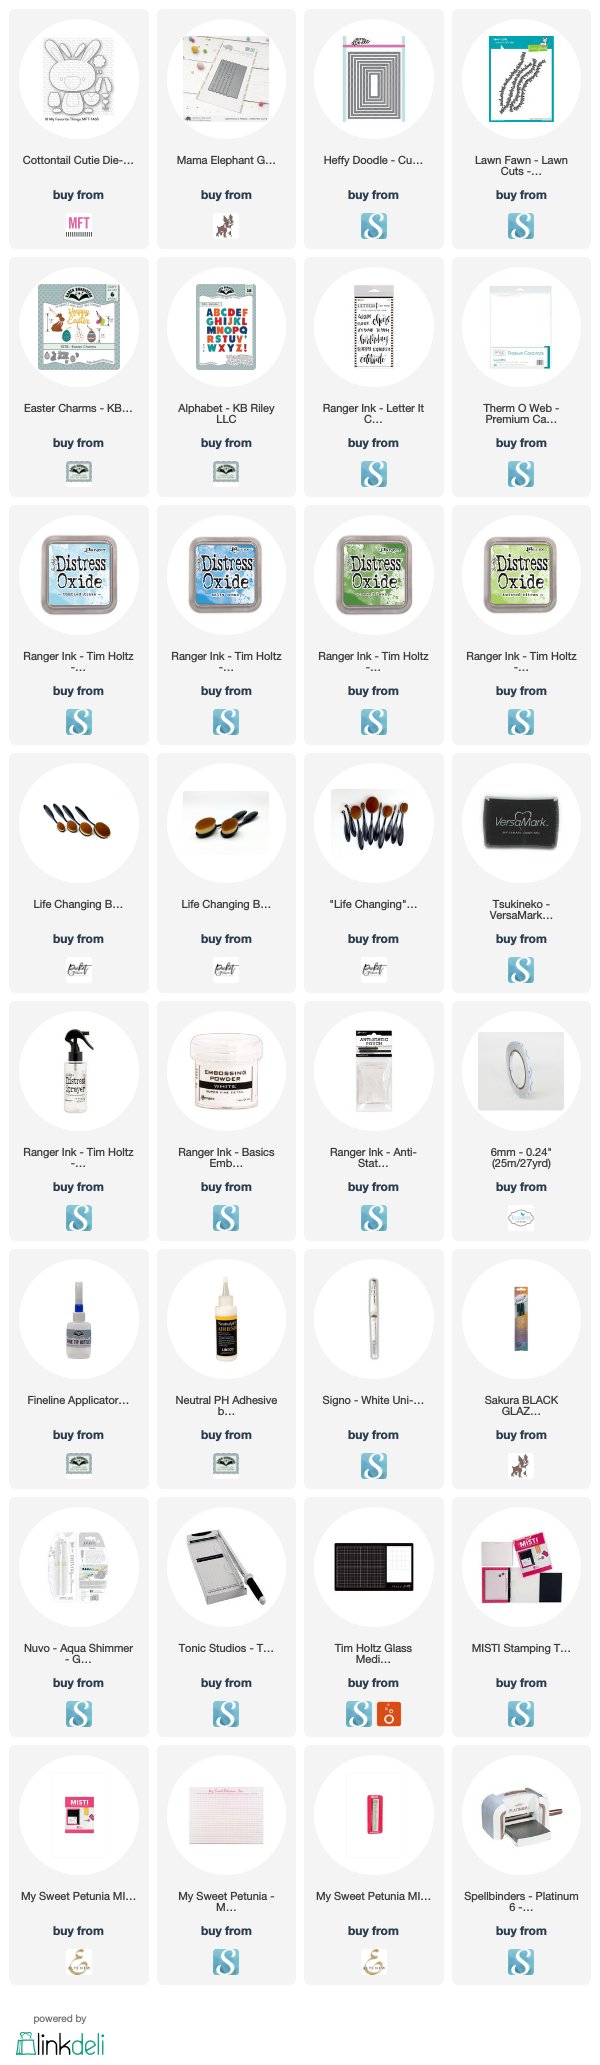
Supplies:
For your shopping convenience, all products are linked below. Compensated affiliate links are used where possible with no extra cost to you. This helps me to continue to share all the projects I include on my blog. Please note I only use and share products I love.


Sunday, April 14, 2019

Patchwork of Love


Hi Crafty Friends,

Today I am sharing two more cards using some of the new Divinity Designs products from the April Release.
Both cards feature the Quilting Triangles die and papers from the Pretty Pink Peonies Collection. As I chose to die cut the die 4 times from the papers & white cardstock, I decided to make two cards rather than just one.


After die cutting the Quilting Triangles 4 times, from white cardstock, pink, red and floral patterned papers, I then adhered each frame to a piece of cardstock that had double sided adhesive tape on the front and then paper pieced all the different papers/card into each of the panels.


Once the quilted panel was complete I then layered these onto a folded card.

I die cut the sentiment "Grandmother" from white cardstock three times for each card and layered these together and adhered to the bottom of the quilted panel. For the red sentiment I added an extra layer to the top of the white sentiment slightly offset.


For the inside of the cards I pulled out the Grandmother's Heart Stamp set which is also a new stamp set from Divinity Designs this month. This stamp set contains a beautiful floral image as well as some amazing sentiments suitable for Mother's Day, including some for the Grandmother's in our lives.

I stamped two of the sentiments to the centre of a smaller piece of white cardstock and then adhered the corners from the Quilted Triangles die set to give it a quilted look.

This inside panel belongs to the card that has the pink card base with the white grandmother sentiment.


Here is a look at the inside of my card that has the white card base. As the Grandmother sentiment on the front of this card was in red, I stamped the sentiment on the inside in red too.


Supplies:
For your shopping convenience, all products are linked below. Compensated affiliate links are used where possible with no extra cost to you. This helps me to continue to share all the projects I include on my blog. Please note I only use and share products I love.