Hi Crafty Friends,
It's time for our December Elizabeth Craft Designs Design Team Designer challenge. Check out the Elizabeth Craft Designs blog today to see what our talented designers created for the challenge.
This month the challenge is …. Backgrounds - Whether you use large background dies, smaller dies or stamps, backgrounds can add so much interest to your card or home decor items. Include dies or stamps in your background for our challenge this month to create either a card or home decor item.
For today's challenge Elizabeth Craft Designs are giving away a $20 Gift Card to use on our website to 3 winners.
To enter simply leave a comment on the Elizabeth Craft Designs Challenge post and tell us "What Elizabeth Craft Designs dies or stamp sets would you use to create a background on something you were creating?”
We will select 3 lucky winners in a random drawing
The winners will be announced on Friday, December 22nd on the Elizabeth Craft Designs blog.
For my card today I decided to use the Geometric Background. I used the negative piece of the die to create my card.
To create the background I used Alcohol Inks and Yupo papers.
Step 1 -
After creating my alcohol ink background I used the Geometric Background to die cut the inked background. I also die cut a sheet of white fun foam. Both pieces had Clear Double Sided Adhesive Tape on the back.
I die cut another background using a scrap of cardstock and laid that on top of a piece of white cardstock which was slightly smaller than 4 1/4 inches x 5 1/2 inches.
Using the negative pieces from the white fun foam piece I attached them onto my white cardstock using the background I placed on top as a guide. (this is a little fiddly, but really didn't take much longer than if you were coloring images etc).
Next repeat the same process using the alcohol inked background negative pieces.
Once all the pieces are in place, carefully remove the scrap background as you see in the photo above.
Step 2 -
Using the Beautiful Baubles die set, die cut one of the ornaments:
- (1) Solid Ornament from White Soft Finish Cardstock with Clear Double Sided Adhesive Tape on the front
- (1) Decorative Ornament from Gold Cardstock
- (1) Ornament Hanger from Gold Cardstock
- (1) Hanging Bow from White Soft Finish Cardstock with Clear Double Sided Adhesive Tape on the front.
Remove the protective backing from the solid ornament and place the decorative ornament over the top. Cover adhesive using Real Red Silk Microfine Glitter.
Add Ornament Hanger to top of ornament.
Remove the protective backing from the Hanging Bow and cover the adhesive with Forest Green Silk Microfine Glitter. Adhere bow to top of ornament.
Adhere ornament to top right corner of card using foam tape.
Add a Transparent/Gold Glitter Dots Peel Off Sticker over the hole of the bow/ornament.
Step 3 -
Using the sentiments from the A Way With Words Christmas Collection Clear Stamp set, stamp the "Merry" onto a piece of White Soft Finish Cardstock using black ink. Stamp one of the hollies from the stamp set so it lines up with the tail of the word "merry". Emboss using Clear Embossing Powder.
Die cut word using one of the fishtail banners from the Stitched Fishtail Banners die set.
Adhere banner to the lower left hand corner of card.
Color holy using green marker and add Autumn Red Nuvo Crystal Drops to berries.
Stamp the word "Christmas" onto a piece of black cardstock using Versamark ink and emboss using white embossing powder. Cut sentiment into a rectangle so it is close to the word.
Adhere sentiment to the bottom of the fishtail banner (refer to photo above for placement).
Step 4 -
Adhere completed card front to a folded card that measures 4 1/4 inches x 5 1/2 inches.
Step 5 - Inside of Card:
Cover the adhesive with Warm Diamond Silk Microfine Glitter.
Adhere part of the background to the lower part of the inside of the card. Refer to photo above.
Step 6 -
Stamp the sentiment also from the A Way with Words - Christmas Collection Clear Stamp set to the top the the border you created.
I hope you enjoyed my project today. Don't forget to check out the Elizabeth Craft Designs blog to see all the wonderful creations by our talented designers and for a change to win the giveaway.
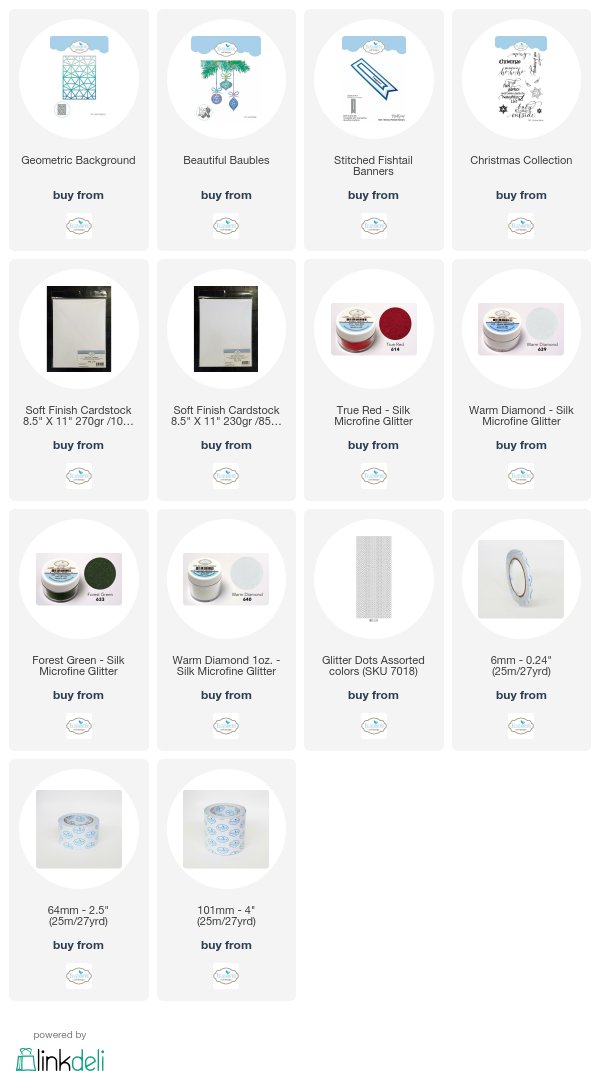
Supplies:
Elizabeth Craft Designs:

Other:
Gold Cardstock
Yupo Paper
Ranger Alcohol Inks - Butterscotch; Lettuce; Meadow; Pesto; Stream; Silver
Blending Solution
White Fun Foam
Black Ink
Versamark Ink
Clear Embossing Powder
White Embossing Powder
Heat Tool


1 comment:
Pretty card!
Post a Comment