Hi Crafty Fiends,
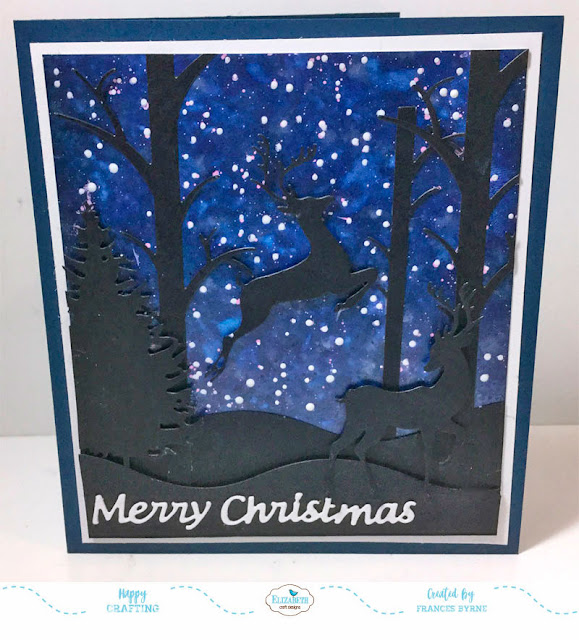
It's my turn to post a tutorial on the Elizabeth Craft Designs blog today. Alcohol Inks seem to becoming popular again lately, so I decided to pull mine out to have a play. I decided to create a night sky background using various colors of alcohol inks and then create a silhouette scene using the Reindeer die set. This card was fairly quick to create so would be good for mass production if anyone still has Christmas cards to make. If you haven't been reminded lately there are only 10 days to go!!!!
Here is how I created my card:

Step 1 -
- Create an alcohol ink background using a piece of 5 inch x 7 inch white Yupo paper and alcohol inks. Stonewashed, Denim, Stream, Eggplant and Silver Metallic Alcohol Inks where used to create the background above.
- Place some white acrylic paint onto a clear block and water down slightly. Flick paint all over the cardstock to create a starry night scene.
- Allow to dry.
- Cut the panel down so it measures 5 inches x 5 3/4 inches.
Step 2 -
- Using the Reindeer die set die cut the following from black cardstock,
- (2) Snowbanks
- (2) large Birch Trees
- (1) small Birch Tree
- (1) Pine Tree
- (1) Leaping Reindeer
- (1) Standing Reindeer
Step 3 -
- Adhere the two snowbanks to the bottom of the card. Note: Turn one of the snowbanks to the wrong side, so both do not to the same direction when adhering to the card, this will make a nicer looking scene. The upper snowbank will adhered to the card about 5/8 inch up from the bottom. Adhere the bottom snowbank to the card using foam tape.
- Adhere birch trees to the cardstock. Note: Some of the trees will overlap the upper snowbank and some will go under the top snowbank.
- Using foam tape adhere pine tree to the left side of card so that part of the tree is hanging over the card.
- Trim off anything that is over hanging from the edges.
- Finally add the two reindeers to the scene using foam tape.
Step 4 -
- Layer card onto a piece of White Soft Finish Cardstock (5 1/4 inches x 6 inches)
- Created a side folding card using dark blue cardstock that measures 5 5/8 inches x 6 3/8 inches when closed.
- Adhere decorated silhouette panel to folded card.
Step 5 -
- Cut a piece of White Soft Finish Cardstock that measures 5 inches x 5 3/4 inches.
- Layer the white cardstock to a black cardstock panel that measures 5 1/4 inches x 6 inches.
- Adhere to inside of card.
Step 7 -
- Stamp the sentiment "All is calm ....." from the Holiday Cheer Clear Stamp set to the centre of the white panel using black ink.
- Die cut one large birch tree and one leaping reindeer from black cardstock. Adhere images to card referring to photo above for placement.
Thank you for stopping by today, I hope you enjoyed my tutorial.
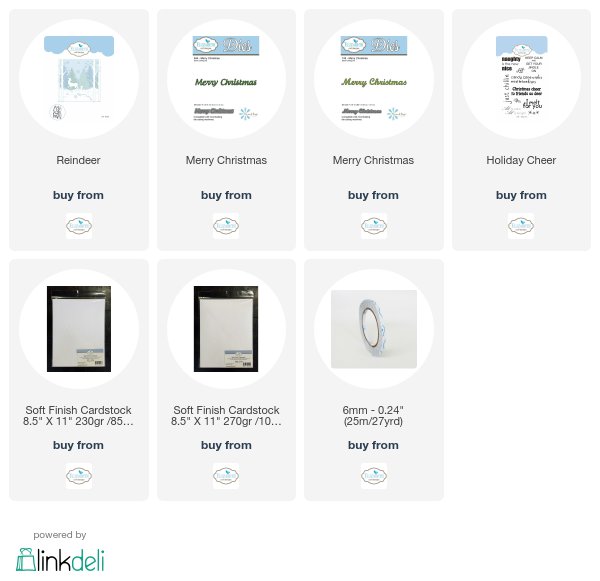
Supplies:
Elizabeth Craft Designs:


3 comments:
absolutely gorgeous, Frances! I like your step by step instructions. I made a sky scene similiar to this and its' still on my desk! Thanks for the inspiration to put it to good use :)
Lovely card - and great tutorial.
Stunning! I do admire your talent and creativity.
Post a Comment