

Hi Crafty Friends,
It's my turn to post a tutorial on the Elizabeth Craft Designs blog today. The countdown is on .... Christmas is only about 20 days away! So today I am sharing a card which could be used as a Christmas card. Although at this time of year it is hot where I live snowmen are always fun for a Christmas card.

Here is how I created my card:

Step 1 -
- Using two of the patterned papers from the ModaScrap White Christmas Patterned Paper pack, die cut both pieces using the second largest rectangle from the Fitted Rectangles die set.
- Cut the polka dot paper down so it measures 1 1/2 inches.
- Using the scallop edge from the Valentine Edges die set, die cut a border using Olive Twist Soft Finish Cardstock. Adhere this edge to the back of the top of the polka dot patterned paper so the scallops are the only thing showing.
- Adhere this panel to the bottom of the other rectangle panel.
Step 2 -
- Using the second largest rectangle from the Stitched Rectangles die set, die cut a rectangle from Olive Twist Soft Finish Cardstock.
- Layer the panel created in step 1 to this layer.
- Cut a piece of burgundy cardstock so it measures 8 1/2 inches x 5 1/2 inches. Score and fold along the long side at 4 1/4 inches to create a top folding card that measures 5 1/2 inches x 4 1/4 inches.
- Adhere the layers created above to the front of the fold card.
Step 3 -
- Stamp the word "Celebrate" from the A Way with Words - Happy Birthday Collection onto a piece of White Soft Finish Cardstock using black ink.
- Using a circle from the Stitched Circles die set die cut sentiment.
- Layer onto a burgundy circle that has been die cut using the Dotted Scallop Circles die set.
- Adhere the sentiment circle to the lower right hand corner of card.

- Using the Stitched Circles die set, die cut two circles from White Soft Finish Cardstock. One of the circles should have Clear Double Sided Adhesive on the front.
- Sponge the circle without the adhesive with blue ink to create a sky background.
- Cut the circle that has the Clear Double Sided Adhesive using the snow border from the Adventure Edges die set. Remove the protective backing from the adhesive and cover the adhesive with Cool Diamond Silk Microfine Glitter. Return any excess glitter to the jar and polish the glitter into the adhesive using your finger.
- Adhere the snow layer to the bottom of your circle.
Step 5 -
- Using the snowman with scarf from the Snowman & Gifts Clear Stamp set, stamp the snowman onto White Soft Finish Cardstock using black ink.
- Color image as desired.
- Die cut image using coordinating dies.
- Adhere snowman to the circle panel using foam tape.
- Using the Dotted Scallop Circles die set, die cut a circle from burgundy cardstock. Layer the snowman circle onto the burgundy circle.
- Adhere the circle to the upper left hand side of the card so that this circle overlaps the smaller circle slightly. Refer to photo above for placement.
- Apply white Nuvo drops to the sky area of the snowman circle and randomly around the sentiment.

Step 6 Inside of Card -
- Using the Fitted Rectangles die set, die cut the second largest rectangle from White Soft Finish Cardstock.
- Cut the polka dot patterned paper that was left over from the front of the card to 1 1/4 inches.
- Using the scallop edge from the Valentine Edges die set, die cut a border using Olive Twist Soft Finish Cardstock. Adhere this edge to the back of the top of the polka dot patterned paper so the scallops are the only thing showing.
- Adhere this panel to the bottom of the white rectangle.
- Using the second largest rectangle from the Stitched Rectangles die set, die cut a rectangle from Olive Twist Soft Finish Cardstock.
- Layer the white rectangle to the olive rectangle and adhere to inside of card.
Step 7 -
- Stamp the sentiment "Christmas greetings" from the Winter Sentiments Clear Stamp set to the centre of the white panel using black ink.
- Stamp the large snowflake and bird with heart onto a scrap of White Soft Finish Cardstock. Color and die cut using coordinating dies.
- Adhere to inside of card referring to photo above.
Thanks for stopping by today, I hope you enjoyed my tutorial.
Supplies:
Elizabeth Craft Designs:
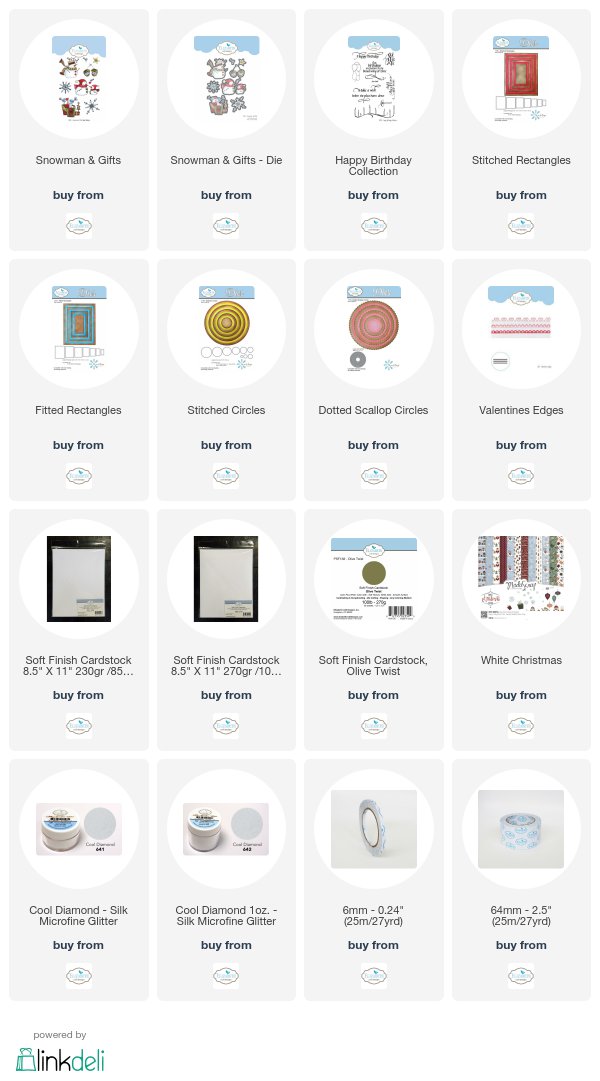
Other:
Cardstock - Burgundy
Inks - Black; Blue
White Nuvo Drops
Foam Tape
2 comments:
Cute snowman card.
the perfect dp and cute snowman
Post a Comment