Showing posts with label CC Designs. Show all posts

Thursday, September 30, 2021

Just A Note

Hi Crafty Friends,

It's challenge time with my friends over on the CCEE Stampers challenge blog. Lois Bak our challenge hostess for the month, finishes off the month with one last challenge.

September is also Classical Music Month. Create a card with a musical theme. It doesn’t have to be classical music. It could be Jazz, Country, Rock 'n Roll - anything musical, even a musical instrument.


Simon Says Stamp recently released a Xylophone die set, not having one in my stash I decided I needed to buy one. You never know when you might want something beginning with "X". I die cut the frame of the xylophone from gold mirror cardstock and the bars that are on the top of the xylophone from white cardstock and colored them the colors of the rainbow.

To make sure I got the frame at the correct angle, I used the die as a guide and placed the pieces on top.

The white rectangle panel is from Spellbinders' Slimline Hemstitch die set. I added the "Just A Note" sentiment which is from Honey Bee Stamps Rockstar Sentiments stamp set.

The music note is from an older MFT Stamps die set.

For the music background on my top folding slimline card, I used CC Designs Music Border die set.


 For the inside of my card I created a pop-up card using Karen Burniston's Katherine Label pop up die set.

I used Poppy Stamps Happy Birthday Melody die for the sentiment which is layered using Spellbinders' Elongated Ovals and Elongated Scalloped Ovals die sets.

Don't forget to check out the CCEE Stampers blog (goes live 12 AM EST) to see the rest of the creations the CCEE Stampers created this week. You can also see more details of their creations on their individual blogs:
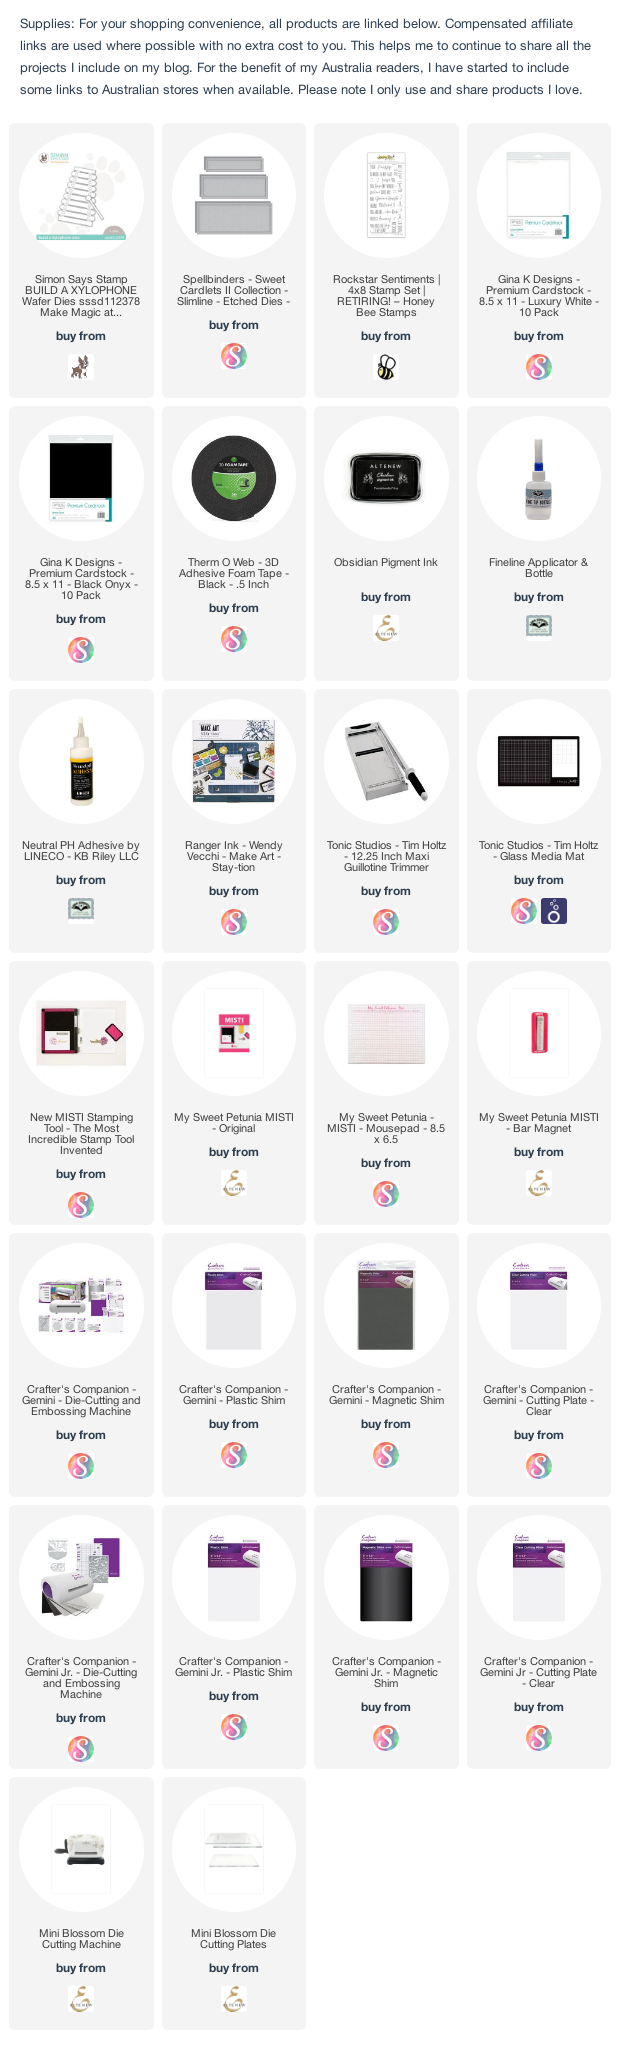


Other Supplies:

Happy Birthday Melody - Poppy Stamps (discontinued)
Music Border - CC Designs (discontinued)
Music Notes - MFT Stamps (discontinued)
Elongated Ovals - Spellbinders (discontinued)
Elongated Scalloped Ovals - Spellbinders (discontinued)




Monday, June 29, 2020

I Love Your Smile


Hi Crafty Friends,

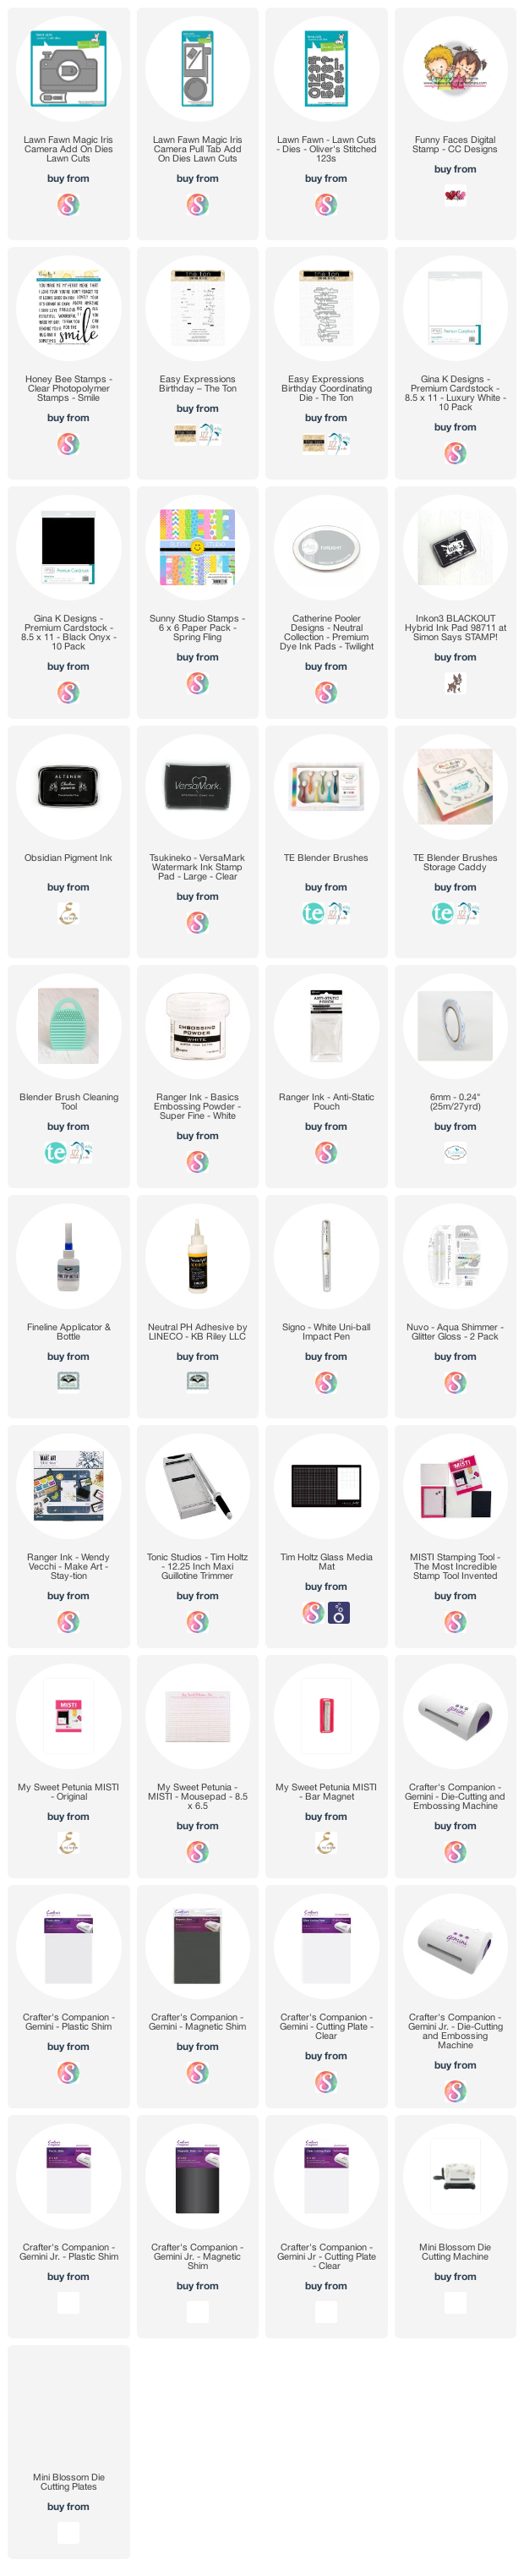
Today I am sharing a card I created using the new Magic Iris - Camera Add on die set released by Lawn Fawn last week. I love now Lawn Fawn come out with add ons to existing die sets to get more options with what you already have. 


Here is a quick video to see my card in action.

I was originally planning on using a different stamp set with the camera die, but after I had used the patterned papers on my card, I decided it needed something that I could color to coordinate with the papers. So I opted for using CC Designs Funny Faces stamp, this stamp is actually a boy and a girl, but I was able to position the stamp so that only the girl was seen. As this looks a lot like my granddaughter, I will probably keep this for her birthday which is later in the year.


When you pull the lever at the top right hand side of the camera, the iris of the lens starts to open to reveal an image.


Here you can see the image completely revealed.

I added the "Smile" sentiment which is an older die from Honey Bee Stamps and also a sentiment from the coordinating stamp set.

I also added the "8" to the left side of the camera, as that is how old she will be.


Here you can see the camera side by side as the iris in the lens is opening.


For the inside of the card I used the Magic Iris Camera Pull Tab Add On to add the photo frame.

I also added sentiments from The Ton's Easy Expressions Birthday stamp set and coordinating dies.

Supplies:
For your shopping convenience, all products are linked below. Compensated affiliate links are used where possible with no extra cost to you. This helps me to continue to share all the projects I include on my blog. For the benefit of my Australia readers, I have started to include some links to Australian stores when available. Please note I only use and share products I love.


Thursday, December 12, 2019

Santa Claus Is Coming To Town


Hi Crafty Friends,

It's challenge time with my friends over on the CCEE Stampers challenge blog. Being a brand new month it is time to introduce our challenge hostess for December, which is Lynn McAuley.

This is our last challenge for 2019, so everyone can enjoy spending time with family and friends over the Christmas Season. But we will be back in January for more challenges.

Our challenge this week is .... Santa Through the Window - For our last challenge Lynn is asking us to create a card that has a window. It will then be your choice on whether you want to be peeking IN on Santa or peeking OUT at Santa.  


For my card today I pulled out an older CC Designs stamp, which no longer is available as a stamp, but when I went searching for a link to add to my supply list below, it is available as a digital stamp if you want it.

I have always loved the Roberto's Rascals line of stamps from CC Designs, they look so like my grandchildren and this one is a favorite too and you could say made for this challenge!!!

I stamped the image and then added a gold glittered frame over the image which uses Hero Arts Infinity Wood Frame die sets. 

I then added Crafter's Companion's Santa Edge'ables die set with it's coordinating stamp underneath.


For the inside of my card I created a pop up card using Karen Burniston's - KB Riley LLC Parcel Pop-up and Rocket Pop-up die sets. I figured this could be something that Santa left after visiting the little boy that is featured on the front of the card. Which is why I added the rocket and space themed images to my parcel.

I used the flap die from the Flap & Closure die set, to die cut the two curved edges on the green dotted patterned paper.

I also added the Merry Christmas die cut to the base of my card.


Here is a  quick video to see my card in action. 

Here is a side view of the inside of my card, so you can see the pop-up portion of the card a little better.

Don't forget to check out the CCEE Stampers blog (goes live 12 AM EST) to see the rest of the creations the CCEE Stampers created this week. You can also see more details of their creations on their individual blogs:

Supplies:
For your shopping convenience, all products are linked below. Compensated affiliate links are used where possible with no extra cost to you. This helps me to continue to share all the projects I include on my blog. For the benefit of my Australia readers, I have started to include some links to Australian stores when available. Please note I only use and share products I love.


Sunday, July 7, 2019

All Aboard It's Circus Time!


Hi Crafty Friends,

Today I am excited to share a card I created using some of the new Karen Burniston dies which are being released this month. As well as many new dies making an appearance this release, there is one die making a comeback which is the Barn Pop Stand die set.

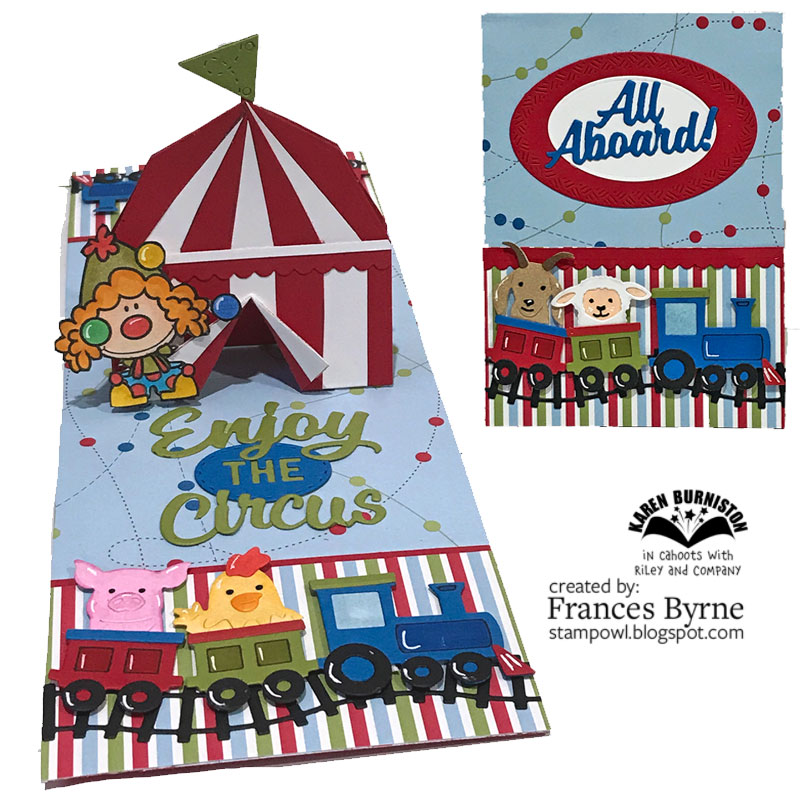
About 4 years ago, I created a card where I changed the Barn into a Circus Tent, so I decided to do that for my card today. I always love being able to do more than one thing with a die set.


I used 13 die sets to create this card because I have all of Karen Burniston's die sets. But this design is easy to adapt so you can use what you do have. 


Here is how to convert the Barn into a Circus Tent
  • Die cut  the barn from cardstock and then drew a line at the point where the roof starts to form a triangle (of sorts). This will be your pattern.
  • Measure in from the left side 1/4 inch and make a mark on the line you created above, then at every 1/2 inch until you are left with 1/4 inch on the right hand side of the barn. Do the same at the bottom of the barn and join up these marks as per my photo above. 
  • Next take a ruler and line up each mark with the centre point of the top of the roof and draw a line.
  • Die cut 3 barns - one in white; 1 in red and another in red which has double sided adhesive tape added to the top of it.
  • Use the pattern above to cut the red and white barns and adhere them to the barn with the adhesive.
  • Die cut the scallop edge from the Border Blends - Argyle die set. (Tip: I positioned the die a little from the edge of the cardstock and used the negative part of the scallop, this way I could make it the depth I wanted to suit my tent. Adhere across the room line. 
  • Cut a strip of white card approx 1/8 inch wide and adhere there to the top of the scallop border we attached in the above step.
  • Cut up the middle of the 'tent' to approx 1/4 inch from the roof line and fold back the card to create the tent flap. 
  • Use left over white pieces to add white to the inside of the tent flaps.
  • If you are creating a Pop Stand Card you will need to repeat these steps to create a second tent, but for this one you don't need to create a tent flap.


Because Karen is also releasing a train die set too, I decided to incorporate that into my card too adding various animals to the carriages. I used the train from the Train Pivot Panels die set and the train tracks are from the Train Elements die set.  The animals are from the Chicken, Pig and Lamb; Cow and Goat & Dog and Cat die sets.

I also added a few clowns to my card to give it a circus feel using an older stamp set in my stash .... CC Designs Clownin' Around.

The flag on the circus tent is from the Tag Book Pop Up die set, however there are a number of die sets that contain flags of various types which could be used.


Here is an overhead shot of my card, so you can see the whole inside of my card at once.

I used the "Enjoy The Ride" die set, substituting the word "ride" with the word "Circus" which was made up using letters from the following die sets: Celebrate (C); Happy Birthday (ir); Congrats (c, u and s). 


For the front of the card, I added another train filled with animals ... I guess my circus has farm animals instead of the normal circus animals haha! 

 I also added the "All Aboard!" sentiment which is another of the dies from the Train Elements die set. This was layered using the Crosshatch Ovals die set.

Supplies:
For your shopping convenience, all products are linked below. Compensated affiliate links are used where possible with no extra cost to you. This helps me to continue to share all the projects I include on my blog. Please note I only use and share products I love.


Friday, April 5, 2019

Swinging By To Say ....


Hi Crafty Friends,

Today I am sharing an Interactive Card I recently creating using the new MFT Stamps Interactive Swing Die-namics. 

This die enables you to create fun swing themed cards that actually "swing" using either stamps or the swing die included in the set. MFT also released two different swing themed stamp sets that can be used in conjunction to this stamp set, but I discovered I already had a number of swing themed stamps that would work with this die, that I only purchased the die set.


Here is a quick video to see my card in action.

This is a tall card, it measures 7 inches x 4 3/8 inches. To create the cloud background I used MFT Stamps Mini Cloud Edges Stencil and Tumbled Glass Distress Oxide ink on white cardstock.

I used the Tree/Cloud die included in the Interactive Swing Die-namics set to create the tree the swing is connected to. I die cut the tree twice from two different colored green cardstocks and layered the two together so that you could partially see the darker one on the bottom. 

I added grass to the bottom edge of my card.

The swing is one of my favorite stamp images from the Roberto's Rascals Collection from CC Designs. This stamp so looks like my two grandchildren, so I colored them to look like them.

I added flowers and a bird from Honey Bee Stamps Birds and the Bees Clear Stamp set around the trees and grass.

The sentiment is from a now retired Paper Pretties stamp set.


For the inside of the card I added a sentiment using Crafter's Companion's Happy Edge'ables stamp/die set and added another CC Designs stamp set which matches the one on the front.

Supplies:
For your shopping convenience, all products are linked below. Compensated affiliate links are used where possible with no extra cost to you. This helps me to continue to share all the projects I include on my blog. Please note I only use and share products I love.


Saturday, May 5, 2018

Bam! Zap! Pow! Super Birthday


Hi Crafty Friends,

It’s challenge time with the “Crazies” over on the Crazy 4 Challenges blog. Being a brand new month it is  time to introduce our new challenge hostess which is Amy Ottmers.

Apparently today is "Free Comic Book Day", so our challenge this week is to make a "Super Hero" card/project.

My youngest daughter has been very into Super Heroes for years and I remember her going to the city on this day each year to visit the comic shops there to get free comic books. 


I have a number of "Super Hero" stamps/dies to select from and decided to use these cuties from C.C. Stamps ... I couldn't decide whether to use the boy or the girl ... so as you can see I used both! 

To create my card I started by die cutting the Cupcake Pop-up into a white card. Now when Karen Burniston released this die set last year I never thought I would use this as a generic pop-up die but I seem to reach for it all the time. It is perfect to have things pop up with a little height and each to disguise the cupcake. The two super heroes fit perfectly on the cupcake pop-up.

I used the galaxy sky technique for my background of my card using various colors of Distress Oxides. I then spritz the background with water from a Distress Sprayer and splattered watered down Copic Opaque White all over the background.


On the rectangle pop-up panel below the cupcake I added the City Skyline using black and gold cardstock.

The yellow & black "Bam! Zap! & Pow! die cuts are a set from Frantic Stamper. 

To finish off the inside of the card I added a birthday sentiment which I added using the label dies from Karen's Katherine Label Pop-up.


As the focus of this card is on the inside, I kept the front fairly simple. I repeated the galaxy sky background and then added the Zap! Bam! Pow! die cuts to my card. To fill in the gaps I added the star from Frantic Stampers Heroic Symbols die set to which I added a blue Nuvo drop in the centre of the three full symbols.

Don't forget to check out the rest of the “Crazies” cards over on the Crazy 4 Challenges blog and also their individual blogs for more details.


Supplies:


Other:

Stamps: Super Hero Henry; Super Hero Twila - C. C. Designs; Wet & Wild - Penny Black
Dies: Skyline Border; Solid Skyline Border - MFT Stamps; Pow, Zap, Bam; Heroic Symbols - Frantic Stamper
Other: Foam Tape;  Copic Opaque White; Copics 

Saturday, August 12, 2017

Bee-utiful Day!


Hi everyone,

It’s challenge time with the “Crazies” over on the Crazy 4 Challenges blog. Raquel Mason our challenge hostess for the month continues to issue the challenges.

Our challenge theme this week is .... Monochromatic - make a card that has different shades of one color. For example - different shades of blue or different shades of green. You may use white or black as an accent.

I had originally created my card I am using for today's challenge for Thursday's CCEE challenge which was an insect theme. But when I looked at my card saw that it would work for today's monochromatic challenge and it was easier to make another card for my CCEE challenge then think about monochromatic again this week.

To decorate my card I used a cute digital stamps called Mashi's Muffins Bumble Bee that I purchased some years ago. I created a Tri Shutter card using the Tattered Lace Shutter Card die set. 


Here is a look at my card when it is closed ready to be placed in an envelope.


Don't forget to check out the rest of the “Crazies” cards over on the Crazy 4 Challenges blog and also their individual blogs for more details.


Stamps: Mashi’s Muffins Bumble Bee Digi Stamp – CC Designs; Bee Sentiments -  Elizabeth Craft Designs; Bzzzz - Limited Edition; Sentimental - Avery Elle
Paper: White; Black; Yellow; Front Yard DP - Pebbles Inc.
Dies: Shutter Card - Tattered; Fitted Circles; Stitched Circles & Dotted Scallop Circles - Elizabeth Craft Designs; Sentimental - Avery Elle; Flower Pot Pop Up - Karen Burniston
Other: Black Ink; White Blizzard Nuvo Drops; English Mustard Gloss Nuvo Drops; Foam Tape; Copics


Thursday, August 10, 2017

What's the Buzz?


Hi everyone,

It's challenge time with my friends over on the CCEE Stampers challenge blog. Anne Harmon our challenge hostess for the month continues to issue the challenges.

For our challenge this week, Anne has given us the theme .... Insects - make a card using bees, dragonflies, any kind of insect. Be sure to add stickles to their wings (if they have wings!)


I had originally made another card for this challenge, but then when I had finished the card I looked at it and decided that it would also work for a challenge I have on Saturday and as it was easier to make another card for this challenge I decided to create another card for this challenge. Both cards using the same main image as I had printed out some digital stamps I had saved from a few years ago and I had die cut one inside the circle (this one) and the other cut out around the body as I had intended to adhere one over the other until I discovered that they were different sizes ... oops. But as I had already colored this one, I figured I might as well make use of the image rather than waste it.


For my card today I created a Shutter Gatefold Card using the Nellie Snellen Magic Card Round die set. When you open the card the circle at the centre top opens up.


I created my own background papers for this card by sponging Fossilised Amber Distress Oxide ink over each of the white panels. I then die cut the Elizabeth Craft Designs Honeycomb die using release paper to create a stencil and layed the stencil over the panels and sponges Wild Honey Distress Ink over the top. I then added the black flight lines which is from The Stamps of Life Bee4Me stamp set.


Here you can see my card fully opened up. I added a beehive to the bottom centre of the card and also added a bee to the back of the fishtail flag on the lower right hand side of the card.

I added White Blizzard Glitter Nuvo Drops to all of the wings.


One final photo showing the card when it is closed laying on  my desk.


Don't forget to check out the CCEE Stampers blog (goes live 12 AM EST) to see the rest of the creations the CCEE Stampers created this week. You can also see more details of their creations on their individual blogs:


Vicky Gould
Kelly McKown-Santi


Stamps: Mashi’s Muffins Bumble Bee Digi Stamp – CC Designs; bee4me - The Stamps of Life; Bee Sentiments - Elizabeth Craft Designs; Beehive - Darcies Rubber Stamps
Paper: White Soft  Finish Cardstock - Elizabeth Craft Designs; Black; Yellow
Dies: Magic Card Die Round - Nellie Snellen; Stitched Circles; Fitted Circles; Honeycomb - Elizabeth Craft Designs; Everyday Sentiment Banners - Lawn Fawn
Other: Black Ink; Fossilised Amber Distress Oxide; Wild Honey Distress Ink; White Blizzard Glitter Nuvo Drops; Foam Tape; Copics