Monday, December 30, 2024

2024 Year In Review

  Hi Crafty Friends,


Well we only have a couple more days left of 2024, so as I have done in past years I will share some of my favourite creations I have made in the past year.

It is always hard to select just one or two cards / projects for each month, however this year due to illness I haven't been able to post as much as I normally would have. In fact there are some months where I didn't post anything at all. So while I normally would spread this review over two days I don't think I need to this year. Hopefully next year I will be able to post a little more then I have this year, fingers crossed anyway!

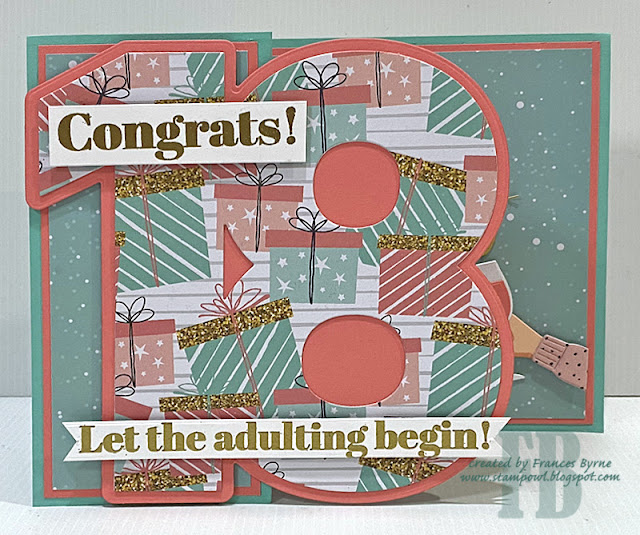
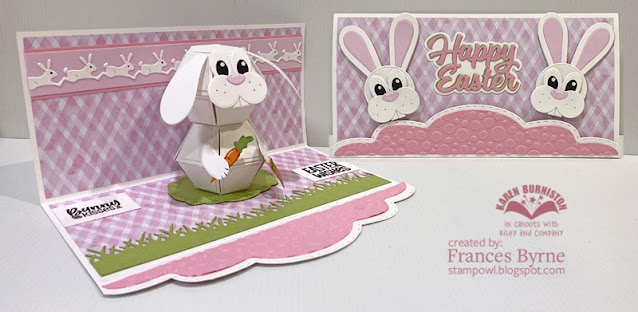
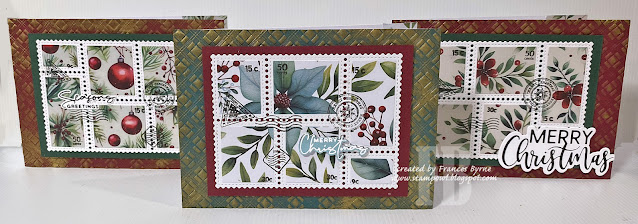
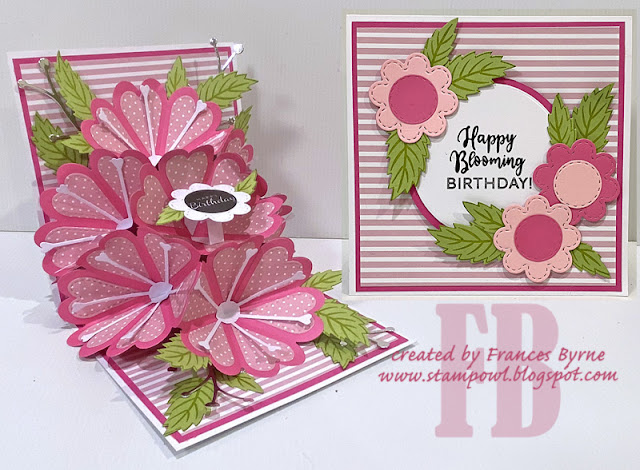
Here is the selection I came up with, if you click on the card it will take you to the original post.

January


February


March


April

July


October


November


December


Thanks for looking, if you got this far.

Supplies:
Please refer to the individual blog post for supply lists for any of the cards above.



Wednesday, December 25, 2024

Have a Tree Trimming Christmas


Merry  Christmas Everyone!!!!

It's Christmas Day already down here in Australia! I must have been a good girl this year as I did very well! 😀

There are many of you who visit my blog regularly, so I would like to take this opportunity to thank you all so much for your support throughout the year. Hope you all have a wonderful and safe Christmas!

As many of you who follow me know, I have posted a lot this year due to illness. But for as long as I can remember I have always posted a Christmas card on my blog on Christmas day, and of course wanted to do the same this year. So on Saturday I pulled out some of my Karen Burniston dies to create this card. 


For my card today I used Karen Burniston's Christmas Tree Pop-up along with the new Christmas Tree Add-ons die set. This set allows you to add ornaments to your tree which is lots of fun to do! It also gives you a tree skirt which I think makes it easier to add to you card. I created a 5 x 7 inch card which means the tree was able to be centred in my card.

I used the Crosshatch Rectangles die set to create the layers for my card, adding sentiments from the Seasons of Cheer stamp set, I love the tree trimming sentiment included in this stamp set.


I added the stocking border to the top left and bottom right hand sides of my card, as well as two candy canes to the sentiment panel on the right. For these I used the Christmas Borders 2 die set.


Finally the front of my card, which I kept fairly simple seeing the focus is on the inside of my card.

I used the Merry Christmas Lorna Labels Add-ons for the sentiment and I added two more stocking borders to the top and bottom of my card.


Monday, December 23, 2024

Merry Christmas


Hi Crafty Friends,

I have one last poinsettia themed Christmas card to share with you today. This card uses the Pinkfresh Studio Poinsettia Frame Betterpress Plate, I shared another card using this plate on Friday which you can see if you scroll down to the next post.

This time round, I opted not to die cut the poinsettia frame out with the coordinating die, instead I used the last stencil to cover the frame up and add background colour. I love this idea and I hope we will see this in other stencil sets in the future.

I added the foiled Merry Christmas to the centre of the frame. This is a Waffle Flower foil plate and is the negative piece of foil which was foiled onto blue card. I had this leftover from a previous project and as it suited this card went with it.


I added the sentiment to the inside of the card. This is a Betterpress plate from Spellbinders.


Friday, December 20, 2024

Wishing You A Merry Christmas


Hi Crafty Friends,

It seems this year that I have a bit of a poinsettia theme going for many of my Christmas cards haha! It's just the way it happened and the few things I did buy this year were poinsettias themed.

I purchased this Pinkfresh Studio's Poinsettia Frame Betterpress plate a few months ago when I was looking for something else to add to an order so I could get free postage. Why pay for postage, when for the same price or less I can add something else to my order.

It arrived some time ago and then I decided I needed the coordinating die and stencils, which I finally received last week, so I pulled everything out to make some cards. For this one I kept to reds. Once I had betterpressed the poinsettias I used the coordinating stencils to add color and then the dies to cut them out. I layered this to a piece of pink gingham patterned paper. I then layered this panel onto a 5 x 7 card which I had added an embossed red card panel.

I added the sentiment to the centre portion of the card, before adding a few pearls randomly to the card.


I added the sentiment to the inside of the card, this is also a Betterpress plate, but from Spellbinders.


Monday, December 16, 2024

Snowman Christmas

Hi Crafty Friends,

Back in September, I pre ordered the Made To Surprise Advent Calendar for 2024, it has 12 papercrafting related gifts in it. My Advent Calendar finally arrived on the 30th November the day before it was due to start opening.

Day 2's gift was a die set which contained the dies to create this fun 3D style pop-up. I don't have much time right now, but I did want to make at least one card using it so I quickly die cut the pieces in white.

I added a diecut oval in blue which I added to the white oval portion of the card.


I still had a couple of images leftover from the rescued Christmas Crackers from last year, so I grabbed the snowman to add to the card. I did end up die cutting and adding the scarf to the snowman rather than the bow it had already. This made the image fit better on the oval.

I added the "Merry Christmas to the front of the white half oval portion, this is from the stamp set from Day 1. 

To finish the card, I added a few white glitter snowflakes randomly around.


The card folds flat so it can fit into a 5 x 7 envelope.


Friday, December 13, 2024

Presents Cracker Tower Card


Hi Crafty Friends,

Today I have three more Christmas cards to share with you using stamps & dies from Made to Surprise by Sam Calcott’s Festive Towers Collection.


All these cards are basically the same other than the colouring of one of the stacks of presents.

I used the Circle Cracker Tower die set for the base of my card. 


The stack of presents is from the Festive Fun stamp & die set. I used the Festive Towers Tartan Embossing Folder to add texture to the white centre panel.


I stamped the Merry Christmas sentiment onto white card and added it to the centre of the present stack.


I added a Christmas sentiment using the sentiment stamp set from the Festive Towers Collection.