Sunday, September 9, 2018

You Make Me A Happy Camper


Hi Crafty Friends,

Apparently today (9th August), is Teddy Bear Day so of course I just had to make a card featuring a bear of some type.

As I had just received Honey Bee Stamps Bill the Bear stamp set, I had to play with this stamp set.


As you can see I have created a pop-up card. For this I used the pop-up die which is included in Karen Burniston's Explosion Pop-up die set which is being released this month. I love the new pop-up die in this die set, and I am sure I will be using it a lot. To create the pop-up base I used white cardstock, die cutting the pop-up die slightly towards the left on the centre fold. 

I then used distress oxide inks to create my sky and grass areas. I also used the grass die from the Nature Edges die set at the back of the card.
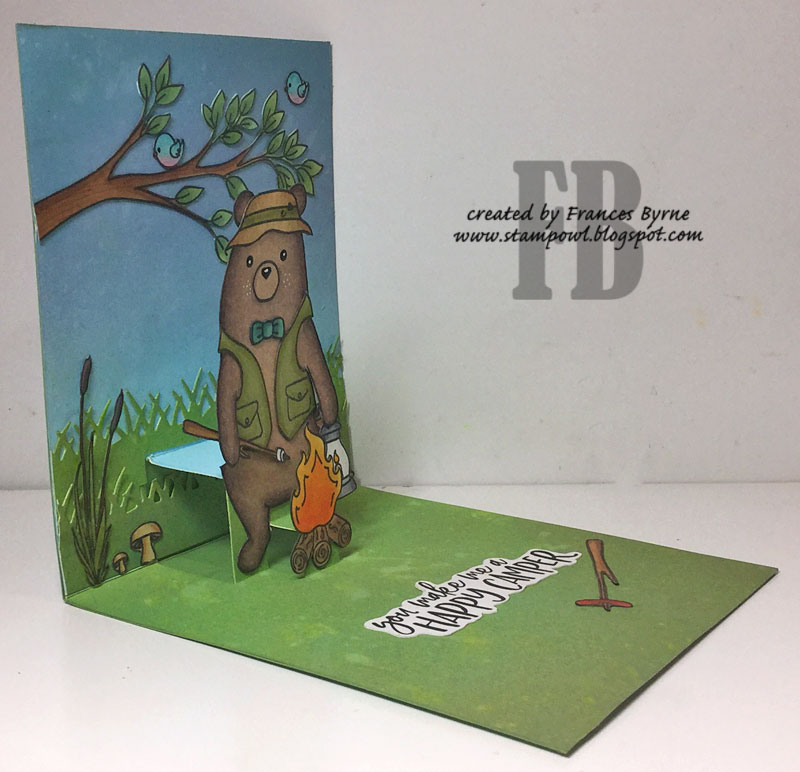

Here is another photo of my card taken at a different angle so you can see the pop-up a little better. This pop-up die is a 2 step pop-up so I could have the fire in front of the bear.


For the front of the card I used many of the same images I used on the inside.

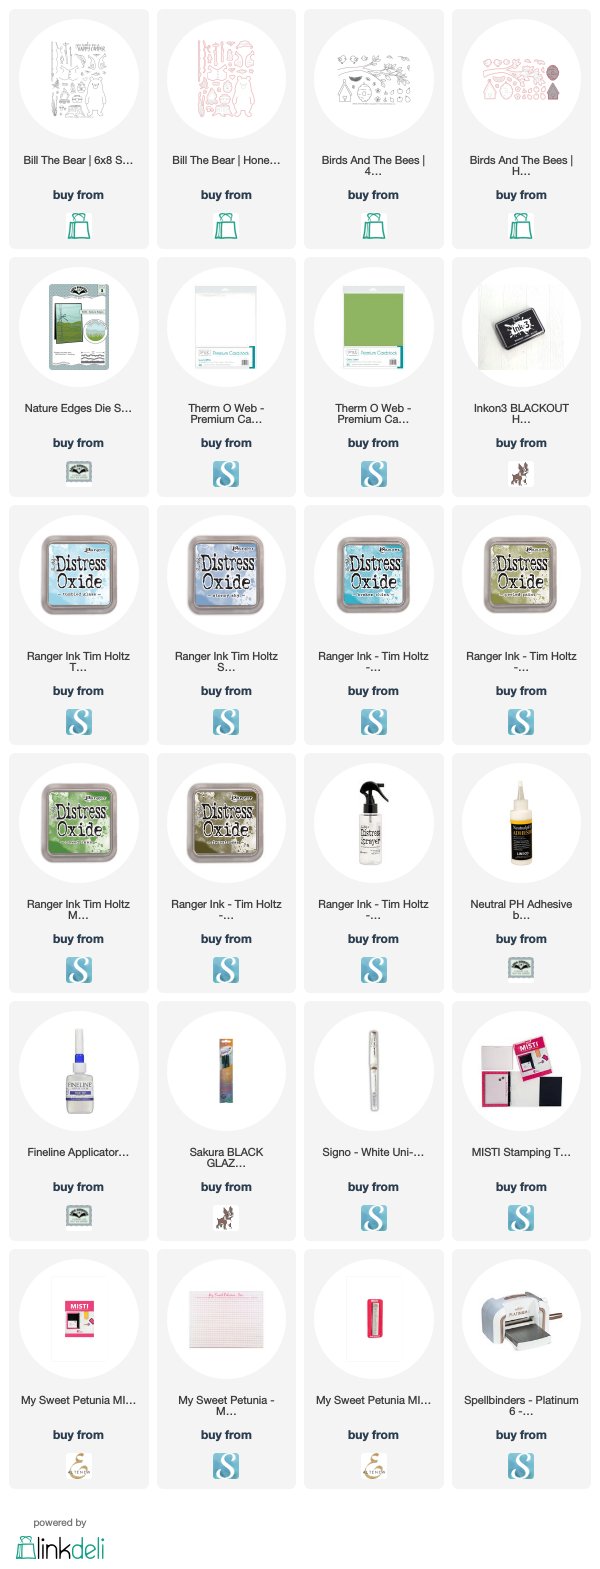
Supplies:
For your shopping convenience, all products are linked below. Compensated affiliate links are used where possible with no extra cost to you. This helps me to continue to share all the projects I include on my blog. Please note I only use and share products I love.


Saturday, September 8, 2018

Thank You For Your Kindness


Hi Crafty Friends,

It’s challenge time with the “Crazies” over on the Crazy 4 Challenges blog. Raquel Mason our challenge hostess for the month continues to issue the challenge.

 Apparently It’s Grandparents Day tomorrow – so our challenge is to make a card to show someone you love them or to show appreciation for what they do for you……basically a thank you.


For my card today, I pulled out the Avery Elle Blooming Clear Stamp set, which I have been wanting to use for a month or two now, it includes three sentiments that are thank you related so it was perfect for this challenge.

I stamped the floral frame onto watercolor paper and embossed the image using black ink and clear embossing powder. I then used my Zig Clean Color Real Brush Markers to color in the image.

For the card I used Our Daily Bread Designs Double Display Card and the coordinating Double Display Layers die set.


For the sentiment on the inside of the card I used Elizabeth Craft Designs Fitted Hexagons and Stitched Hexagons die sets and the sentiment from the Concord and 9th Lovely die set. I also added a few of the single flowers around the hexagon.

To finish off the card I added Nuvo Drops to the top and bottom striped panels.


Here is another look at my card, this time when it is closed ready to be placed in an envelope.

Don't forget to check out the rest of the “Crazies” cards over on the Crazy 4 Challenges blog and also their individual blogs for more details.


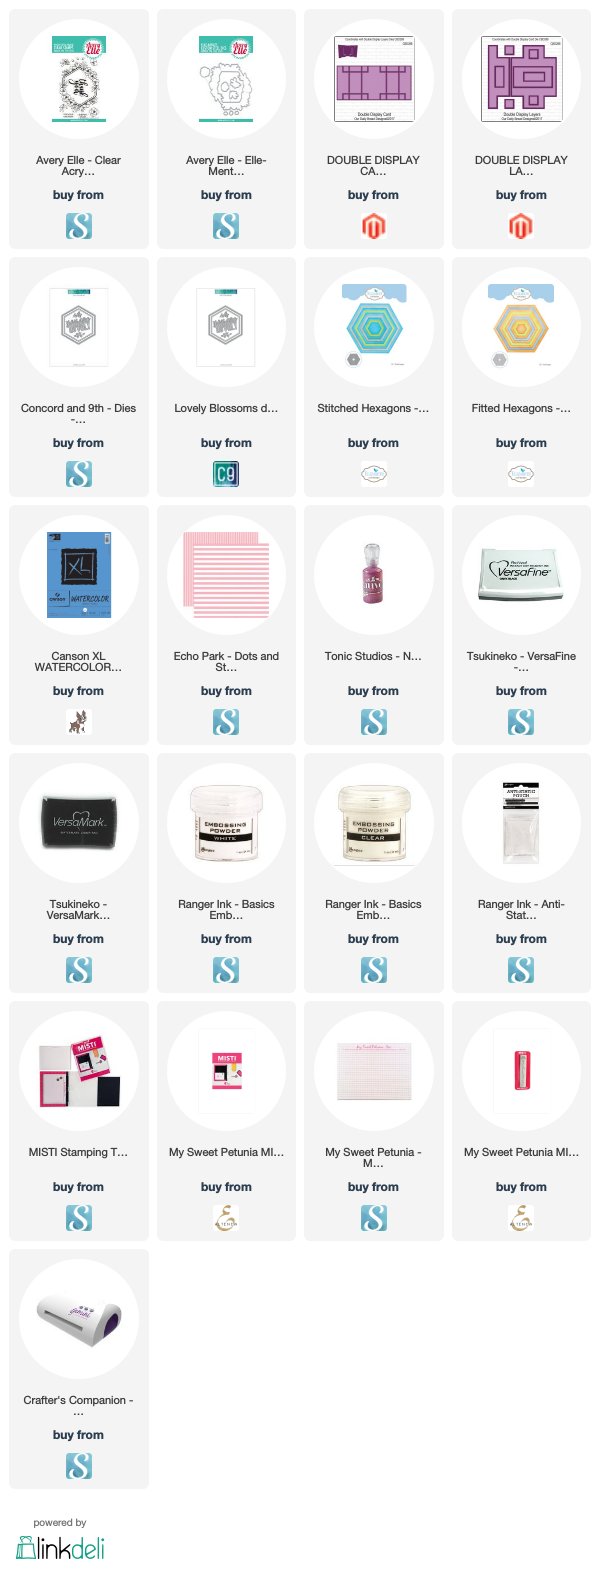
Supplies:
For your shopping convenience, all products are linked below. Compensated affiliate links are used where possible with no extra cost to you. This helps me to continue to share all the projects I include on my blog. Please note I only use and share products I love.


Friday, September 7, 2018

Merry Christmas Pop-up Scene


Hi Crafty Friends,

Today I am excited to share a card I created using the Adirondack Chair Pop-up die set. A lot of people have been asking Karen Burniston to re release this die set and this will be released this week.

I decided to replicate a card I made a few years back using this die set, but updating it with Karen's current dies.


I die cut the Adirondack Chair on the centre fold of my joined patterned papers I selected to create my card. I also die cut another chair from red cardstock and cut that out and adhered over the patterned paper chair.

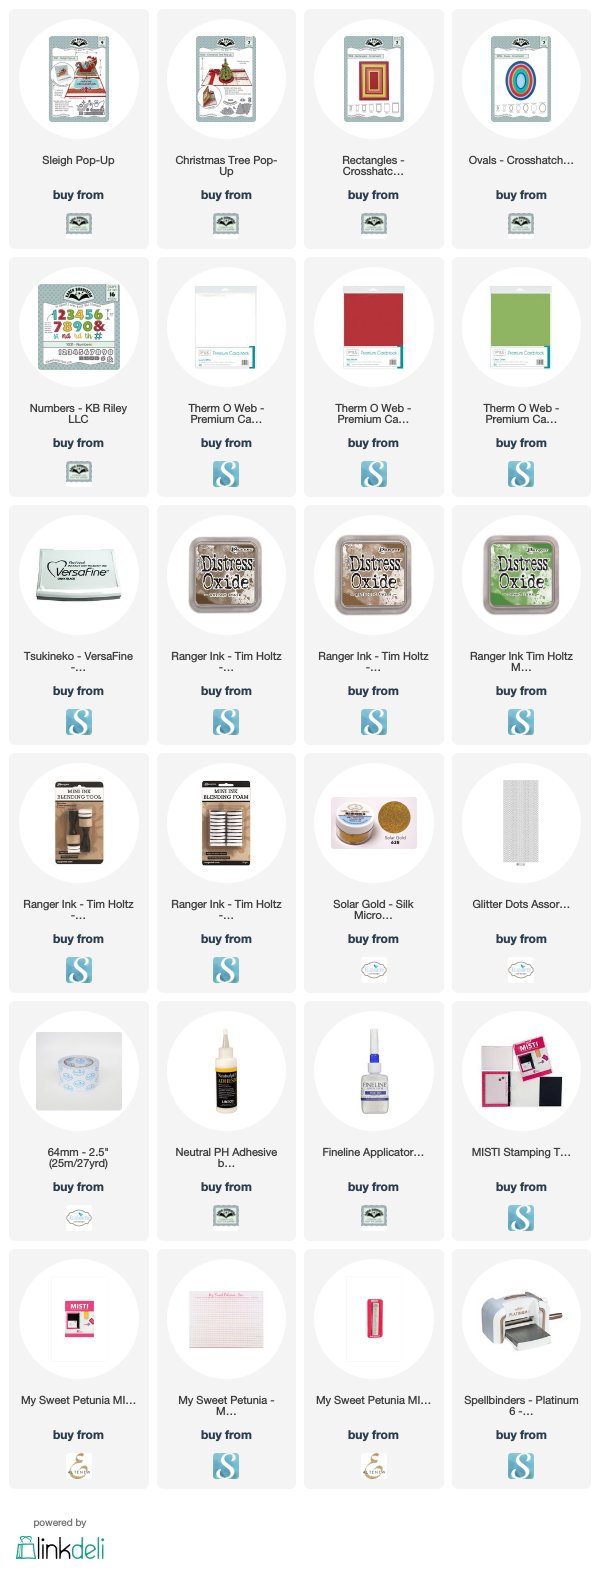
The Christmas Tree behind the chair was created using the Christmas Tree Pop-up, die cutting the larger tree (without the slit in the middle) twice and adhering one on top of the other to create a higher tree. I cut out the area of the tree where the arm in on the back of the card and added Glitter Dots Peel Off Stickers to the tree, making sure to cover any slits in the tree with the "ornaments". The star at the top of the tree is from the new Christmas Tree Pop Stand die set which is another die set being re-released.


The presents on the chair and also under the tree were created using the present die, ribbon and bow die sets from the Sleigh Pop-up die set.

I used the frame and rectangle dies from the Frame Pull Pop-up die set and the Numbers die set to create the number on the top left hand side of the card.


To finish off the card I added a sentiment which is layered using the oval dies from the Crosshatch Ovals die set.

I used a corner chomper to round the corners of the card.


For the front of the card, I used the largest rectangle from the Crosshatch Rectangles die set, rounding the corners to match the corners on the card base.

I added the Merry Christmas sentiment die which is layered using the Crosshatch Ovals die set.

Supplies:
For your shopping convenience, all products are linked below. Compensated affiliate links are used where possible with no extra cost to you. This helps me to continue to share all the projects I include on my blog. Please note I only use and share products I love.

Happy Owlidays Clear Stamp Set (sentiment) - Winnie & Walter
Twas the Night Before Christmas/Up on the Housetops Patterned Paper - Graphic 45


Thursday, September 6, 2018

Welcome to the North Pole


Hi Crafty Friends,

It's challenge time with my friends over on the CCEE Stampers challenge blog. Being a brand new month it is time to introduce our new challenge hostess which is Maryann Einam.

Our challenge this week is ......
Shadow box card - This card has been around for a lot of years but lately I have noticed some modern twists to it, so give us your version of a shadow box card.


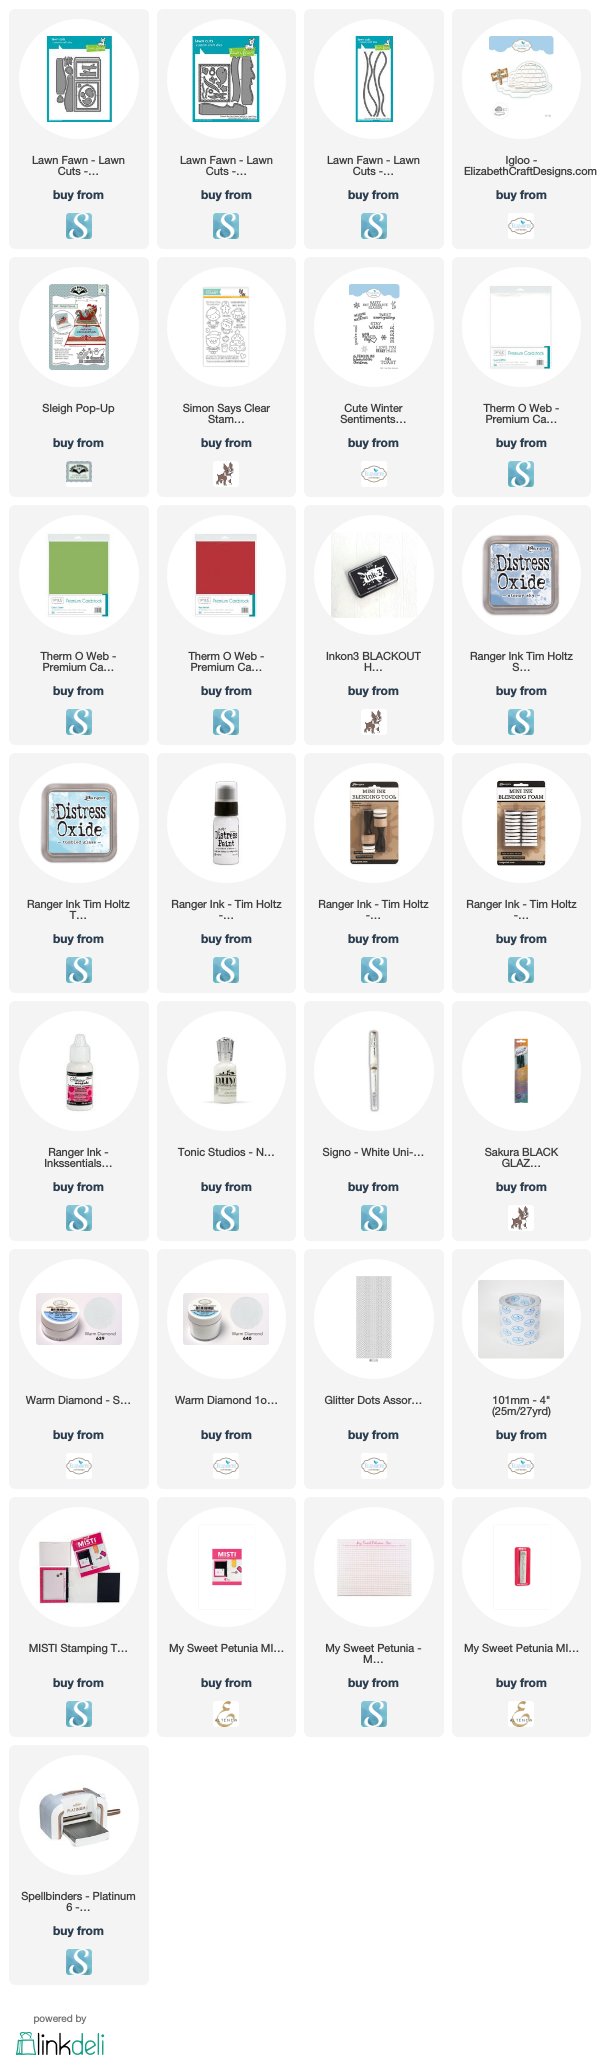
For my card today I decided to use the Lawn Fawn Shadow Box die set and create a similar card that I made in July where I placed the shadow box die cut into the card. You can see my previous card here

The finished size of my card is 14.8cm (5 7/8inches)  x 7cm (2 7/8inches), I was able to use Australian A4 card, however if you are in the USA you would probably need to use 12 inch cardstock.


To decorate my card I used a stamp set I purchased last year which came with Simon Says Stamps Card Kit, I knew when I purchased the the stamp set that it would arrive too close to Christmas to use so it was good to be able to get it out to create this card today.

For the back of the shadow box part of the card I created sky panels by using distress oxide inks and then splatting the panels with white paint to give the look of falling snow.


I added a sentiment panel with another Christmas tree to the left hand side of the shadow box.

On the right hand side of the card I added the "Welcome to The North Pole" which is from Elizabeth Craft Designs.


Here is an overhead view of my card so you can see a little more of inside of the shadow box.


For the front of the card, I created another sky background and added a snow border. I added Santa, a Christmas Tree and another welcome sign.


Don't forget to check out the CCEE Stampers blog (goes live 12 AM EST) to see the rest of the creations the CCEE Stampers created this week. You can also see more details of their creations on their individual blogs:

Vicky Gould
Kelly McKown-Santi


Supplies:

For your shopping convenience, all products are linked below. Compensated affiliate links are used where possible with no extra cost to you. This helps me to continue to share all the projects I include on my blog. Please note I only use and share products I love.


Wednesday, September 5, 2018

Peace, Love, Joy


Hi Crafty Friends,

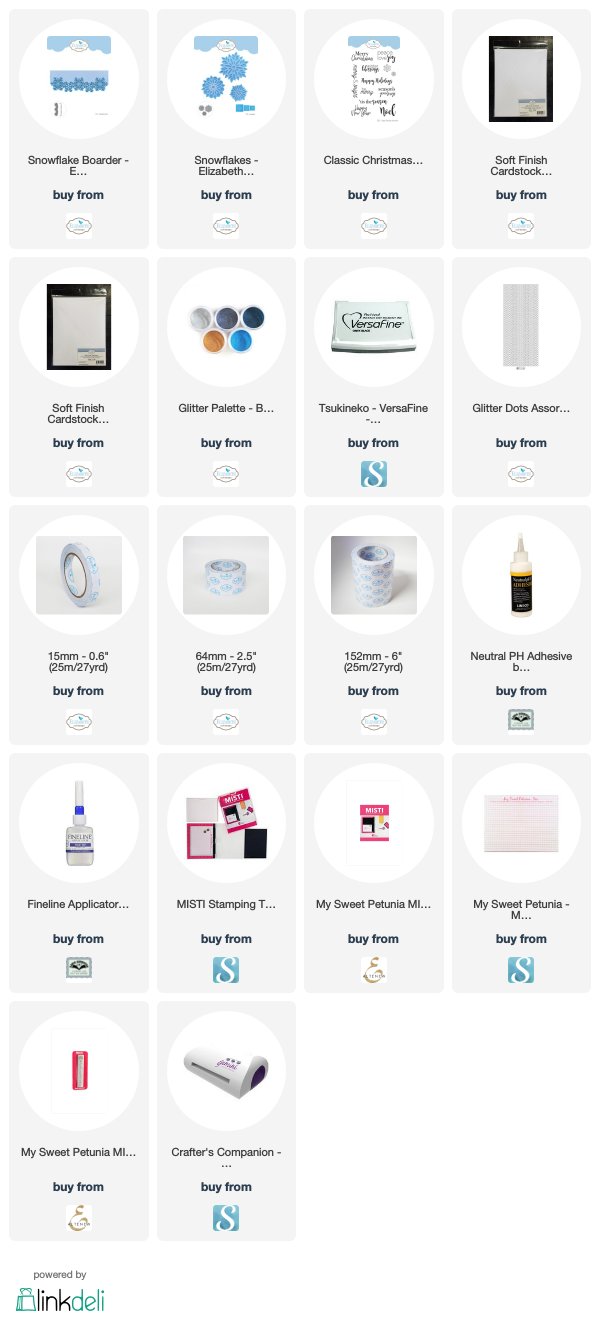
Today I am sharing a Clean & Simple Christmas card I created using a couple of the new Joset Designs dies which were released by Elizabeth Craft Designs last month. I just love this snowflake border and am sure I will be using it a lot between now and Christmas. 

For my card today I used the Snowflake Border to die cut the right side of a side folding card. I then cut a panel of cardstock 5 1/2 inches x 4 1/4 inches and covered it with Clear Double Sided Adhesive Tape. I covered the adhesive using Midnight Blue Silk Microfine Glitter which is included in the Beach Glitter Palette. I added Gold/Silver Peel Off Stickers to the centre of all of the snowflakes.

To the top left hand corner I added a snowflake which is from the Snowflakes die set, also adding the same glitter I used on the side of the card to the snowflake.

To finish the front of the card, I added the "Peace, Love, Joy" sentiment from the Classic Christmas Clear Stamp set.


For the inside of my card I added a strip of 15mm Clear Double Sided Adhesive Tape to the right edge of the card and covered it with the Midnight Blue Silk Microfine Glitter.

I stamped the "Season's Greetings" sentiment in the centre of the card. 

To finish the card I added another snowflake to the top left corner of the card.

Supplies:
For your shopping convenience, all products are linked below. Compensated affiliate links are used where possible with no extra cost to you. This helps me to continue to share all the projects I include on my blog. Please note I only use and share products I love.


Tuesday, September 4, 2018

September 2018 Karen Burniston Designer Challenge


Hi Crafty Friends,

Welcome to our September Karen Burniston Designer Challenge.

Check out Karen Burniston's blog on Wednesday (US Time) when you will be able to see what all the designers created for the challenge this month, plus Karen will have an amazing video tutorial to share with us all.

Our challenge theme this month is .... "HOUSE" - use the new House Pivot Panels OR the House & Fence for a card of any theme.


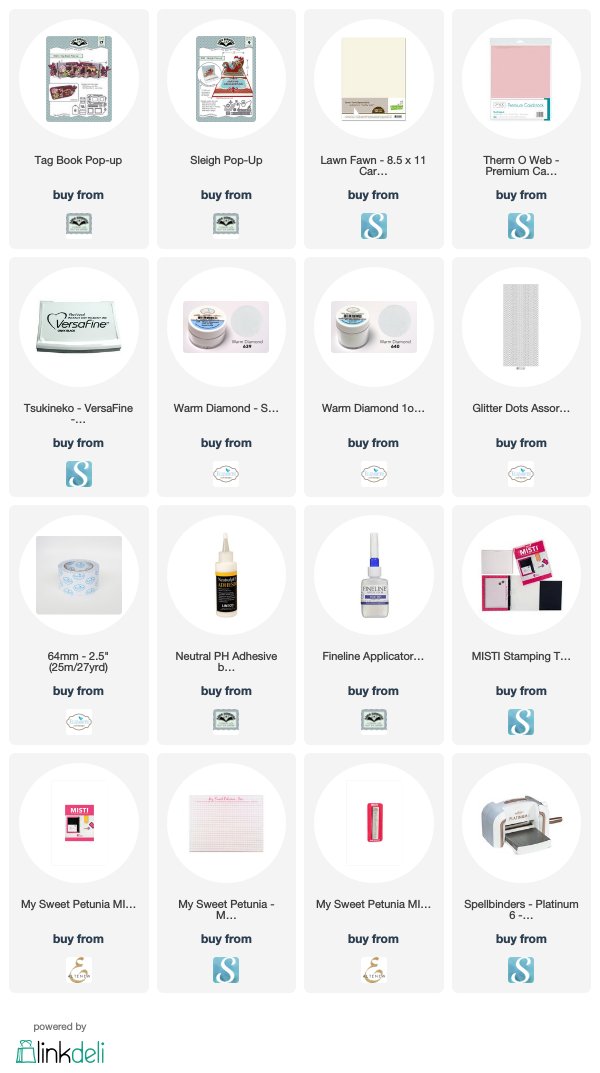
For my card today I decided to use the new House Pivot Panels die set. This die set can be used inside a card, in conjunction with the Twist Panel Pop-up die set or as I have for my card the Tag Book Pop-up die set.

The colors used on my card were taken from the colors in my designer paper which I used on the two tags that form my tag book and also on the top and bottom of the House Pivot Panels die cut piece.

I added glitter to each roof and chimney top, I also added a Glitter Dots Peel Off Sticker to the doors for the door knob.

I added two stamped sentiments at the bottom of each side of my tag book.


For the front of my tag book I used the same designer paper I used on the inside of the tag book. I die cut the "Merry Christmas" sentiment three times from pink cardstock and layered those together to add some depth to the sentiment and adhered that to the centre of the front.

I die cut three snowflakes which are from the Sleigh Pop-up die set from purple cardstock and adhered them to the tag book front.

Don't forget to visit Karen Burniston's blog on Wednesday when you will be able to see what all the designers created for the challenge this month.


Supplies:
For your shopping convenience, all products are linked below. Compensated affiliate links are used where possible with no extra cost to you. This helps me to continue to share all the projects I include on my blog. Please note I only use and share products I love.

Candy Cane Lane Sleigh Ride Designer Paper - Bo Bunny
Christmas Cottage Clear Stamp Set - Waltzing Mouse Stamps
Sheer Ribbon


Monday, September 3, 2018

Enjoy Every Moment City Scene


Hi Crafty Friends,

Apparently today is Skyscraper day, so what better excuse to pull out my Altenew City Scene Stencil and create a card. 

As you can see I have kept my card monochromatic using using inks from Altenew's Sweet Dreams collection. 

For the sentiment I used the Enjoy die from Honey Bee Stamps and then added the sentiment from the coordinating stamp set.

To finish off the card I added some blue crystals.


For the inside of the card I repeating the City Scene at the base of the card, making it a little shorter than on the front. I then added a sentiment from Avery Elle's Sentimental Too stamp set.

Supplies:
For your shopping convenience, all products are linked below. Compensated affiliate links are used where possible with no extra cost to you. This helps me to continue to share all the projects I include on my blog. Please note I only use and share products I love.

Teal Cardstock
Blue Crystals


Sunday, September 2, 2018

Christmas is Love with all the Trimmings


Hi Crafty Friends,

Today I am  sharing another sneak peek of some of the new dies being released by Karen Burniston next month. Many of you will be excited to see the return of the Christmas Tree Pop Stand die set, I know I am!


I used the Christmas Tree Pop Stand die set for the centre of my card, it was fun to be able to create with this die set again. I have a few cards on my blog from when this was previously available which you can see here

I added ovals to both sides of my card using the Crosshatch Ovals die set. One I left blank so that this can be used for a personal greeting. On the other I added the new Merry Christmas sentiment.


Here is another view of my card so you can see both sides of my card a little better.


And finally the front of the card. As you can see I added two more Christmas trees using the negative part which comes out when you die cut the largest tree. I also added a sentiment which is stamped onto another oval from the Crosshatch Ovals die set.

To decorate all my trees I added Red/Gold Glitter Dots Peel Off Stickers.

The new September Karen Burniston / KB Riley LLC release is now available for pre order and will  begin shipping 10th September. For your convenience I have included links to all the new release products below.

Supplies:
For your shopping convenience, all products are linked below. Compensated affiliate links are used where possible with no extra cost to you. This helps me to continue to share all the projects I include on my blog. Please note I only use and share products I love.

Traditional Sentiments Clear Stamp Set - Kaisercraft


Saturday, September 1, 2018

Saddle Up Frame Pull Pop-up


Hi Crafty Friends,

It’s challenge time with the “Crazies” over on the Crazy 4 Challenges blog. Being the beginning of a new month it is time to introduce our new challenge hostess which is Raquel Mason.

For our challenge this week Raquel has requested that we .... Make a card using any technique – can be any technique that you always wanted to try, an oldie but a goodie or even a technique that you saw on Pinterest.

I had planned on making a card using alcohol inks or similar, but as I had this card made and needed to post it I figured interactive cards we also a technique so went with that.


For my card I have used the new Karen Burniston Frame Pull Pop-up die set which is being released this month. This is such a fun die set and I am sure I will be using it a lot. I paired it up this time round with a stamp set from MFT Stamps.


Here is a quick video to see my card in action.


When you pull the tab with the arrow, it reveals the inside pop-up. 


For this style of card, you have two options ... whether to adhere your panel to a card front or have it postcard style. As I had already stamped, colored and cut out so many images some not used on the front of the card, I decided to adhere my front panel to a top folding card and added a sentiment and the remaining images.

Don't forget to check out the rest of the “Crazies” cards over on the Crazy 4 Challenges blog and also their individual blogs for more details.


The Karen Burniston / KB Riley LLC September release is now available for pre-order, shipping begins on 10th September. For your convenience I have included the links to all the new products here.

Supplies:
For your shopping convenience, all products are linked below. Compensated affiliate links are used where possible with no extra cost to you. This helps me to continue to share all the projects I include on my blog. Please note I only use and share products I love.


Western Star Border Duo (retired) - MFT Stamps
Honky Tonk 8 x 8 Paper Pad - Cosmo Cricket