Tuesday, July 31, 2018

Rebus - Names Starting with the Letter "N"


Hi Crafty Friends,

It's time to share another rebus puzzle swap with you. This month the theme is Names starting with the letter "N". 

If you would like to solve my rebus puzzle, why not post a comment on my blog post with your answers. I will let you know what the correct answers are next time I post a rebus card here.

How did you go solving my June Rebus which was"Movies Starring Doris Day".
 Here are the correct answers so you can check how you did.

  1. Tea for Two
  2. Julie
  3. On Moonlight Bay
  4. Jumbo
  5. Lucky Me
  6. Do Not Disturb
  7. Romance on the high seas
  8. Love Me or Leave Me
  9. Starlift
  10. Caprice


You can find all my past Rebus Cards here.


Monday, July 30, 2018

Ditsy Print Birthday


Hi Crafty Friends,

Today I am sharing a birthday card. Except for the butterfly, this is almost a one layer card with the pink frame inlaid into the card.

The flowers from the Altenew Ditsy Print stamp set was stamped all around the edge of the card. This is a layering style of stamp, so all the coloring of this image was done using the layering stamps. 

Once stamped I used the thin frame from the Simon Says Stamp Frames die set to die cut the thin pink frame which is inlaid between the edge and centre panels.

I used an Uniquely Creatives sentiment stamp set for the birthday sentiment.


I added Nuvo Drops to the centres of the flowers. And to finish off the card I added a butterfly to the top right hand side above the sentiment.


I added the frame that I die cut from the floral panel onto the inside of the card with the pink centre panel. I also stamped the floral image again and die cut it to the top left hand corner.

Supplies:
For your shopping convenience, all products are linked below. Compensated affiliate links are used where possible with no extra cost to you. This helps me to continue to share all the projects I include on my blog. Please note I only use and share products I love.

Sweet Sentiment Builder - Uniquely Creative


Sunday, July 29, 2018

Little Princess Heart Easel Card


Hi Crafty Friends,

My card today is for a challenge I do with a couple of friends of mine. Each month we challenge each other to create something using supplies we all own.

For our challenge this month's theme is Easel Cards.

For my card I decided to make a Heart Easel Card using Crafter Companion's Heart Easel Card die set.


To decorate my card I used stamps from Your Next Stamp's Little Darling Frog Princess Clear Stamp set. 

To help hold the easel up when it was open, I die cut the heart from the Heart Easel die set and attached it to the base of the card. I also added a sentiment strip over the top of the heart.

At the bottom of the heart base I added a floral flourish which was cut from the decorative die cut layer included in the Heart Easel die set.


Here is a look at my card when it is closed ready to be placed in an envelope.

I added Nuvo drops randomly around the card to finish it off.

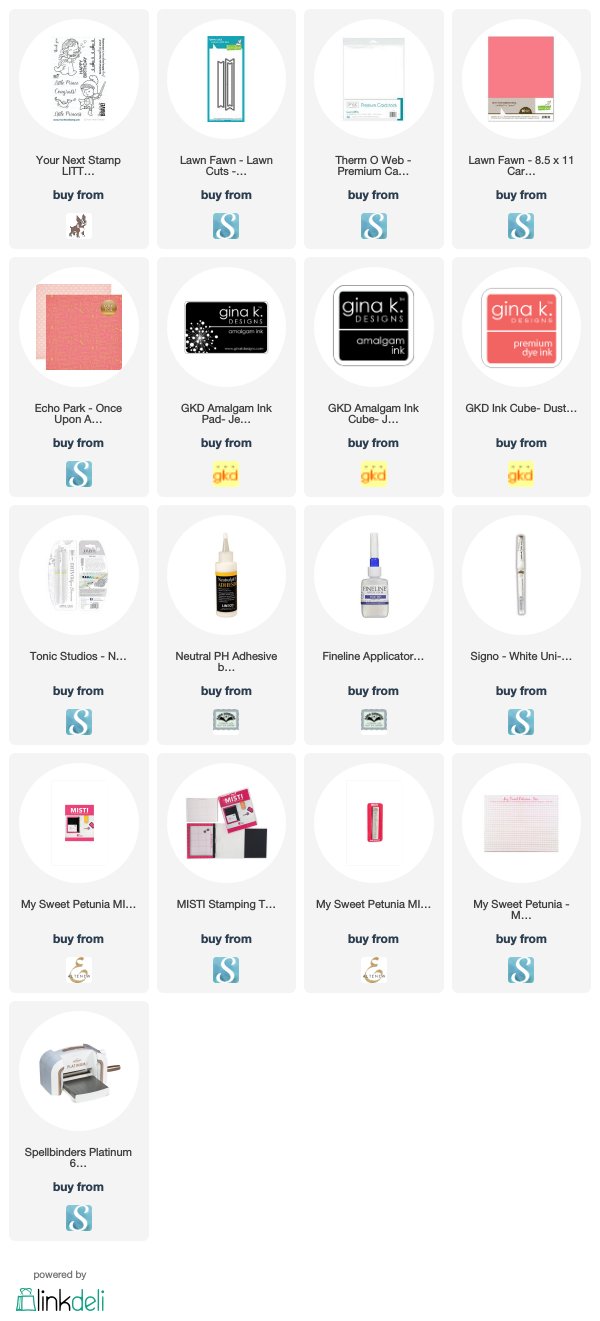
Supplies:
For your shopping convenience, all products are linked below. Compensated affiliate links are used where possible with no extra cost to you. This helps me to continue to share all the projects I include on my blog. Please note I only use and share products I love.

Heart Easel Card Die Set - Crafter's Companion


Saturday, July 28, 2018

I Am Here For You


Hi Crafty Friends,

It’s challenge time with the “Crazies” over on the Crazy 4 Challenges blog. Rebecca Ednie our challenge hostess for the month finishes off the month with one last challenge.

Our challenge this week is .....
Make a Sympathy or Support/hope card. 

I decided to create Support/hope card, but it could easily be adjusted to be a sympathy card.


For the front of my card I used the Altenew In My Thoughts Clear Stamp set which was recently released. This is a layering stamp, I added a sentiment which was also included in the stamp set.

I used Karen Burniston's Crosshatch Rectangles for layering the card.


For the inside of the card I used Karen Burniston's Upsy Daisy Pop-up die set to add my sentiments. 

I added "Thinking" & "Of You" to the two outer panels and "hope" to the centre panel.


Here is another photo of the inside of the card taken at a different angle so you can see the pop up a little better.

Don't forget to check out the rest of the “Crazies” cards over on the Crazy 4 Challenges blog and also their individual blogs for more details.


Supplies:
For your shopping convenience, all products are linked below. Compensated affiliate links are used where possible with no extra cost to you. This helps me to continue to share all the projects I include on my blog. Please note I only use and share products I love.


Friday, July 27, 2018

A Little Rain Shaker Card


Hi Crafty Friends,

It's my turn to post a tutorial on the Elizabeth Craft Designs blog. Today I am sharing a shaker card using the new Frame It / Stitched Ovals die set and the cute April Showers stamp set.


Here is how I created my card:

Step 1 - 
  • Place the third largest rectangle from the Dashing Rectangles die set onto a piece of yellow cardstock.  
  • Place the smallest oval from the Frame It / Stitched Ovals die set in the centre of the frame.
  •  Secure both dies with removal tape and run through die cutting machine.

Step 2 -

  • Using the circle stamp from the April Showers Clear Stamp set, stamp the image all over the framed cardstock panel using dark yellow ink.
  • Sponge the outer and inner frame with the same ink.
Step 3 - 
  • Using the same rectangle die used in step 1, die cut another rectangle using White Soft Finish Cardstock.
  • Place the white rectangle under the yellow rectangle frame, and stamp the sentiment from the April Showers Clear Stamp set onto the white cardstock through the yellow frame.
  • Stamp the cloud/sun over the word "sunshine" using yellow ink.

Step 4 - 
  • Using the same rectangle die, die cut two rectangles from acetate.
  • Adhere one of the acetate rectangles to the black of the yellow rectangle panel.
  • Adhere foam tape to the back of the rectangle panel, ensuring that there is foam tape close to the oval opening. (Note: remove any excess adhesive from the sides of the foam tape using an anti static powder tool and also to the acetate to prevent the shaker items not to stick to these areas.
  • Remove protective backing from the foam tape and adhere the second acetate rectangle over the panel.
Step 5 - 
  • Using the second largest rectangle from the Dashing Rectangles die set, die cut a rectangle from orange cardstock.
  • Adhere shaker panel to the centre of the orange rectangle.
Step 6 - 
  • Cut a piece of White Soft Finish Cardstock so it measures 5 1/2 inches x 8 1/2 inches. Score at 4 1/4 inches and fold to create a top folding card.
  • Adhere shaker panel to card base.

Step 7 - 
  • Using the April Showers Clear Stamp set, stamp the girl, raincoat; boots; duck and three ducklings onto White Soft Finish Cardstock using black ink.
  • Color images and die cut using coordinating dies.

  • Adhere the girl,  duck and ducklings to the front of the card using foam tape for the larger images and liquid adhesive for the ducklings.

Step 8 - 
  • Adhere the raincoat and boots to the inside of card referring to photo above for placement.
  • Using a sentiment from the Banner Sentiments Clear Stamp set, stamp the sentiment to centre of card using black ink.


Thank you for stopping by, I hope you enjoyed my tutorial.


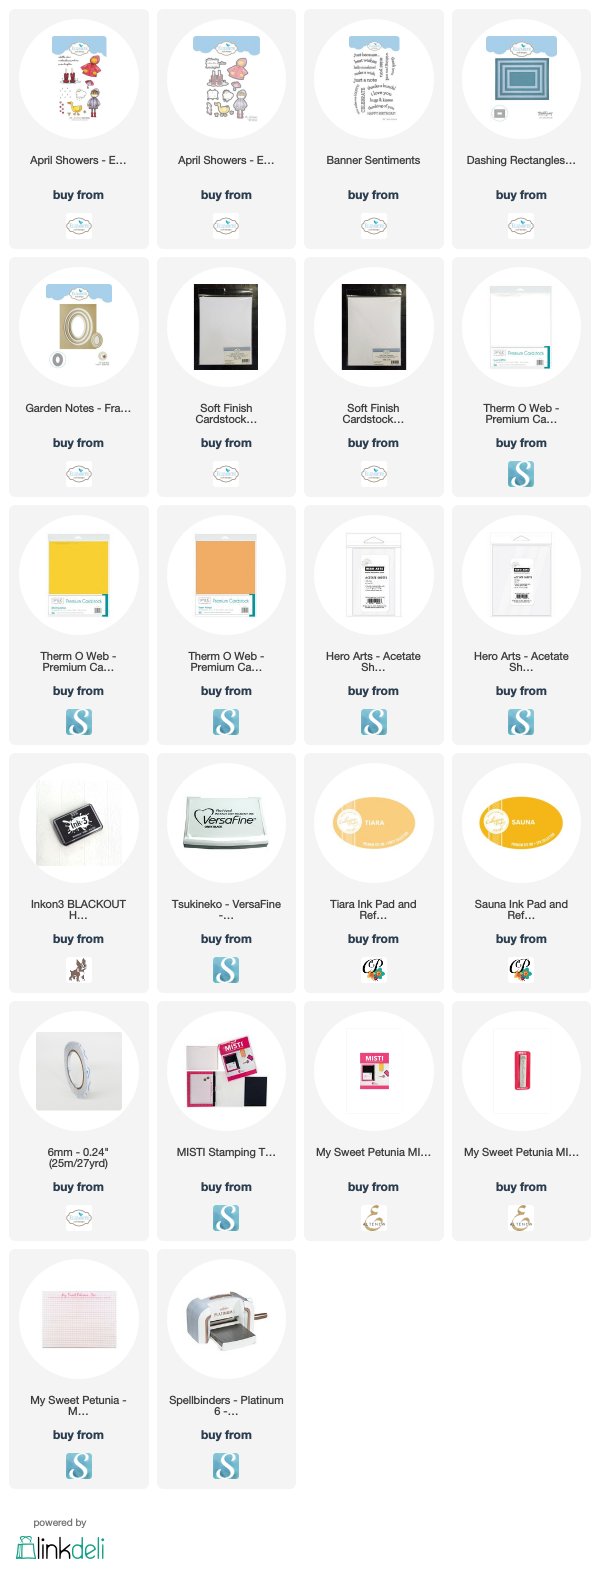
Supplies:
Elizabeth Craft Designs:

For your shopping convenience, all products are linked below. Compensated affiliate links are used where possible with no extra cost to you. This helps me to continue to share all the projects I include on my blog. Please note I only use and share products I love.




Thursday, July 26, 2018

Cheers! Let's Have A Drink


Hi Crafty Friends,

It's challenge time with my friends over on the CCEE Stampers challenge blog. Lynn McAuley our challenge hostess for the month, finishes off the month with one last challenge.

Our challenge this week is ..... National Refreshment Day 
One way to beat the heat of summer is with a cold refreshment. Do you cool down with a glass of lemonade, a rainbow snow cone, an ice cream cone, a cold bottle of beer? Whatever it may be, share with the CCEE Stampers your favourite cool-down treat in your design this week.

For my card today I pulled out my new Summer Drink die set from Elizabeth Craft Designs.


As you can see I have created an Easel Card using Crafter's Companion Swirl Easel die set. 

I added a sentiment from the Beach Sentiments Clear stamp set to the top of my card which I die cut using a speech bubble die.

I added the "Cheers" sentiment to the base of the card which allows the main panel of the Easel card to stand up.


Here is a look at my card when it is closed ready to be placed in an envelope.

Don't forget to check out the CCEE Stampers blog (goes live 12 AM EST) to see the rest of the creations the CCEE Stampers created this week. You can also see more details of their creations on their individual blogs:


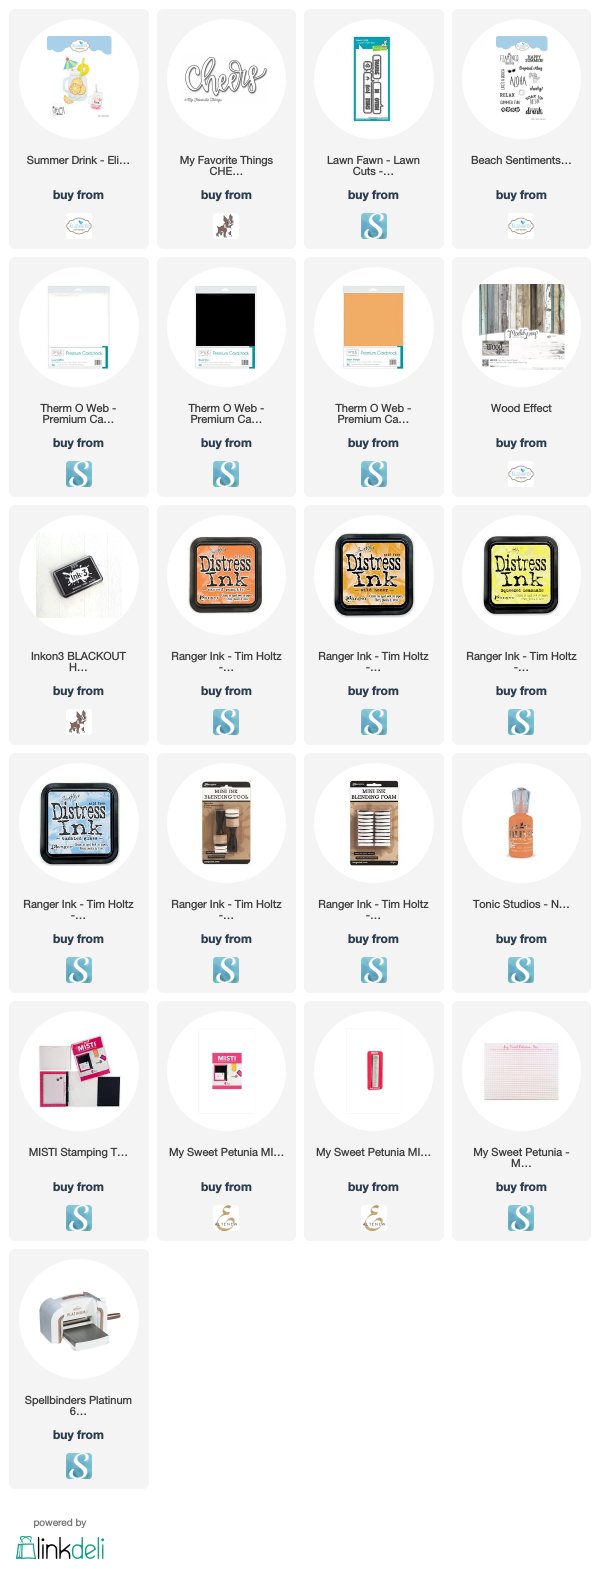
Supplies:
For your shopping convenience, all products are linked below. Compensated affiliate links are used where possible with no extra cost to you. This helps me to continue to share all the projects I include on my blog. Please note I only use and share products I love.
Swirl Easel Card die set - Crafter's Companion
Perfectly Plaid - Fall Paper Pad - Lawn Fawn


Wednesday, July 25, 2018

Birthday Roses Pop-up


Hi Crafty Friends,

Today I have another card using stamps I received from Darkroom Door for our Karen Burniston/Darkroom Door collaboration.


For my card today I used  Darkroom Door's Roses Stamp set. I stamped the image using my MISTI onto white cardstock using Abandoned Coral Distress Oxide ink. I then used a paint brush to add color to the white areas of the image picking up the color from the stamped image. Once the card was dry, I replaced the card into my MISTI and re-stamped over the image using the same ink.

I also stamped a border of the same roses around the card base.

The sentiment on the front is Karen Burniston's Happy Birthday die set.

To finish off the front of the card I added Nuvo Drops to the top left and bottom right hand corners of the card.


 To create the inside pop-up I used the Katherine Label Pop-up die set.

Along the top and bottom edges of the card I added a rose panel using the same rose stamp I used on the front of the card. I used the wavy border from the Nature Edges die set to die cut the top edge of the rose panel and also die cut another panel from Guava cardstock to layer over the top of the card.


Here is a side of view of the inside of my card so you can see the pop-up portion of the card. 

The "Celebrate" sentiment comes from the Word Set 1 - Greetings die set.

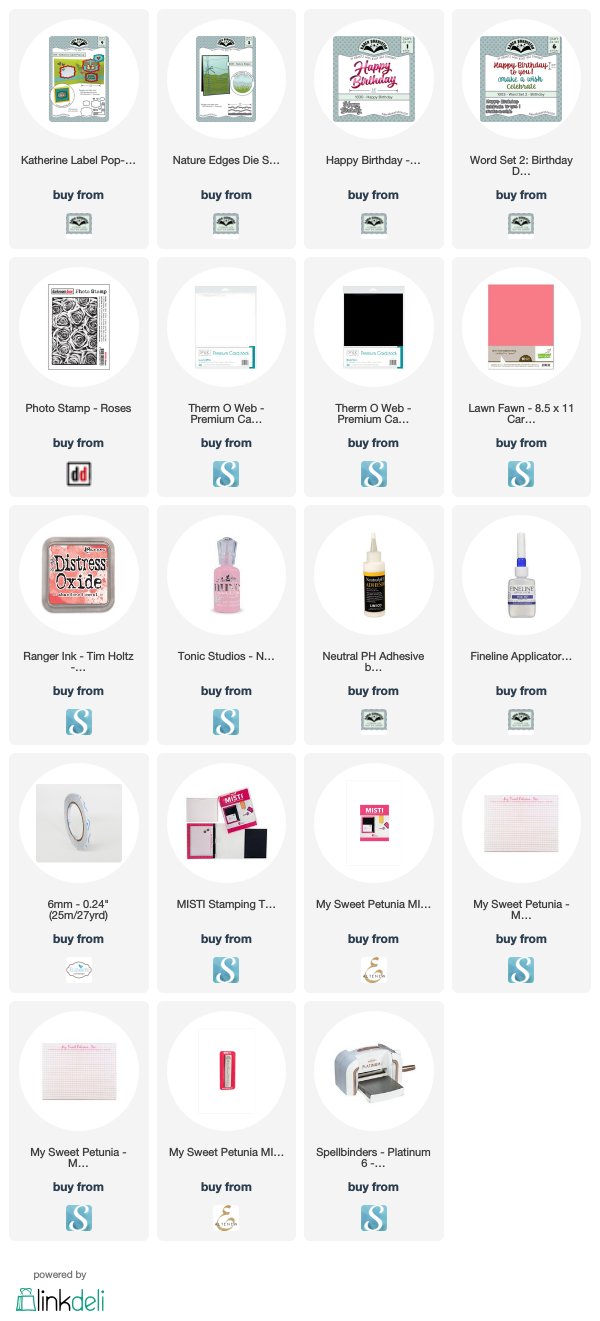
Supplies:
For your shopping convenience, all products are linked below. Compensated affiliate links are used where possible with no extra cost to you. This helps me to continue to share all the projects I include on my blog. Please note I only use and share products I love.


Tuesday, July 24, 2018

Karen Burniston / Darkroom Door Blog Hop


Hi Crafty Friends,

Welcome to my blog. Today the Karen Burniston Design Team is collaborating with Darkroom Door, they have lots of fun stamps and stencils which work well with Karen's die sets. Today the Karen Burniston & Darkroom Door Design Teams have come together to hold a blog hop showcasing products from both companies.


The hop started on the Darkroom Door Blog, so if you just happened to hop onto my blog you may want to head over there now so you can start at the beginning of the hop. You don't want to miss anything and there is lots to see!

Both Darkroom Door and Karen Burniston will be giving away prize packs, with winners randomly chosen from ALL of the blog hop comments received by Sunday, July 29th, 2018. Lots of chances to win some goodies, so just leave a comment on this post or any other blog hop post to enter!
I have two cards to share with you today.


For my first card, I used Darkroom Door's Coffee Stamp set to create my card. As you can see I  have created a pop-up card using Karen Burniston's Cupcake Pop-up die set.

For the base of the card  used patterned paper and then stamped the coffee stain and coffee beans randomly over the cardstock and sponged with Vintage Photo Distress Oxide ink.

I stamped the coffee cup and saucer three times onto patterned papers and cut them out. Cutting one complete with the cup and saucer and the other two just the cups. I also stamped three more of the cups using cardstock which I adhered the patterned paper cups to for strength. I cut a slit into the cups that the other cup is going to be placed into and adhered them to them. 

The cups were then adhered to the cupcake portion of the pop-up die cut base.


For the sentiment on the base of the card I used the label dies from the Katherine Label Pop-up die set and added the "Spill the Beans!" sentiment from the Coffee Stamp set which was stamped on the fishtail flag from the Word Set 5 - Royalty die set. The coffee beans are from the Coffee Cup Pop-up die set.

The Hello sentiment die cut is from the Word Set 6 - Summer die set.


For the front of the card I created the background as I did the inside of the card.

I added a sentiment also from the Coffee Stamp set from Darkroom Door, stamping this to the large label from the Gift Card Label die set.


For my second card today, I have created a Teacher Thank You can to use for my grand children's teachers at the end of the year. The Crayon stamp from Darkroom Door is perfect for this.


To create my card I used Karen Burniston's Circle Charm Pop-Up die set. To create the circle frame around the opening of my card I used the Crosshatch Circles die set, I love this fun die set.

The "Thank you" sentiment comes from the Word Set 1 - Greetings die set.


 The "# 1" comes from the Numbers die set and the "Teacher" sentiment is a combo of varies sentiments from Word Set 2 - Birthday; Word Set 3 - Holiday & Word Set 6 - Summer.


Here is one last photo of my card taken from overhead so you can see the pop-up portion of this card a little better.

Well that is about it from me today, thank you for dropping by. The next stop on the hop is Godelieve Tijskens. 

Here's the order for the blog hop: 


Supplies:
For your shopping convenience, all products are linked below. Compensated affiliate links are used where possible with no extra cost to you. This helps me to continue to share all the projects I include on my blog. Please note I only use and share products I love.