Wednesday, May 8, 2019

Birthday Hogs & Kisses


Hi Crafty Friends,

Today I am sharing a pop-up card I created recently.


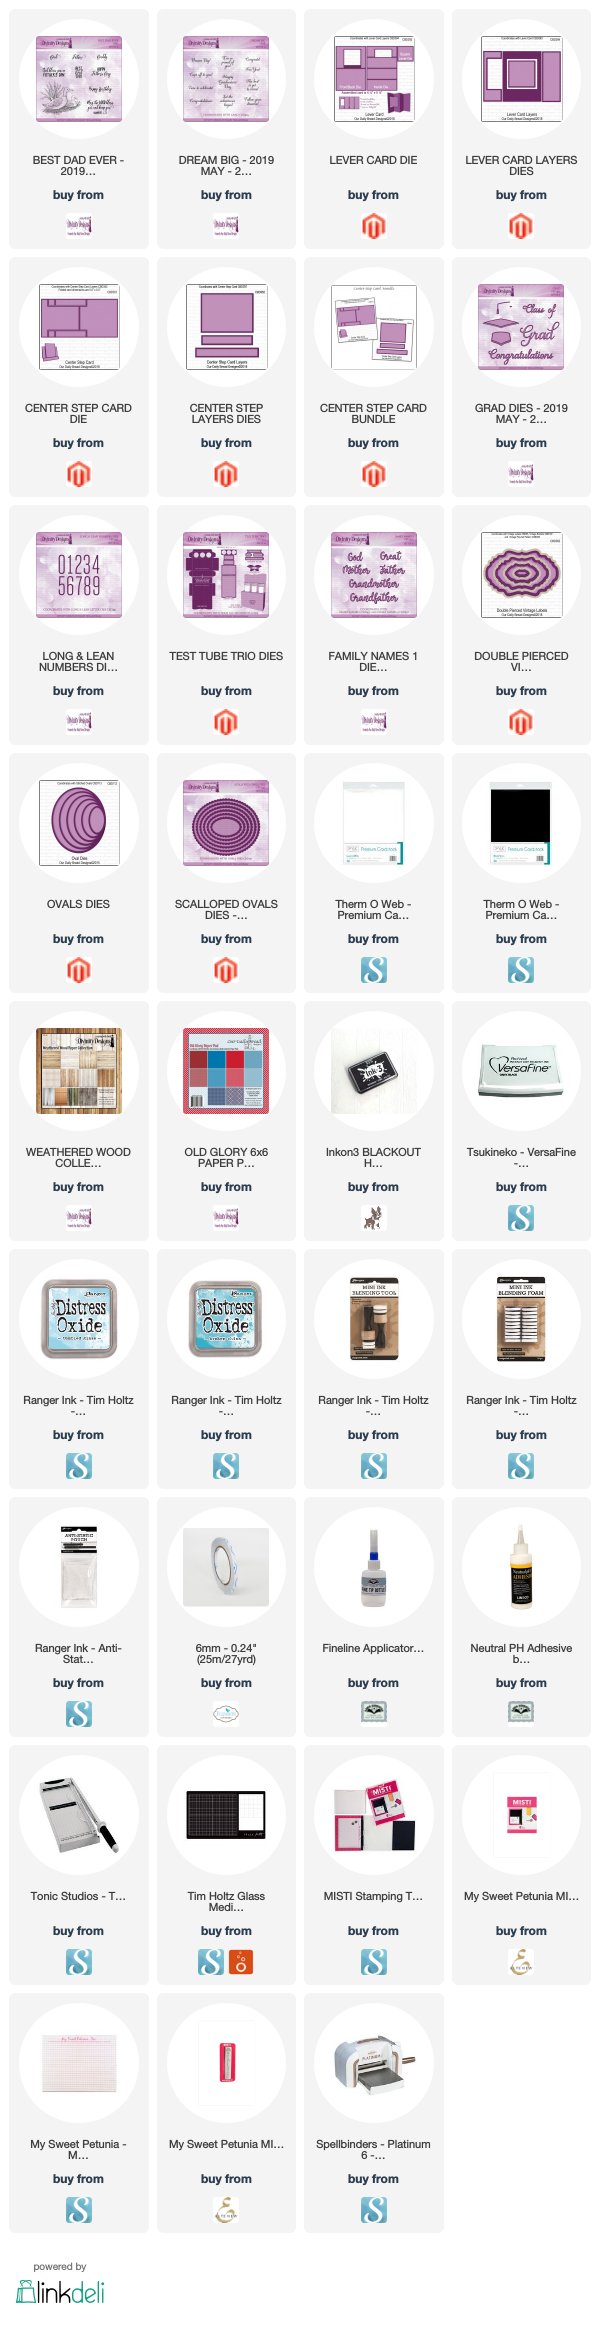
For the front of my card I used MFT Stamps Little Piggy die set. This was layered to patterned papers to look like a farm scene. The grass area was die cut using the grass border from Karen Burniston's Natures Edges die set.

The fence is an older die from my stash.


To create my card I used Karen Burniston's Katherine Label Pop-up die set for the pop-up portion of the card. I adhered blue designer paper to the top portion of my card and green to the bottom to resemble sky & grass, this also copies the front of the card. I used the grass border from the Nature Edges die set for the grass along the bottom of the card.
I added a fence to the base of the card and then added the cute Little Piggy which is a new die from MFT Stamps.
I added the sentiment to the label portion of the pop-up which is from DRS Designs.


Here is a side view of the inside of the card so you can see the pop-up portion of the card a little easier.

Supplies:
For your shopping convenience, all products are linked below. Compensated affiliate links are used where possible with no extra cost to you. This helps me to continue to share all the projects I include on my blog. Please note I only use and share products I love.


Tuesday, May 7, 2019

May 2019 Karen Burniston Designer Challenge


Hi Crafty Friends!!!

Welcome to our May Karen Burniston Designer Challenge.

Check out Karen Burniston's blog on Wednesday (US Time) when you will be able to see what all the designers created for the challenge this month, plus Karen will have an amazing video tutorial to share with us all.

Our challenge theme this month is .... "CONGRATS" - this can be graduation or general congrats - your choice! 


I am always in need of baby cards, so that is what I decided to create for today's challenge. 

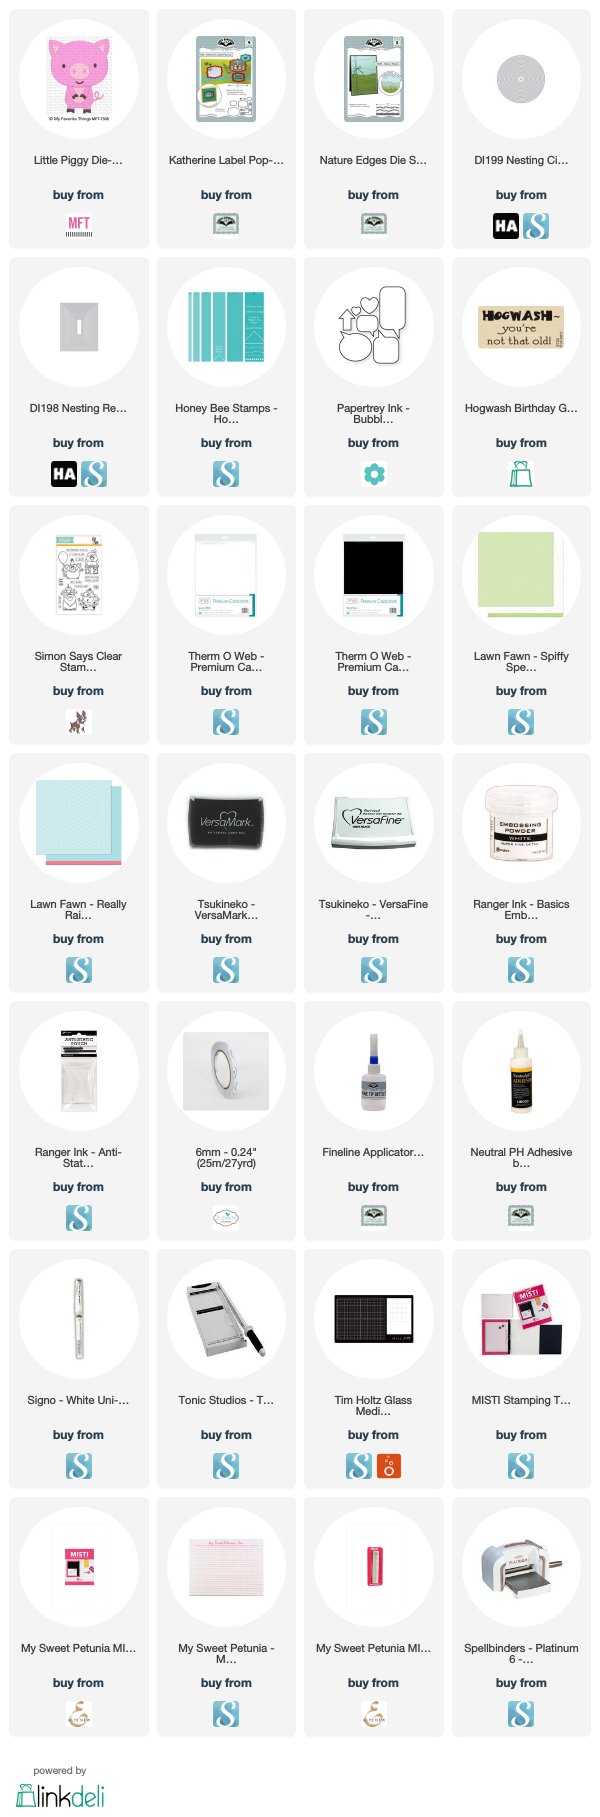
To create my card I pulled out the Frame Pull Pop-up die set. I have been using this a lot recently to create Waterfall cards, but this time around I used it as it was designed to be used. To decorate my card I used the Baby Charms, Crosshatch Ovals and the Congrats from the Word Set 8 - Congrats die set.


When you "pull" the pull tab at the bottom of the card, the card opens up to reveal a cute little pop-up card inside. Here I added the BABY blocks and ducks from the Baby Charms die set. I used the Crosshatch Ovals for both of the ovals on the card, one to hand write a personal message. The "Welcome" is from the Word Set 7 - Autumn die set.


Here is a quick video to show my card in action.


This card has a few different options on how to add the frame pull card pop-up piece. For my card today, I decided to adhere it to the front of a folded card. I used the Crosshatch Squares for the square panels and added a sentiment and baby bottles.


Don't forget to visit Karen Burniston's blog on Wednesday when you will be able to see what all the designers created for the challenge this month.


Supplies:
For your shopping convenience, all products are linked below. Compensated affiliate links are used where possible with no extra cost to you. This helps me to continue to share all the projects I include on my blog. Please note I only use and share products I love.


Monday, May 6, 2019

Hi Friend


Hi Crafty Friend,

Today I am sharing a mostly monochromatic card I created recently.

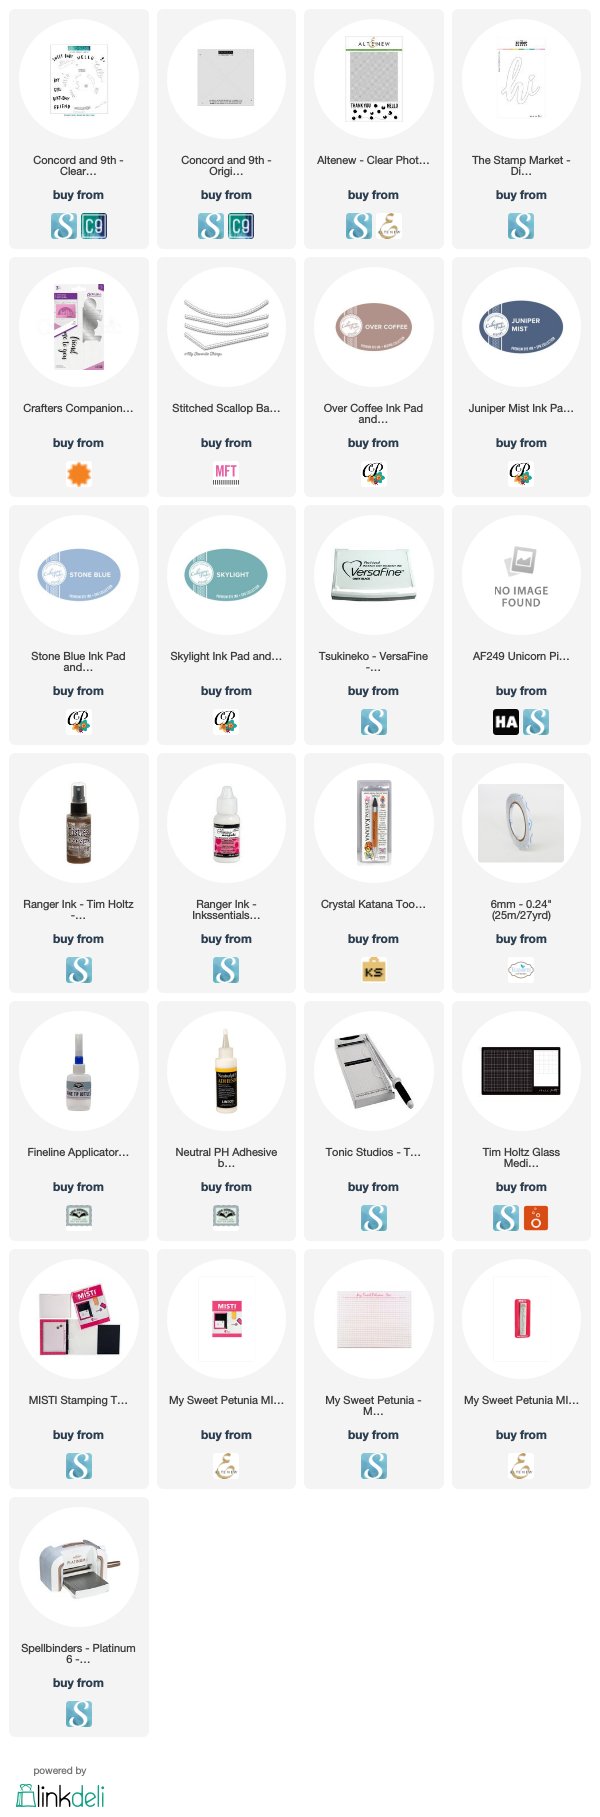
For the background of this card I used Concord & 9th's Hey There Turnabout Stamp set. This was stamped onto blue cardstock using various blue & a brown ink.

I used one of the borders from MFT Stamps Stitched Scalloped Basic Edges die set to die cut the shape at the bottom of the cardstock, from both the stamped background panel and a piece of brown cardstock. I layered the two together so I had the brown border at the bottom.


I used The Stamp Market's Big Hi die to create the large "hi" sentiment which was die cut using dark blue and brown cardstock and offsetting the panels. Before adhering the sentiments together, I used the background from Altenew's Pinstripe stamp set, stamping it using white ink and then turning the stamp one turn and stamping again to get a crosshatch pattern.

I then stamped the "friend" sentiment to the bottom of the card.


For the inside of the card, I added a light blue panel. I then used Crafter's Companion's Hello Edge'ablities stamp/die set to die cut the "Hello" sentiment on a dark blue cardstock. I masked the bottom wide area on the blue panel and used the pinstripe background to stamp the "Hello" like I did the "hi" on the front of the card. I also die cut the hello a second time, this time using brown cardstock and off set the two slightly. 

To finish off the card I added the sentiment along the bottom panel of the card.

Supplies:
For your shopping convenience, all products are linked below. Compensated affiliate links are used where possible with no extra cost to you. This helps me to continue to share all the projects I include on my blog. Please note I only use and share products I love.


Sunday, May 5, 2019

I Love Your Mug


Hi Crafty Friends,

Today I am playing along in the Spring/Fall Coffee Lovers Blog Hop which is being held from Friday 3rd May to Friday 10th May.


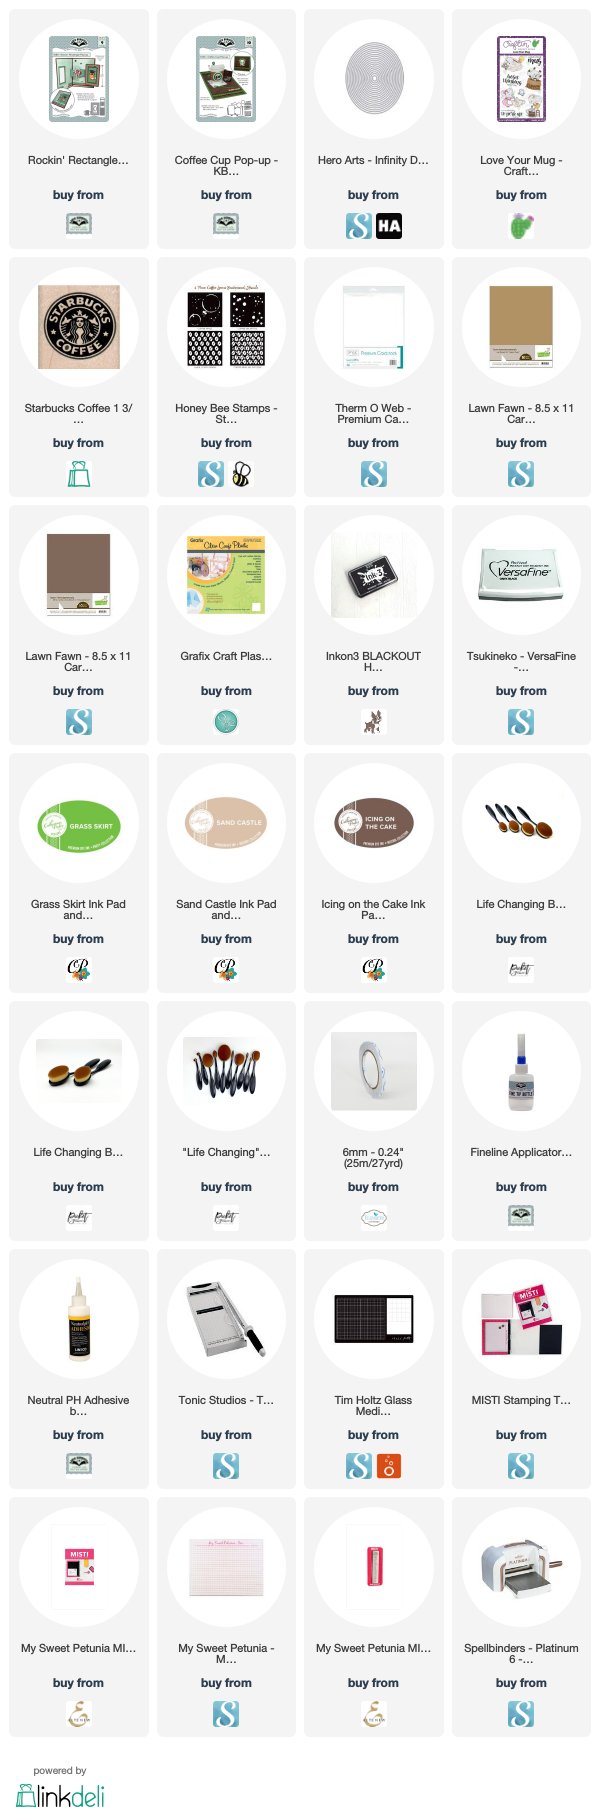
For my card today I have created another Rockin' Rectangle Pop-up card using the acetate window on the front. You can find Karen's tutorial on how to create this style of card here. I used Karen Burniston's Rockin Rectangle Pop-up & Coffee Cup Pop-up die sets to create this card.


Here is a quick video to see my card in action.


I finally got around to playing with my Viva Las Vegas Stamps "Starbucks" stamp which I used for the background on this card and also on the front of the coffee cup. My youngest daughter is a big fan of Starbucks.

For the sentiment on the arm on the inside of the card I used one from Craftin Desert Divas Love Your Mug stamp set.


On the side panel on the front of the card I added some coffee beans using a stencil from Honey Bee Stamps and then added the cute little mouse and sentiment which are also from the Craftin Desert Divas stamp set.

Supplies:
For your shopping convenience, all products are linked below. Compensated affiliate links are used where possible with no extra cost to you. This helps me to continue to share all the projects I include on my blog. Please note I only use and share products I love.


Saturday, May 4, 2019

Hello, Happy Birthday


Hi Crafty Friends,

It’s challenge time with the “Crazies” over on the Crazy 4 Challenges blog. Being a brand new month it is time to introduce a new challenge hostess which is Maryann Einam.

For our challenge this week, Maryann is giving us a chance to use some of our leftover papers, make a card using paper or card strips/scraps.


If it is one thing I have plenty of it is scrap pieces of cardstock ... tons of it! So this was a great challenge to play around and get rid of a few of those pieces at least.

There are a lot of options when it comes to using scraps, but I was inspired by a video from Jennifer McGuire which you can find here.


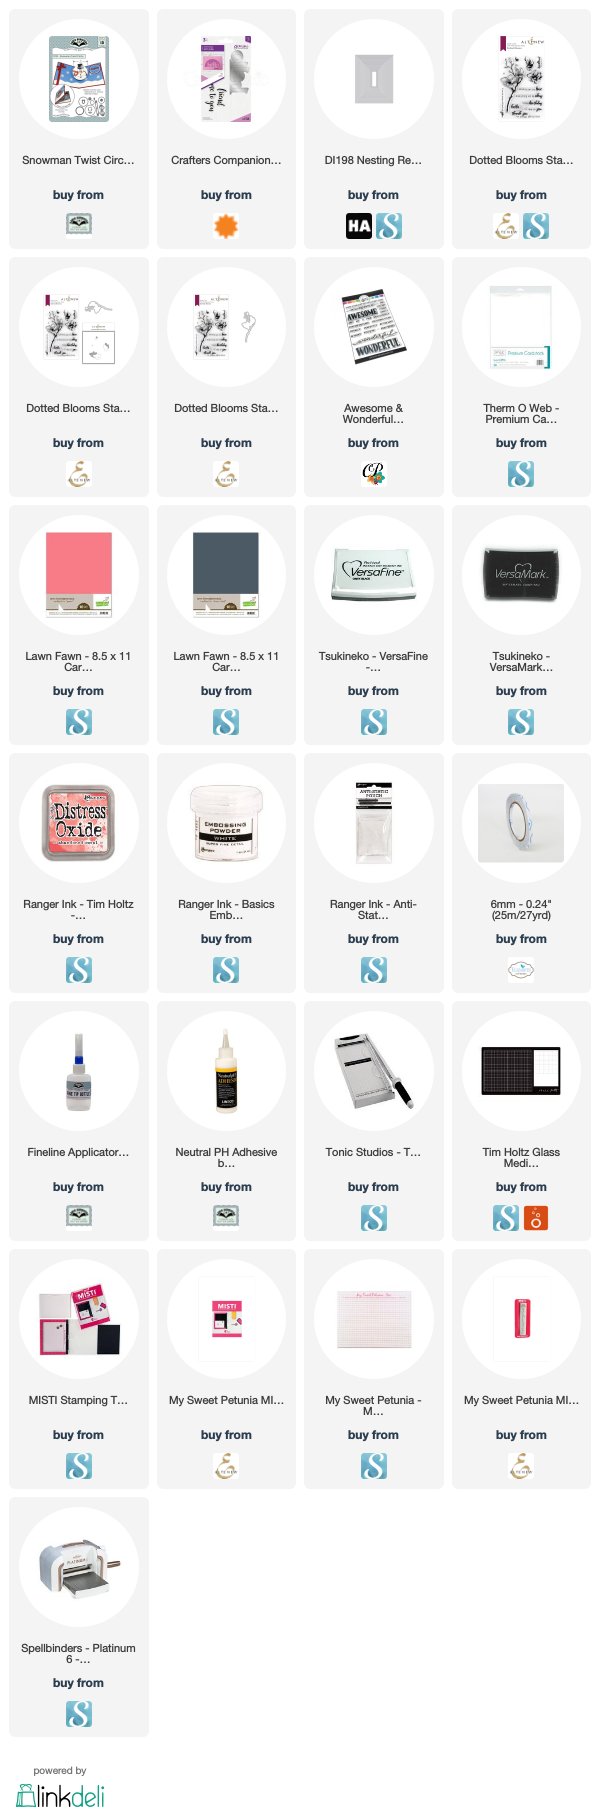
To create my background on my card, I cut pieces of card into 1/2" strips (the pink pieces) and 1/4" strips (the grey pieces). These were then adhered to a large sheet of paper that had Clear Double Sided Adhesive Tape on the front. I then trimmed this down so I could use some of the front of the card and some to the sides on the inside of the card.

I used the Hello Edge'able from Crafter's Companion for the sentiment along the bottom of the card and then added flowers using Altenew's Dotted Blooms.


For the inside of the card, I used Karen Burniston's Snowman Twist Circle Pop-up die set adding sentiments from Catherine Pooler's Awesome and Wonderful Clear Stamp set.

I also added two more of the floral images to each side of my card.

Don't forget to check out the rest of the “Crazies” cards over on the Crazy 4 Challenges blog and also their individual blogs for more details.


Supplies:
For your shopping convenience, all products are linked below. Compensated affiliate links are used where possible with no extra cost to you. This helps me to continue to share all the projects I include on my blog. Please note I only use and share products I love.


Friday, May 3, 2019

Birthday is on Point


Hi Crafty Friends,

Today I am sharing a Gatefold Shutter Card with you, it's been almost a year since I created one of this style of card.

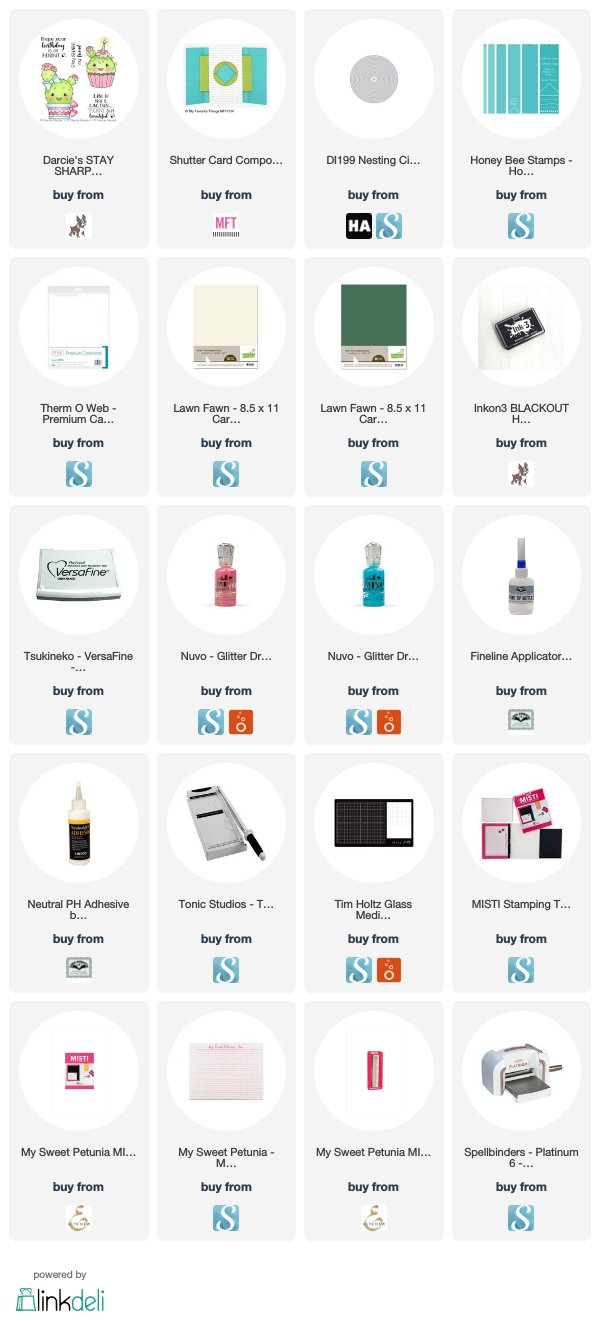
MFT Stamps recently released a Shutter Card Components Die-namics set and even though I already had two die sets from Nellie Snellen, I had to add it to my stash. This one is a little different to the ones I already have. For a start it only has two dies, and the opening that reveals the hidden image or message is slightly bigger. This means that you have more options on what stamps to use for this card. This die set is also easy to adapt to use either with US cardstock which uses imperial measurements or Aussie cardstock which is metric and slightly different sizes.


To decorate my card I used a stamp set I received from a friend for my birthday which is from Darcie's Heart & Home. For this card I added a birthday sentiment that is revealed when the card is opened.


Gatefold Cards can be hard to keep closed, so for this card I decided to add my image to a belly band. I also added a few Nuvo Drops on either side of the belly band.


Here you can see when the card is partially open and the image in the top centre circle is only partly seen.

Supplies:
For your shopping convenience, all products are linked below. Compensated affiliate links are used where possible with no extra cost to you. This helps me to continue to share all the projects I include on my blog. Please note I only use and share products I love.



Thursday, May 2, 2019

May The Trolls Be With You


Hi Crafty Friends,

It's challenge time with my friends over on the CCEE Stampers challenge blog. Being a brand new month it is time to introduce our challenge hostess for the month, which is me!

Tomorrow, 3rd May is International Space Day and the 4th May is Star Wars Day. So our challenge this week is to create space themed cards.


Here is a quick video to see my card in action.


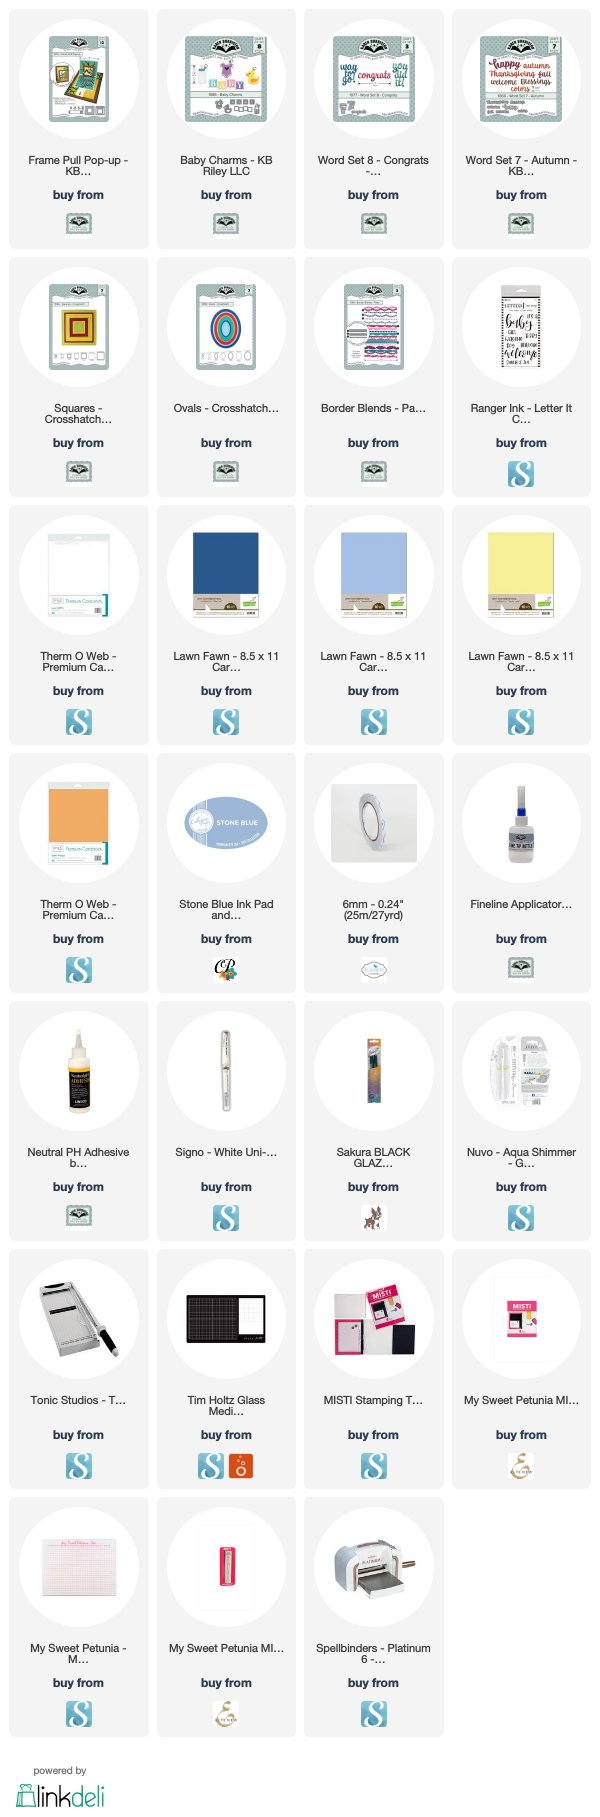
For my card today I created a Wiper Card using the Mama Elephant Wiper Surprise die. For the back panel of my card I created a galaxy look using Altenew's Watercolor Nebula Washi Tape, this tape is about 7 inches wide and makes a quick and easy space background.

For the front portion of the card I stamped Whimsy Stamps' Moon Background onto white cardstock and then coloured using grey markers, I then die cut this panel using the main wiper surprise die.


To decorate my card I used Craftin' Desert Diva's Troll Wars, I think you can recognise many of the characters from the ever popular Star Wars. When you pull the card at the sides the villain pops up from behind the moons surface.


For the back of the card I added another panel, stamping the moon onto the cardstock and adding two more of the characters and a sentiment.


Don't forget to check out the CCEE Stampers blog (goes live 12 AM EST) to see the rest of the creations the CCEE Stampers created this week. You can also see more details of their creations on their individual blogs:


Supplies:
For your shopping convenience, all products are linked below. Compensated affiliate links are used where possible with no extra cost to you. This helps me to continue to share all the projects I include on my blog. Please note I only use and share products I love.


Wednesday, May 1, 2019

Divinity Designs - May New Release


Hi Crafty Friends,

Today I am sharing two projects I created using new stamps, dies and papers from  Divinity Designs May Release.  For more inspiration using the April Release and to see the other designers projects, be sure to visit the Divinity Designs Blog.
My cards today feature two of the three new stamp sets being released today .... Best Dad Ever and Dream Big, the new Grad die set and the Weathered Wood Paper Collection.


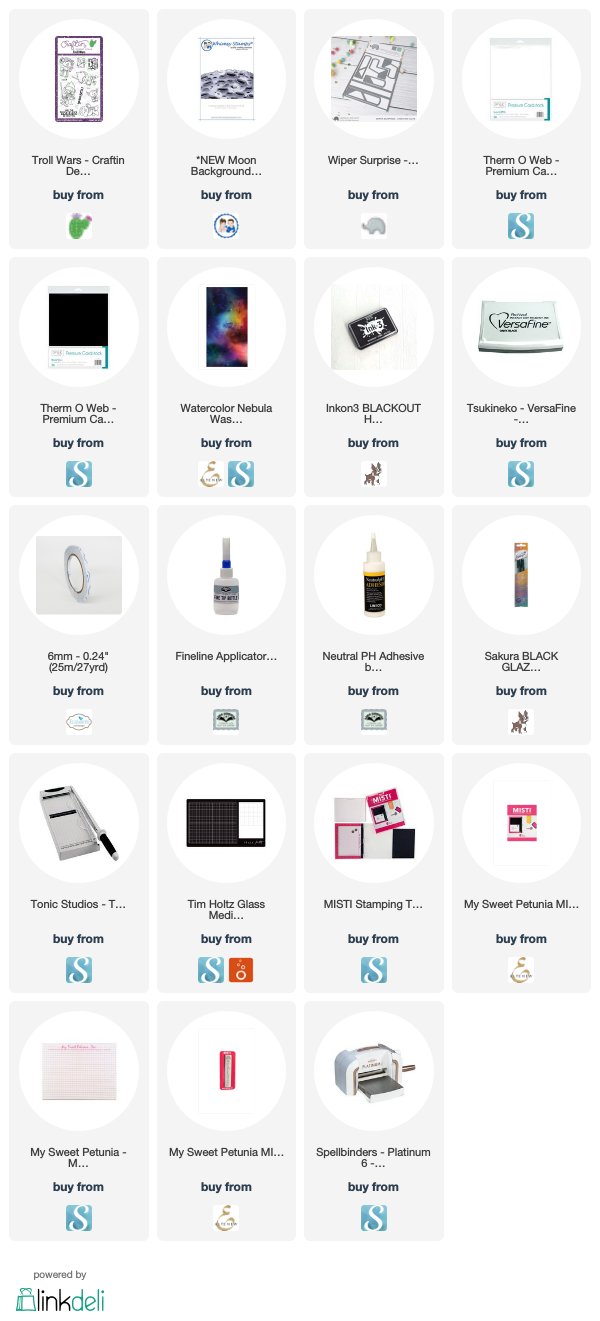
For my first card today I have created a Father's Day Lever Card using Divinity Designs Lever Card Die and Lever Card Layers die. I used one of the papers from the new Weathered Wood Paper Collection, which is full of wonderful wood themed papers perfect for male cards.


To decorate my card I used the new Best Dad Ever Stamp set. 


The sentiment at the bottom of the card was created using the "Father" die from the Family Names 1 die set. I layered this to a fishtail flag from the Test Tube Trio die set.


For the inside of my card I added two sentiments from the Best Day Ever stamp set and layered using the label from the Vintage Labels die set.


For my second card today I created a graduation card using the Center Step Card and Center Step Layers die set. I used papers from the Old Glory Paper Collection on this card.


To decorate my card I used the new Dream Big Stamp set, Grad die set and Long & Lean Numbers die set.

The sentiment is layered using the Ovals & Scalloped Ovals die sets.


For the inside of the card I added a sentiment and another graduation cap from the stamp & die sets used on the front of the card.

Supplies:
For your shopping convenience, all products are linked below. Compensated affiliate links are used where possible with no extra cost to you. This helps me to continue to share all the projects I include on my blog. Please note I only use and share products I love.