Monday, September 19, 2022

From The Whole Herd


Hi Crafty Friends,

Thanks for visiting my blog today. I have a fun birthday card to share with your today using products from Made To Surprise and MFT Stamps.

Here is a quick video to see my card in action.


Earlier in the year I purchased the Made To Surprise By Sam Calcott's 5 x 7 Fabulous Flip die set. As I had enjoyed making the cards I created with that die set I decided to purchase the 6 x 6 version as well which has four smaller squares on the front. 

I had also recently purchased MFT Stamps SY Happy Birthday Herd stamp set, which includes six cute square animal scenes similar the the selfie stamp sets they have sold in the past. Of course I decided to combine the two sets to create my card.

For my card I decided to include two of the images on the front squares and have the other two for a sentiment. The "Howdy" and hoof prints are from Elizabeth Craft Designs Life is Better on the Farm stamp set. The birthday sentiment is from an older MFT Stamps stamp set called The Whole Herd.

I added a strip of cardstock scored to form an "M" shape to the inside of the card, to make this card into a tent style card. This makes it easier to display the card.


When you pull the right side of the card where it says "Pull",  the front of the card flips to reveal the other side of each panel. As you can see I added more of the images and two more sentiments. This time I used sentiments from both of the MFT Stamp stamp sets ... SY Happy Birthday Herd and The Whole Herd. 

I also added the large Happy Birthday die cut sentiment onto the pink panel underneath the frame which is from Concord and 9th.


I added a card panel to the back of my card, for a place to add a personal sentiment when I am ready to give this away. I added two more of the images to the card, seeing I had them already coloured and layered.

I added the "Holy Cow" sentiment which is another sentiment from the Elizabeth Craft Designs stamp set that I used on the front of my card. The "You're how Old?" sentiment is an older wood mounted I have had in my stash for years from Stamp It (Australia).

Other Supplies:

You're How Old? Wood Mounted Stamp - Stamp It Australia (discontinued)


Friday, September 16, 2022

Flowerpot Gnomes


Hi Crafty Friends,

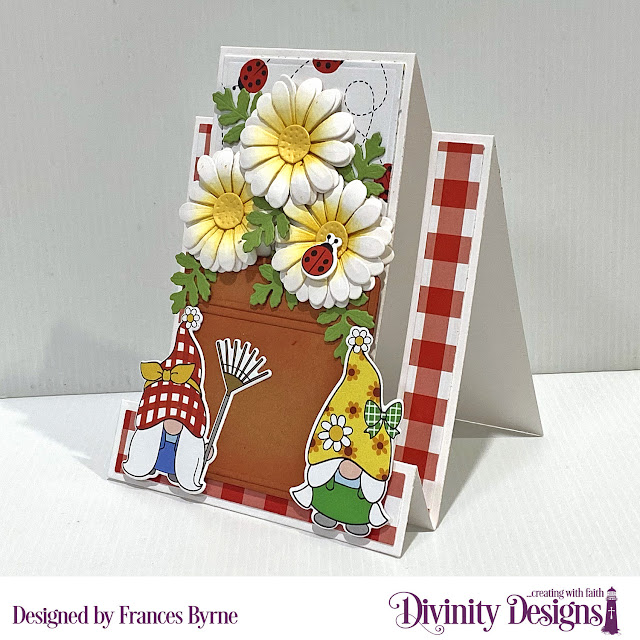
I have a fun gnome themed card to share with you today using more of the products from the Divinity Designs July 2022 Blessings Box.

For this card I used the Center Step A2 Card with Layers die set. The gnomes, papers and ladybug are all from the Gardening Gnomes Paper/Die set. 


To create the flower pot I used the Flower Pot & Layers and Delightful Daisies die sets which are also included in the Blessings Box.


Thursday, September 15, 2022

Monster Hugs


Hi Crafty Friends,

It's challenge time with my friends over on the CCEE Stampers challenge blog. Kelly Santi our challenge hostess of the month continues to issue the challenges.

Apparently today is International Dot Day - show us your cards with a circle, polka dots or anything round!

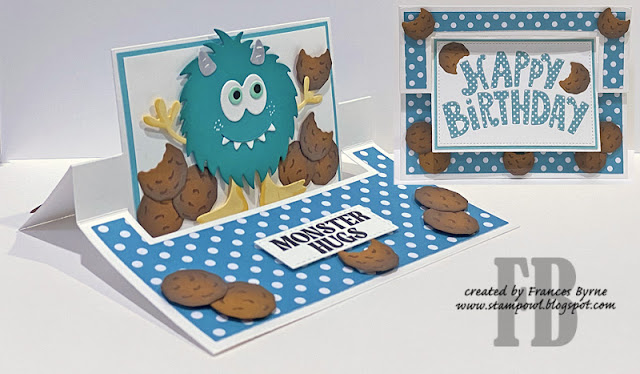
For a card today I have been playing with the new flip card die set from Elizabeth Craft Designs called Birthday Flip Card which was released a couple of month ago. This die set makes a card which measures 5 1/2 inches x 4 1/4 inches when closed. As I wanted to use the Happy Birthday die included in the set I made my card in landscape orientation.

For the challenge portion of the card, I used polka dot paper using the larger dots for the layers and the smaller dots on the reverse side of the paper for the lettering of the sentiment. The cookies are also close to round, 


When you open the card, it reveals a monster surrounded by cookies using the Monster 1 die set.


Here is another view of my card, I added the "Monster Hugs" sentiment using one of the stamps included in the Monster Hugs stamp set.


Here is another view of my card when it is open, this time around I lifted the back border up to surround the image.

Don't forget to check out the CCEE Stampers blog (goes live 12 AM EST) to see the rest of the creations the CCEE Stampers created this week. You can also see more details of their creations on their individual blogs:


Wednesday, September 14, 2022

Pencil Teacher Flip Card


Hi Crafty Friends,

Wow where does time go!!! It's already mid September and it is only a few months until my grandkids finish school for the year and I still have teacher thank you cards to get made. For todays card I pulled out my Creative Craft Products Circle Perfect Flips die set to create a teacher themed flip card ... yay one more done!

Last year after purchasing the Sunny Studio Stamps Color My World Stamp/Die set, I had a session where I stamped out heaps of all the different images ... pencils, crayons, paintbrushes etc. Fortunately I only made one card using the set last year so I had heaps of images leftover ...  which made this card quick to make. As you can see I used the pencils from the stamp set for this card.


For the centre circle I used an older Papertrey Ink die set for the "#1" and a Hefty Doodle Teacher die for the word.


When you pull the card open it reveals the back of the circle with another sentiment. This time I used sentiments from Heffy Doodles "Teach Me Words" stamp set, this is my go to set when I am creating teacher cards.


Tuesday, September 13, 2022

Sparkle and Shine


Hi Crafty Friends,

Thanks for dropping by my blog today. It's been a while since I have created a flip type card and recently I decided to update my collection of dies that create this style of card by purchasing the new released Perfect Flips Collection by Creative Craft Products at Craft Stash. There were three different sets released all of which are the 5 x 7 size which I didn't have previously. Today I am sharing a Christmas card I created using the Perfect Flips - Circle die and coordinating stamp/die set. There is also a heart and star available which I am looking forward to using at a later date.


I used papers from Crafter's Companion's Bright and Frosty 12 x 12 paper pad for the layers. I then used the snowflake from the coordinating stamp/die set which I die cut several times from white glitter cardstock and holographic cardstock. I layered the glitter snowflakes over the holographic snowflakes offsetting slightly to get a shadow.. I then added one snowflake to the centre circle and then parts of the snowflake randomly around the card.

I then added a large glitter embellishment to the centre of the large snowflake.


When you pull the left side of the card the card opens and the circle in the centre "flips" to reveal the other side. Here I stamped a Christmas sentiment and a few snowflakes.


I don't usually decorate the back of this style of card, but as I had plenty of the patterned paper I decided I would. I added the white panel to the left side of the card for a place to write a personal message.


Other Supplies:

Jolly Sentiments Stamp Set - Kaisercraft (discontinued)


Monday, September 12, 2022

Double Diamond Fold Birthday


Hi Crafty Friends,

Thanks for stopping by my blog. Today I am sharing an interesting fun fold card that I created recently.

This fun fold technique is called a Double Diamond Fold Card and from what I have seen on Pinterest there are two different ways to make this particular card ... the way I have done here or turned around so the diamonds that are on the back are a feature on the front. This card once folded is 6 inches square. I used a tutorial by Sam Calcott for my card which you can find on her blog post here


This card uses no stamps and minimal use of dies, using just a couple of circle and oval dies for the layering. A little while ago, I purchased a male themed paper pack from Craft Stash called Made for Men Paper Pad, I just loved the papers and also included in the pad were some word and image toppers suitable for male birthdays, Father's Day etc. This is what I used for this card.


For the back of my card I added a white panel to the centre of the card, a place for a sentiment and personal greeting. I have again used another piece of the patterned paper along the bottom and another of the sentiment toppers.

As mentioned above, you could also decorate this side rather than what is the front of my card and have this the featured side.


Friday, September 9, 2022

Sage Advice


Hi Craft Friends,

Today I am sharing a Slimline Card using new stamps and papers from Divinity Designs July 22 Blessings Box.

To create the Slimline portion of the card I used the Slimline Card Base; Slimline Rectangles; Slimline Layering Rectangles and Slimline Circle Windows die sets.

The sage plants and sentiment are from the Potted Herbs and Sow Seeds stamp sets which are included in the Blessings Box. The black checkered paper is from the Gardening Gnome Paper/Die Duo set.


Thursday, September 8, 2022

Cheers, Beers


Hi Crafty Friends,

It's challenge time with my friends over on the CCEE Stampers challenge blog. Kelly Santi our challenge hostess of the month continues to issue the challenge.

Apparently tomorrow (9th September),  is Kelly's son’s 18th birthday! Create a masculine birthday card and use 1 or 8 of anything on your cards!


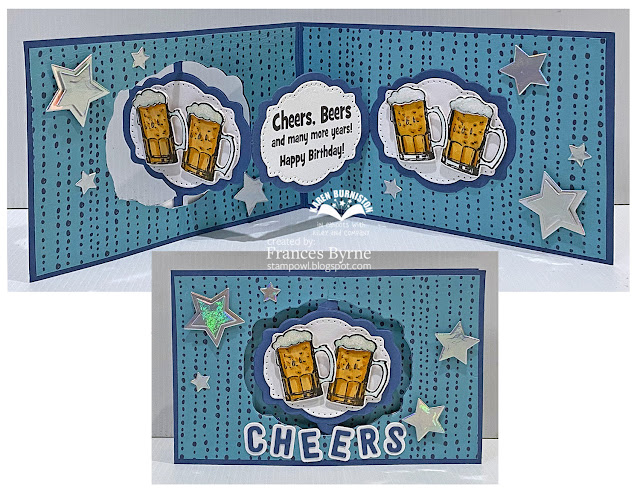
For my card today I have used the new Label Charm Pop-up, this die was designed to fit into a side fold card that measures 5 to 6 inches wide and works perfectly with Mini Slimline cards, which is what I created today.


To decorate my card I used a beer mug stamp from Riley and Company. 

I added the word "Cheers" along the bottom of the card using the Mini Alphabet and Numbers die set.


For the "1 or 8" of anything part of the challenge, I added the Cheers, Beers Sentiment ... this sentiment contains eight words in it. I also added 8 stars to decorate the inside area of the card, which are all from the Surprise Ball Pop-up die set.

Don't forget to check out the CCEE Stampers blog (goes live 12 AM EST) to see the rest of the creations the CCEE Stampers created this week. You can also see more details of their creations on their individual blogs:

Wednesday, September 7, 2022

Gnome Explosion


Hi Crafty Friends,

Welcome to my blog, today I have a fun gnome themed 5" x 7" gatefold card with a surprise explosion on the inside.

Recently Sam Calcott of Mixed Up Crafts shared a Pop Up Explosion Card on her YouTube channel which I used for the inspiration of my card. You can find Sam's tutorial here.

The gnome and birthday sentiment are both from Trinity Stamps' Up, Up & Away stamp set. The gnome is adhered to a belly band which helps keep the card closed.


For the inside of my card I added an explosion using designer paper. I added the sentiments using stamps from Crafter's Companion's There's No Place Like Home stamp set.


Here is a look at the inside of my card with the belly band.


Tuesday, September 6, 2022

September 2022 Karen Burniston Designer Challenge


Hi Crafty Friends, 

Welcome to our September Karen Burniston Designer Challenge.

Check out Karen Burniston's blog on Wednesday (US Time) when you will be able to see what all the designers created for the challenge this month, plus Karen will have an amazing video tutorial to share with us all.

Our challenge theme this month is ... "JUST..." - create a card with a theme of "Just . .. something" (Just because, Just checking in, Just saying hi, Just popping up to say, Just a note, etc.) - Note - upcoming Word Set 15 has this theme - so don't work too far ahead.


For my card today I have used two of the new die sets that was released yesterday, the Word Set 15 - Just Because and Sewing Charms die sets.

When I was thinking about this challenge, I was wondering how I could incorporate the Sewing Charms die set as I hadn't made a card using it. So I went looking through my stamp sets for sentiments, I found the "Sew happy for You", in a stamp set from Your Next Stamp and I figured that would work perfectly for the challenge, so my sentiment says ... Just Sew Happy For You.

As you can see I created a top folding Slimline Card that measures 3 1/2 inches x 8 1/2 inches. To layer the sentiments and Sewing Charms on the front of my card I used the Short Rectangles - Crosshatch die set.


For the inside of the card I used the largest rectangle die included in the Long Rectangles - Crosshatch die set to die cut my patterned paper, I selected the paper as the hexagons on the paper reminded me of quilting.

I used the Little Labels Pop-up die set to create the pop-up panel in the centre of the card. I decorated the labels on the side and the base of the card using more of the images included in the Sewing Charms die set.


For the sentiment on my centre label, I used an older Art Impressions stamp set. I also added a sewing themed sentiment to the base panel which is also included in the Your Next Stamp stamp set.


Other Supplies:
Quilting Sisters Stamp Set - Art Impressions