Friday, December 10, 2021

Snowman and Friends

Hi Crafty Friends,

Today I am sharing a Square Christmas card I created using some of the new stamps, dies and papers from the Divinity Designs November/December release.

This card uses the Snowflake Square Background die which I die cut from white cardstock. For the card base I used the Square Card Base with Layer die set. The layer die from the Square Card Base was used to die cut the patterned paper from the Red Poinsettias Slimline Paper Pad that is layered under the snowflake background.

I used the Snowflake & Friends stamp set onto white cardstock. I used the Double Stitched Circles and Circles die sets to die cut the image and the layering circle.

To finish off the front of the card, I added the sentiment which is also included in the Snowman & Friends stamps set which I white embossed on red cardstock and then die cut using the Sentiment Strips 2 die set.

On the inside of the card, I used the layering die included in the Square Card Base with Layer die set to die cut the white panel. I added a strip of the Red Poinsettias Slimline Patterned Paper to the left edge of the card.

For the sentiment I used the Merry Christmas & Layers 2 die set.


Thursday, December 9, 2021

Elf Gift Tags


Hi Crafty Friends,

It's challenge time with my friends over on the CCEE Stampers challenge blog. Lynn Mc Auley, our challenge hostess for the month continues to issue the challenges.

Family Traditions - If your family is like mine, there are certain family traditions that show up at each of your Christmas celebrations together. I would love for the CCEE Stampers’ cards to represent a favorite or an unusual Christmas tradition shared by the members of your family each year. 

For the past 9 years, I have had elves visiting my house who get up to all sorts of fun and mischief. 


Another tradition I have been doing for as long as I can remember is making my own gift tags.

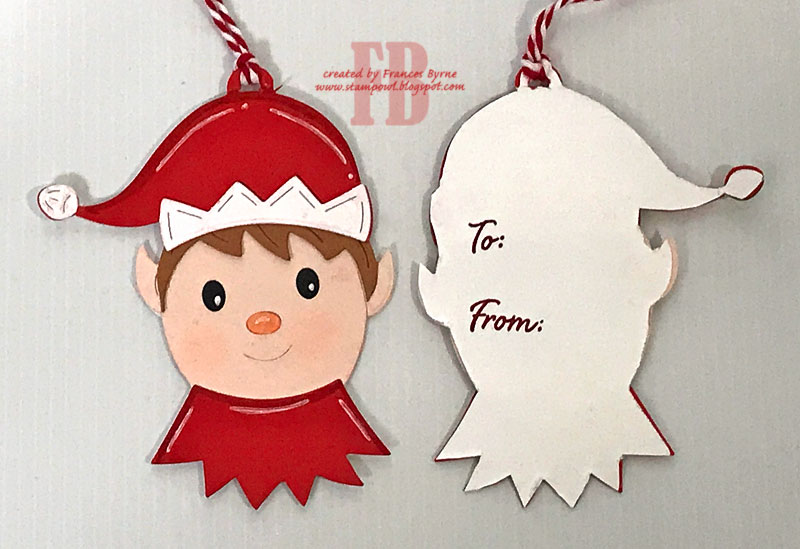
As I recently received my Hero Arts My Monthly Hero November 2021 kit which focus on dies to create your own character gift tags, I decided to pull those out to make some elf gift tags for this challenge. 


As the die included a loop at the top of the tag to hang cord onto, I wanted to make the tags shaped rather than attached to a tag. So after creating my first elf tag, I used my Scan N Cut machine to scan in the shape and then cut out 6 white shapes. These were then adhered to the back of the tag, so it hides the mess at the back.

I stamped the "To" and "From" to the back of the tag, which are from the stamp set included in the kit.


As you can see, I created a elves using a few different colored combos.


One final gift tag using a red and white color combo.

Don't forget to check out the CCEE Stampers blog (goes live 12 AM EST) to see the rest of the creations the CCEE Stampers created this week. You can also see more details of their creations on their individual blogs:


Wednesday, December 8, 2021

Rustic Merry Christmas

Hi Crafty Friends,

Today I am sharing a Christmas themed Mini Slimline card I created recently using dies, papers and an embossing folder from Divinity Designs.

To create the Mini Slimline portion of my card I used the Mini Slimline Card Base; Mini Slimline Layering Rectangles; Mini Slimline Rectangles and Mini Slimline Scalloped Rectangles die set. I used one of the papers from the Rustic Christmas - Wood Paper Pad for the background panel. After die cutting the panel, I then used the Slimline Wood Grain Embossing Folder to add texture to the panel.

I created the sled using the Wintertime Sled die set which I die cut using red and black cardstock. I added a white glitter snowflake to the top of the sled using a snowflake from the Christmas Dove die set.

To finish off the card I added the "Merry Christmas" sentiment using the Merry Christmas & Layers 3 die set.


For the inside of my card I added a Christmas sentiment using one of the sentiment stamps included in the Christmas Wishes stamp set. I used the Mini Slimline Layering Rectangles and Mini Slimline Rectangles die set to layer my sentiment.


Tuesday, December 7, 2021

December 2021 Karen Burniston Designer Challenge


Welcome to our December Karen Burniston Designer Challenge.

Check out Karen Burniston's blog on Wednesday (US Time) when you will be able to see what all the designers created for the challenge this month, plus Karen will have an amazing video tutorial to share with us all.

Our challenge theme this month is ... "MOD HOLIDAY" - make a Christmas card using a non-traditional color scheme.

As you can see, I decided to use the colors pink and blue for my card today. I created a Christmas themed Slimline card that measures 3 1/2 inches x 8 1/2 inches.

I used the new Little Labels Pop-up die set to create the pop-up on the inside of the card.

I added Christmas trees using the Christmas Trees Pop Stand die set to add the pink trees to the outer labels of the pop-up. I added a sentiment to the centre label.

I added the Street Lanterns to either side of the pop-up using the Street Lantern Pop-up die set. I didn't use the pop-up die that comes with the die set, but used foam tape instead. I also trimmed the street lantern a little shorter, to allow it to fit in the width of the card.


On the lower panel of the inside of the card, I used the Labels - Crosshatch die set to add a place for a hand written greeting.


I kept the front of the card simple, as the focus of this card is on the inside. I added a Christmas sentiment using the Merry Christmas and Merry Christmas Shadow die sets.

I added another pink Christmas Tree to the right side of my card.


Monday, December 6, 2021

Christmas in the City


Hi Crafty Friends,

I have a fun Christmas themed Shaker Card to share with you today.

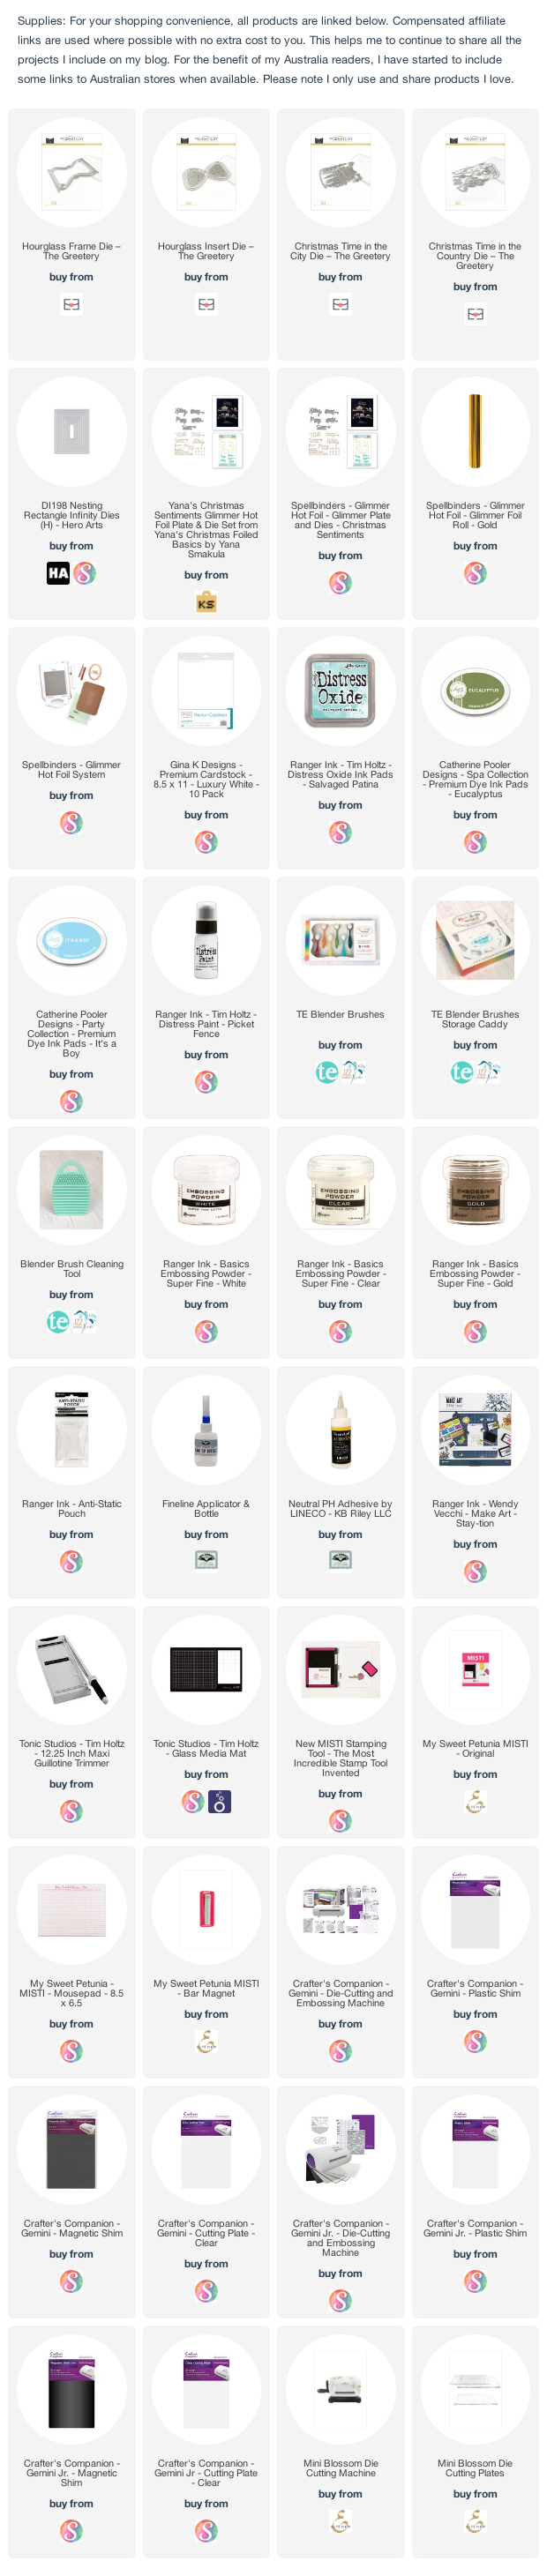
My card uses the Hourglass range of dies from The Greeting which I purchased recently. I die cut the hourglass frame from white cardstock and adhered it to an A2 card panel (4 1/4 inches x 5 1/2 inches). I then used the smaller of the two hourglass insert dies to die cut the hourglass shape from the centre of the panel. 

I used the dies from the Christmas Time in the City die set to decorate the front of a top folding A2 card, so that the design will be seen through the opening. 

The sentiment at the top of the hourglass is gold foiled using one of the sentiments from Spellbinders Yana's Holiday Sentiments Glimmer Hot Foil Plate/Die set. 

To finish off the front of the card, I added snowflakes in pink and white around the outside of the hourglass.


Here is a view of my card, so you can see the shaker elements inside the shaker card.


For the inside of my cards, I die cut three of the trees included in the Christmas in the City die set. I die cut them from white cardstock and then colored them green using a blender brush and ink pad.

I added a Christmas sentiment using an older MFT stamp set which I stamped using Catherine Pooler It's A Boy ink pad.

Finally I added the pink trim above the sentiment.


Sunday, December 5, 2021

'Tis the Season

Hi Crafty Friends,

Today I am sharing a Christmas snowflake Slimline card I created recently.

To create the Slimline card I used Picket Fence Studios Nested Rectangles and Scallop Framed die sets.

I used the emboss resist technique to add the snowflakes to the background panel. The snowflakes are from Scrapbook.com's Slimline Snowflakes stamp set. After embossing the snowflakes with white embossing powder, I then ink blended on Villainous Potion; Prize Ribbon and Salvaged Patina Distress Oxide inks over the background.

The large snowflakes on the right hand side of the card are die cut using Elizabeth Craft Designs Snowflakes die set. I die cut the snowflakes from white cardstock that had Clear Double Sided Adhesive Tape on the front and then covered the adhesive with Warm Diamond Silk Microfine Glitter.

I added a gold foiled sentiment to the centre of the snowflake using Spellbinders Holiday Sentiments 2 Glimmer Set and gold foil.


For the inside of my card, I added another snowflake panel the same as I used on the front of the card, to create a border along the bottom of the card.

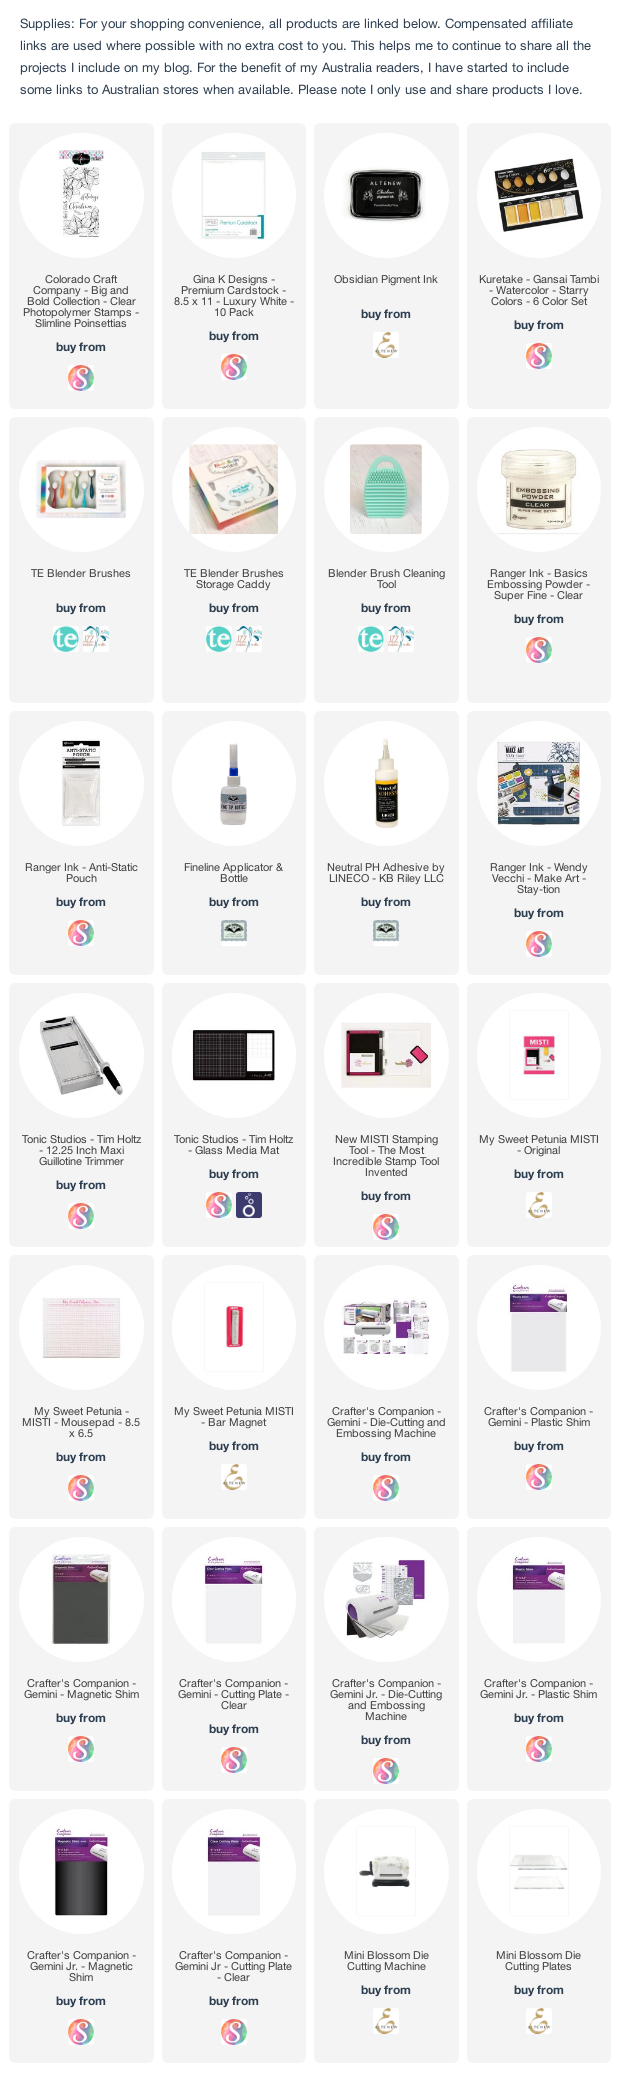
I added a Christmas sentiment using Colorado Craft Company's Slimline Poinsettias stamp set.


Saturday, December 4, 2021

Merry Christmas To You and Yours


Hi Crafty Friends,

It’s challenge time with the “Crazies” over on the Crazy 4 Challenges blog. It's a brand new month and this month's challenge hostess is ME!

Christmas Flowers/Foliage - One of the ways people decorate for Christmas is with flowers and/or foliage … the most popular being Poinsettias; Holly; Ivy and Mistletoe. For our challenge this week create a card using something flower or foliage related. 

I purchased this Colorado Craft Company's Slimline Poinsettias stamp set early in the year and put it away to use for Christmas ... so this challenge seemed to be the best opportunity to pull it out to create my card this week. I stamped each of the poinsettia images, cut them out and colored using Copic markers so I could add them to my card using foam tape.

For the white panel I splattered some gold paint from my Gansai Tambi Starry Colors paint set. 

The sentiments I stamped on the lower section of the card are both also from the stamp set.

I added a couple of pine sprigs to the flowers using The Greetery's Pine Wisp die set.


For the inside of the card I stamped another of the poinsettia images to the right side of my white panel, stamping directly to the panel.

I added a sentiment from Couture Creation's Every Day Be Christmas Collection.

Don't forget to check out the rest of the “Crazies” cards over on the Crazy 4 Challenges blog and also their individual blogs for more details.


Other Supplies:
Let Every Day Be Christmas Collection Stamp Set - Couture Creations (discontinued)


Friday, December 3, 2021

We Wish You A Merry Christmas


Hi Crafty Friends,

Today I am sharing a Christmas themed Slimline card I created recently.

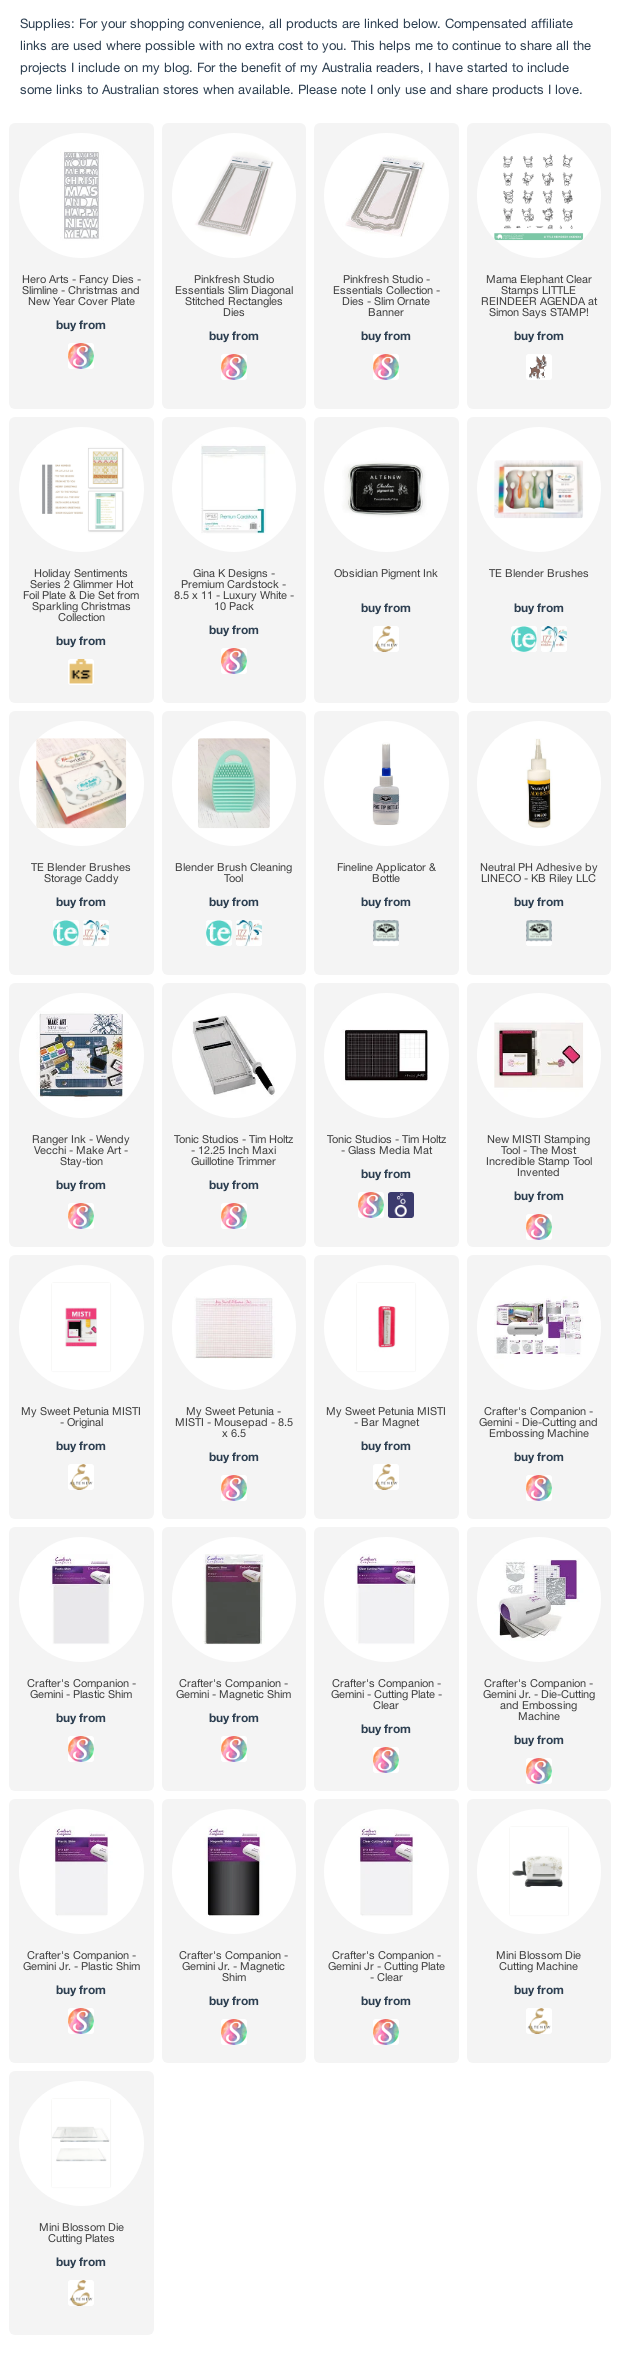
For this card I used Hero Arts Slimline Christmas and New Year Cover Plate. I die cut this from white cardstock. As this die doesn't cut around the edges of the sentiment, I used Pinkfresh Studios Slim Diagonal Stitched Rectangles die set. This gives a fancy edge around the whole panel.

I layered this panel over some holly patterned paper and then to a burgundy rectangle panel and finally a side folding green slimline card.

To decorate the front of my card I added the "From Me to You" sentiment which is a Hot Foil Stamp from Spellbinders. 

I also added a few reindeers using Mama Elephant's Little Reindeer Agenda stamp set.


For the inside of my card I added a banner using Pinkfresh Studio's Slim Ornate Banner die set. I stamped the Christmas sentiment using Paper Inspiration's Favorite Things Calligraphy stamp.

I also added some die cut hollies, using a die from Papertrey Ink.

Other Supplies:
Favorite Things Calligraphy Wood Mounted Stamp - Paper Inspirations (discontinued)
Holly Die Set - Papertrey Ink (discontinued)


Thursday, December 2, 2021

It's The Most Wonderful Time of the Year


Hi Crafty Friends,

It's challenge time with my friends over on the CCEE Stampers challenge blog. Being a brand new month it is time to introduce our new challenge hostess, which is Lynn Mc Auley.

Celebrate with Song -  I am asking that the CCEE Stampers use song lyrics from a holiday song (either secular or religious) as the sentiment on the front of their Christmas design. 


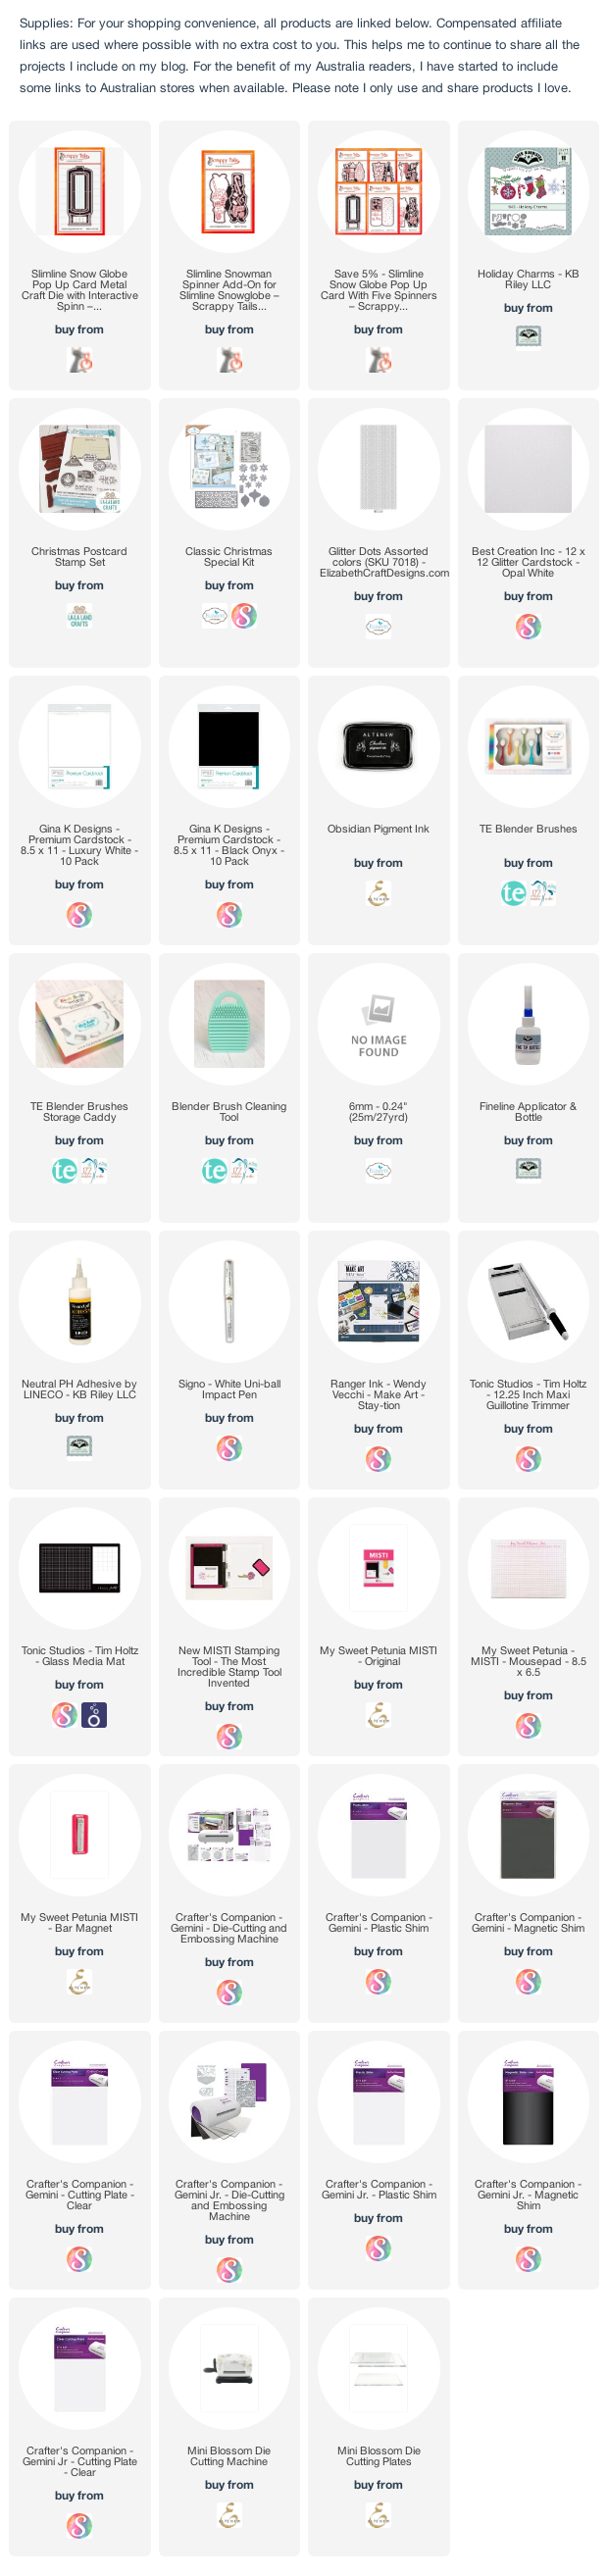
I recently received my order from Scrappy Tails Crafts of their Slimline Snow Globe Pop-up  die set and their add on die sets ... one of which is the snowman. So I decided to use that for today's challenge.

As you can see by the video above, the snowman spins around.


I found some pink snowflake patterned paper in my stash, so adhered that to some pink cardstock to die cut the main frame pieces for my snow globe. For something a little non tradition I decided to go with the colors pink and aqua/teal for my card and snowman.

I added the stamped sentiment "It's the Most Wonderful Time of the Year" to the panel at the bottom of the card which is the challenge portion of this card. The sentiment is from a La La Land Crafts stamp set I purchased a few years ago.

I used Karen Burniston's Holiday Charms die set to add the snowflakes around the frame and sentiment.


This is the rear view of my card. For this card I decided to just create the back view of the snowman, but you could also have the snowman be the same on each side if you wanted. 

I added another Christmas sentiment to the back panel, leaving a little space to write a personal greeting. This sentiment is from the stamp set included in Classic Christmas Special Kit from Elizabeth Craft Designs.

Don't forget to check out the CCEE Stampers blog (goes live 12 AM EST) to see the rest of the creations the CCEE Stampers created this week. You can also see more details of their creations on their individual blogs:


Wednesday, December 1, 2021

Snowshoes Gift Set

Hi Crafty Friends,

Today I am sharing a gift set I created as a Christmas gift using some of the new stamps, dies and papers from Divinity Designs November/December release. Last month I shared a gift set that consisted of a card and Nugget box which was decorated and suitable for a female. Today I have a card and Nugget box which I decorated with a more male theme.


First up the card, this time around I decided to create a Step Panel card using Divinity Designs Pop Up Card with Layers die set.  I die cut the main die from red cardstock and used patterned paper from the Plethora of Plaids Slimline paper pack for the layers.


To decorate my card I used the snowshoes from the Snowshoe die set which I decorated using the Pine Branches from the Pinecones and Pine Branches die set. I also added the "Merry Christmas" sentiment using the Merry Christmas with Layers 2 die set.


I added a panel to the back of the card, using the layering dies included in the Pop Up Card with Layers die set. I added a strip of plaid patterned paper to the left side of the card, and then added a sentiment to the white area.

The sentiment is from the Silent Night stamp set.


The card folds flat so it can be placed in an envelope for mailing.


I used the X-Large Nugget Box die set to create the Nugget Box which I then decorated using the same patterned papers and dies that I used for the card.


One last photo of the Nugget Box I created. The die set comes with dies to die cut wrappers to decorate the nuggets.