Thursday, November 10, 2022

African Savannah


 Hi Crafty Friends,

It's challenge time with my friends over on the CCEE Stampers challenge blog. Maryann. Einam our challenge hostess for the month continues to issue the challenges.

For our challenge this week, Maryann requests that we create a card that features a Silhouette, it can be in a scene or a standalone image.

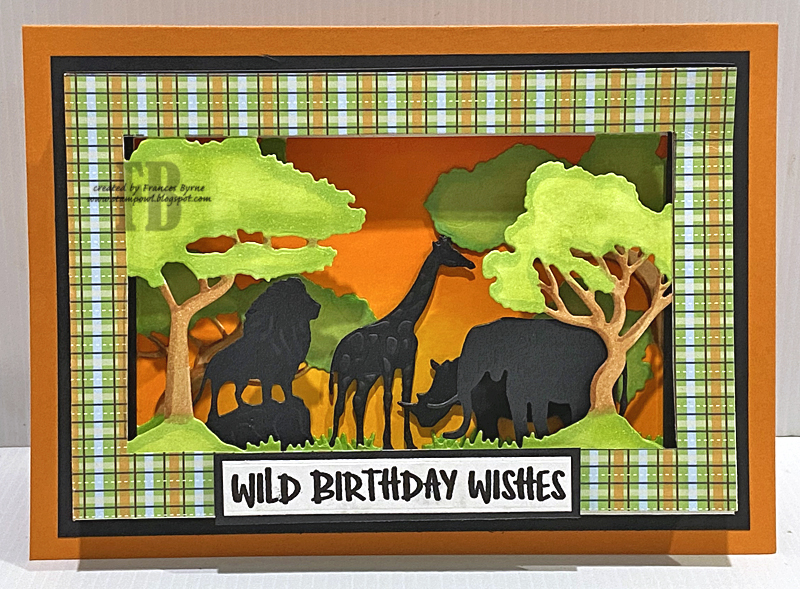
For my card today I pulled out my Crafter's Companion African Savannah Create a 3D Scene die set. I had been wanting to play with this die and this was the perfect opportunity to use it. 

I created a Shadow Box Card that I adhered to my 5 x 7 top folding card. I die cut the tree frame dies from white cardstock, so I could colour the images using Copic markers. I die cut the animals using black cardstock for my silhouette images.

I added a birthday sentiment to the bottom of the card using a sentiment from Avery Elle.


For the inside of my card, seeing I included a lion in my scene for the front of the card I figured the Whimsy Stamps "Roarsome! die set worked for this card. I also added stamped sentiments to complete my sentiment using a Honey Bee Stamps stamp set.

To finish off my card I added the silhouette of the tree.

Don't forget to check out the CCEE Stampers blog (goes live 12 AM EST) to see the rest of the creations the CCEE Stampers created this week. You can also see more details of their creations on their individual blogs:




Wednesday, November 9, 2022

Carousel Easel Card


Hi Crafty Friends,

Thanks for dropping by my blog today. A few months ago, I noticed that Scrapbook dot com had started selling some Anna Griffin products. One of the things on their website was this fun Carousel Easel Card die set which I decided to purchase so I could make a card using the set for my granddaughter's birthday which is this month.

I die cut the base of the card from white cardstock and also patterned paper, covering the cardstock with the patterned paper layers. I die cut the carousel decorator pieces from gold, and two shades of peach cardstock and used these to decorate the carousel.


I added pink pearls to the top and bottom of the decorate carousel.


The finished card fold flat and measures 5 inches x 7 inches, so fits easily into a 5 x 7 envelope.


On the base panel, I used Waffle Flower Craft's Radiating Circle Frame die to add two sentiments. I cut the circle frame in half and added one portion of the circle to the front of the card to add as a stopper to keep the easel upright. I then added the other a little further back so that there is a gap between the two so I could add another sentiment. I gold embossed both sentiments to match all the gold included in the card.

I added some flowers along the front of the circle using a floral die set from Spellbinders.


I added a circle panel to the back of the easel panel, so I had a place to write a personal greeting when needed.


Tuesday, November 8, 2022

Gingerbread Man Gift Tags


Hi Crafty Friends,

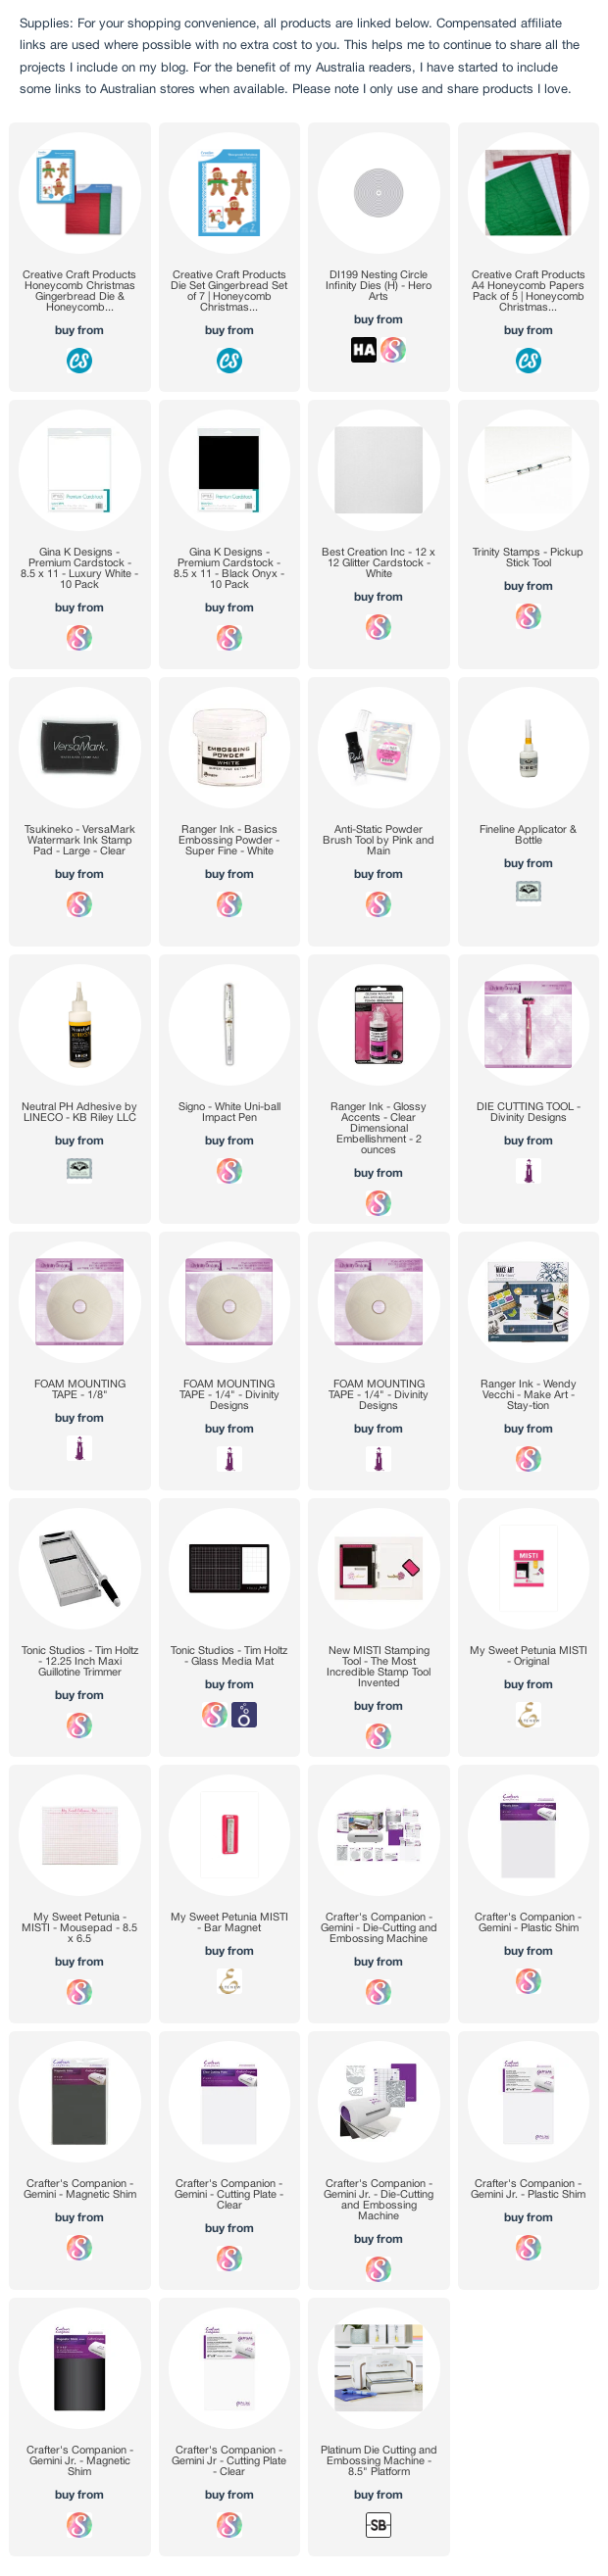
Each year I like to make a few special gift tags to use for the family's presents. When Creative Craft Products released their Christmas Honeycomb Paper die sets this year, I knew I wanted to use the Gingerbread Man die for those special tags.

As you can see by the photo above, I made six of these.


I used the main gingerbread man die to die cut the gingerbread man from brown cardstock. As I didn't want to see the openings for the eyes on the back of the tag and I also needed to add ribbon, I adhered each gingerbread man to a piece of the same colour cardstock and cut them out. If you were adding these to a card you wouldn't need to do this. 

I decorated the gingerbread man using the dies included in the set ... the icing, the hat, trim etc.

There is a half circle die included in the die set to die cut the honeycomb paper. I also die cut another from red cardstock and a full circle. I adhered the full circle to the belly of the gingerbread man.


I adhered the honeycomb paper half circle to the right side of the gingerbread man's belly and then covered the top of the paper with the half circle cardstock. 

As I wanted these tags to be able to be stored between now and Christmas and hopefully after Christmas if I can rescue any, I added the hook and loop to the the other side of the half circle. This allows the honeycomb to be stored when not in use (even on the present until the important time if needed) and then opened up when needed. I managed to find a large amount of hook and loop on Amazon for a very reasonable price, so I can afford to be generous with this.


As I wanted these to be gift tags, I die cut another circle from red cardstock and white embossed the to/from sentiment. The gingerbread man die set also includes a Merry Christmas banner, which would look nice adhered to the honeycomb section, but as I knew I would be folding these I decided to cut off the banner portion so it couldn't be seen from the front and adhered it over the arms.

I also added glossy accents to the eyes.


Monday, November 7, 2022

Butterfly Gatefold


Hi Crafty Friends,

I have a Gatefold card to share with you today using dies from Crafter's Companion.

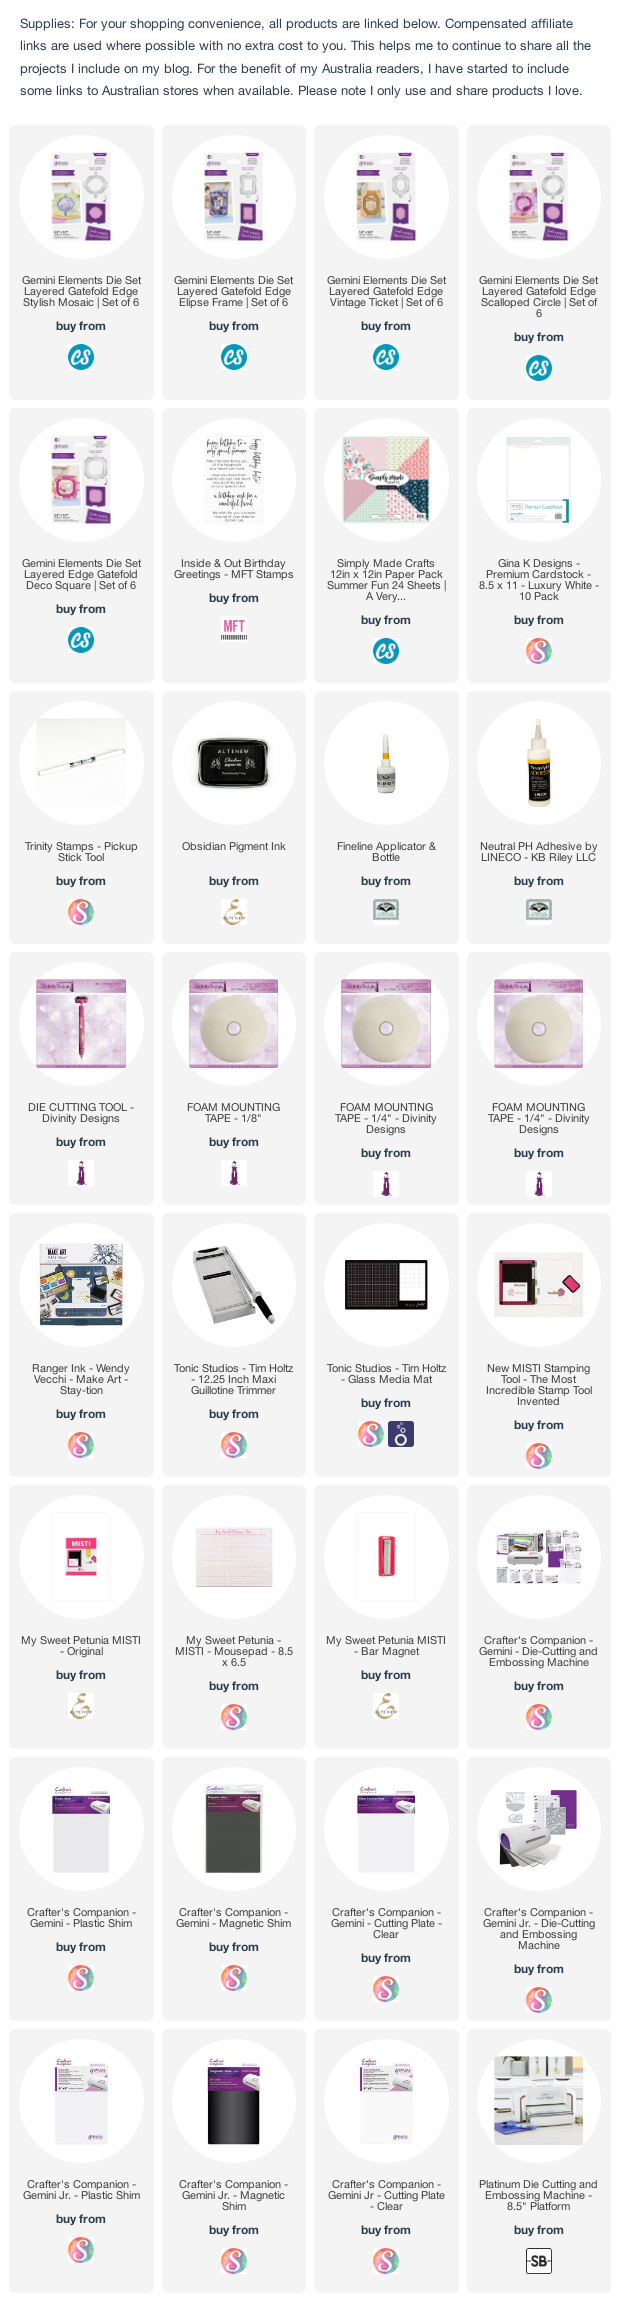
Recently Crafter's Companion released 5 Layered Gatefold Edge die sets, these looked so interesting that I decided to purchase 4 sets. I will probably get the other one too, but I will wait and see how I got with what I have first. These die sets include dies to die cut the fancy die cut edge. the patterned paper and two label dies to add to the centre of the die. By cutting your layer 1/4 smaller than the width of the gatefold panel, you are supposed to get perfect layering.

For my card today I used the Stylish Mosaic Layered Gatefold Edge die set to create a basic 5 x 7 card, but there are so many different ways to use these dies which I am looking forward to investigating.

I am not sure if these would work on an A2 sized card, as the patterned paper is pretty narrow at the centre of the side of the card and this is 5 inches wide. Different designs may or may not work better for that size, but I am happy making 5 or 6 inch wide cards.

 I decorated the front of my card using the Spellbinders Delicate Butterflies die set.


As you can see I added coordinating paper to the inside of my card, and then layered the labels to the centre of the card. The sentiment on the label is from MFT Stamps.


Friday, November 4, 2022

Ho Ho Ho

Hi Crafty Friends,

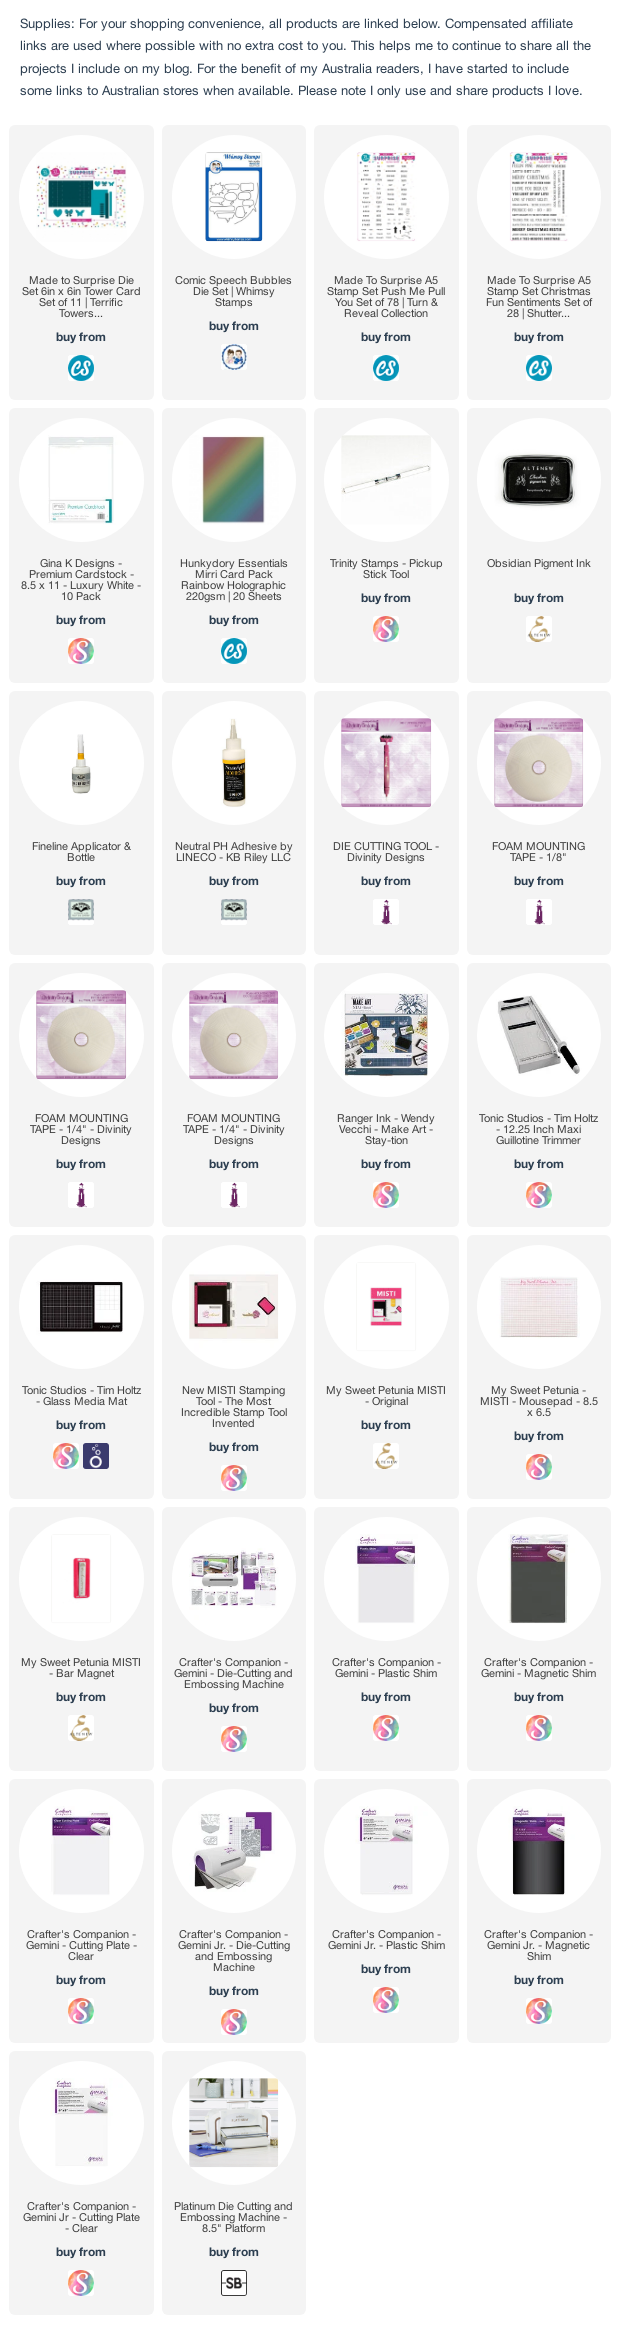
Today I am sharing another Christmas card I created using the Made to Surprise by Sam Calcott Card Kit included in the Papercraft Essentials #217 Magazine. I am still waiting for my kit to arrive, but while I am waiting I decided to get the digital version of the magazine which comes with download of the papers and images, so that I was able to get some cards made before this Christmas.


Earlier in the year, Sam shared a card she had made where she combined one of her Terrific Tower cards with the pull tab mechanism from the Everyday Pop Up die set. As I was looking for something different to do with the kit, I decided to combine the two for my card.  It is good to be able to use both of these dies in a different way for a different look.

I used the 6 x 6 Tower Card die set for the base of my card. I used one of the papers in the card kit for the layers of my card.


When you "pull" the tab, it reveals Santa who is either going down or up the chimney. I used the Push Me Pull Me Stamp set to add the word "pull" to the pull tab.

As the centre panel is narrower than a normal card, I trimmed the sides of the chimney, and the top of the chimney down. I also printed out a slightly smaller snow image to put on the top of the chimney ... the advantage of having the digital set.


I used the "Ho" from the Christmas Fun Sentiment set, to add the 
Ho Ho Ho to each of the speech bubbles and then adhered them towards the top of the card. I guess Santa can be saying it when he is in the chimney.


As well as adding Santa inside the chimney, I added Rudolph, Santa's Sack and a present to the front of the chimney.


And finally the back of the card. I added a white panel to the centre, to add a sentiment and a place to write a personal greeting. I also added more images from the Card Kit. The sentiment is also from the Card Kit.

Other Supplies:
Made to Surprise by Sam Calcott Pop-up Card Kit - Papercraft Essentials #217
Everyday Pop-ups Die Set - Made to Surprise by Sam Calcott


Thursday, November 3, 2022

Dog-Gone Happy Birthday


Hi Crafty Friends,

It's challenge time with my friends over on the CCEE Stampers challenge blog. Being a brand new month, it's time to introduce our new challenge hostess which is Maryann Einam.

According to the days of the year calendar it is walk your dog week. Walk you dog week is a week holiday dedicated to bringing your dog a healthier lifestyle. Make a card with your furry friend in mind.


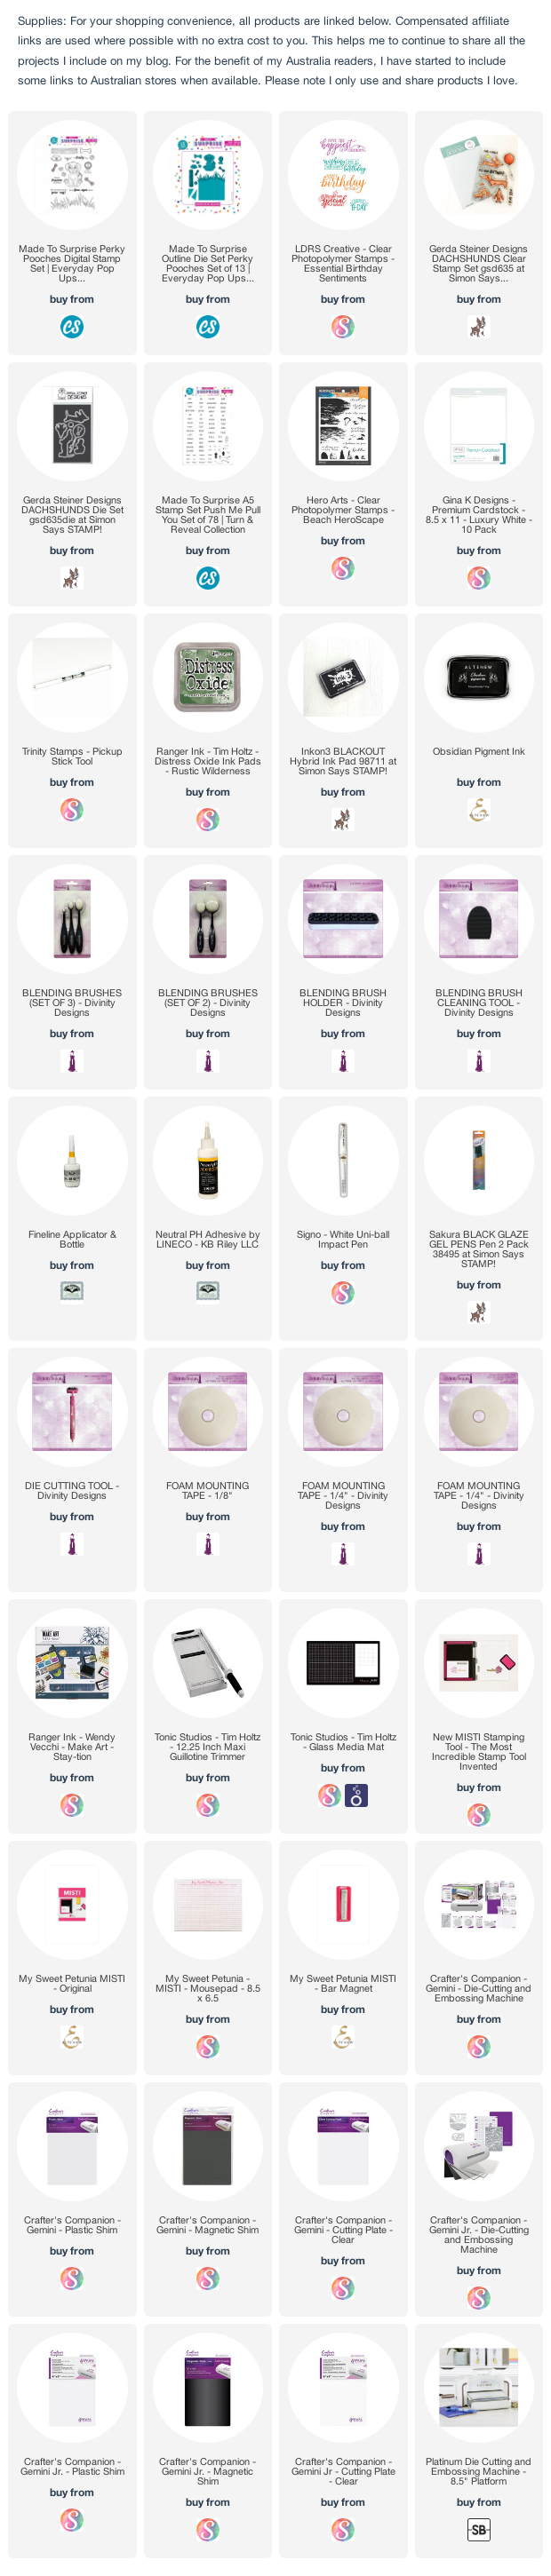
For my card today, I have created a pull card using Made To Surprise by Sam Calcott's Everyday Pop Up die set. I recently also got the coordinating Perky Pooches die set that coordinates with the Everyday Pop Up die set and the Perky Pooches stamp set which is now only available as a digital stamp set. I did end up ordering the digital set seeing I had the dies and I was originally going to use that on my card but decided to go with these cute Gerda Steiner Dachshunds instead.

This is a 5 x 7 inch card. I die cut the grass included in the Perky Pooches die set twice from green cardstock to create the layered grass look on the front of the card.

I used three of the dachshunds on the front of the card with one of the dogs playing with a ball.


When you pull the tab at the top of the card, it reveals a bunch of colourful balloons and other of the dachshunds. I added some acetate on the back of the balloons/dog, to help give this piece a little strength and to help it more smoothly. 

I added a birthday sentiment using one of the sentiments from the LDRS Designs Essential Birthday Sentiments stamp set, this is one of my new favourite birthday sentiment sets. I also added a couple of birds using Hero Arts Beach Heroscape stamp set.


On the inside of the card, I added some more of the grass along the bottom of the card. I then added another of the dachshunds.

The birthday sentiment is an older Penny Black wood mounted stamp I have had in my stash for years.

Don't forget to check out the CCEE Stampers blog (goes live 12 AM EST) to see the rest of the creations the CCEE Stampers created this week. You can also see more details of their creations on their individual blogs:


Other Supplies:
Everyday Pop Ups 6 x 6 & 5 x 7 Pop Up die set - Made to Surprise
Dog Gone Birthday - Penny Black (discontinued)


Wednesday, November 2, 2022

Santa Octagon Double Gatefold

Hi Crafty Friends,

I have a fun Octagonal Shaped Christmas card to share with you all today.

A little while ago, I purchased some Creative Craft Products Nested die sets which were on special, Craft Stash always have some great specials on their website almost everyday. These die sets include the same shaped nested die from the smallest size possible to approximately 8 inches. Now I am not sure if I will ever need the 8 inch sized ones, but who can tell for sure. I have been making a lot of larger cards lately, now that I make so many Slimline, 5 x 7 and square cards, so I was after larger sized nested shaped dies. One I got in this sale was the Nested Octagonal die set that has 24 dies included in it. A while later Craft Stash released the Filigree Shaped Nested die sets, so I got a few of these ... I think I might need the rest of them now as I just love them. Anyway now that I have both die sets, I decided to pull them out to make an Octagonal Double Gatefold Card.


Here is a look at my card when the card is partly opened. I used holographic card stock to die cut all the filigree layers. 

On the centre panel, I added Santa which is from Made To Surprise by Sam Calcott's Santa Claus stamp/die set.

The finished card is 6 x 6 so will fit into a 6 x 6 envelope.

Here is a look at my card when it is fully opened, the paper used on this card is from the Made To Surprise Shutter Blind Collection Paper Pad.

To create the base of my card, I took a piece of 6 x 12 cardstock and folded it in half, I then die cut the octagonal shape making sure that the cutting lines on one side were just over the fold line so it wouldn't cut. I repeated this with another piece of card and then adhered one of the octagonal panels over one from the other die cut piece so that I had a trifold card. Then it was just a matter of scoring and folding the two side panels in half to create the gatefold card.

I used die from both of the octagonal die sets to create the layers for my card.

And finally a close up look at the centre panel. I stamped the Merry Christmas and images which are all from the Santa Claus stamp/die set. 


Tuesday, November 1, 2022

November 2022 Karen Burniston Designer Challenge


Hi Crafty Friends, 

Welcome to our November Karen Burniston Designer Challenge.

Check out Karen Burniston's blog on Wednesday (US Time) when you will be able to see what all the designers created for the challenge this month, plus Karen will have an amazing video tutorial to share with us all.

Our challenge theme this month is ... "SNOWMAN" - create a card with any type of Snowman. (Die ideas - 1012 Snowman Twist Circle, 1017 Snowman, 1213 Snowman Add-ons)

For my card today I decided to using the Snowman Add-ons die set in conjunction with all the "Ball" dies ... Surprise Ball, Bitty Ball & Mini Ball to create two snowmen inside a trifold card.

You can see my card in action above.


As you can see by the photo above, I created two snowmen. The one in the centre panel of my trifold card using all three "Ball" dies and also all three of the "Ball Double Ups" die sets. You don't need the double ups to create the balls, but it does make it so much easier and quicker to die cut all those extra pieces to add to the balls. I also used the Snowman Add-On die set to add all the features all of the snowmen.


The smaller snowman or "snowgirl" as I gave her plaits etc, was created using the two smaller "Ball" dies ... the Bitty Ball and Mini Ball die sets. To decorate her I also used the plaits and hat from the Mini Ball Add-ons 1 - Gnomes die set. 

Rather than use a brad to attach each of the snowmen to my card, I have adhered each of them to an oval using the Crosshatch - Ovals die set. I then added strips card/patterned paper to each of the panels which the ovals can slip into. This makes them easily removed in case you want to display them after the occasion without the card.


When you close the right hand page of my card, ready to close the card, it reveals a "Merry Christmas sentiment using the Merry Christmas and Merry Christmas Shadow die sets. 

You can see the left page still in view. On this page added the sentiment "Hope Your Christmas is Snow Much Fun" This was created using stamps for the first part of the sentiment and then Word Set 13 - Snow die set. I layered the sentiment to my card using the Labels - Crosshatch die set.


Here is a look to the front of the card, which I tried to keep fairly simple seeing the focus is on the inside.

To create the snowman I used circles from the Circles - Crosshatch die set and the Snowman Add-ons die set. The brim of the hat and scarf, were both created using a circle die.


I used the closure Karen Burniston shared recently in a video. I also added another snowman to the hand side of the card.

The finished card measures 5 1/2 inches x 5 1/2 inches x 1/2 inch deep when closed. When fully opened it is 5 1/2 inches x 17 3/4 inches.

Other Supplies:
Holly Jolly 12 x 12 Paper Pack - Simply Made Crafts