Wednesday, May 24, 2023

Love and Best Wishes


Hi Crafty Friends,

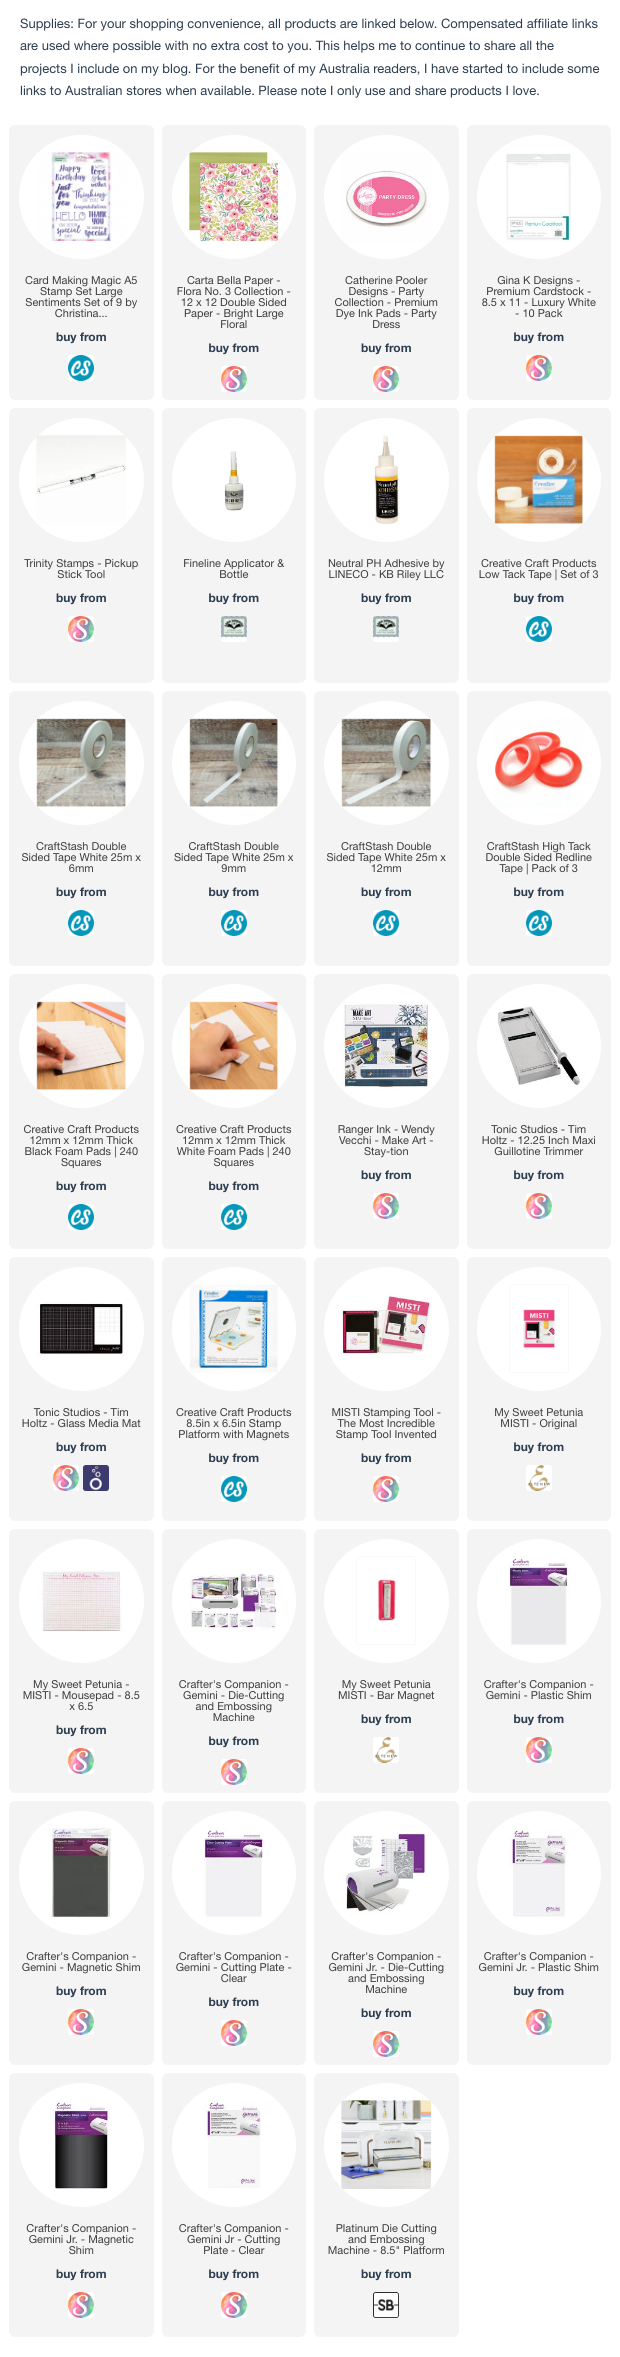
Today I am sharing a Fancy Fold Card, this style of card is called a Diamond Flip Fold Card. This card is the 5inch x 7 inch version of the card and you can find a tutorial for it here.


This is a fairly simple card as it uses no dies and only one stamp set. The flowers around the sentiment on the front of the card have been cut from the patterned paper.


When you open the card, the diamond panel on the front "flips" so it can be seen in the opened position. 

Both sentiments are from a Card Making Magic stamp set which I have linked below.

For a variation, you could opt for only cutting the pointed edge on the front panel and have the back panel a rectangle shape so that part of the rectangle can be seen from the front.


Tuesday, May 23, 2023

Have A Beautiful Day


Hi Crafty Friends,

Thanks for visiting my blog, today I am sharing an Offset Gatefold card I created recently using dies from Crafter's Companion.

I created a 5 x 7 inch Offset Gatefold card using Crafter's Companion's Vintage Ticket Layering Edge Gatefold die set. To create this I started with a 14 inches x 5 inches piece of white cardstock and then scored at 5 inches and 12 inches. 


To decorate my card I used My Creative Life's All Dressed Up die set along with the Beautiful Sentiments and Fabulous Sentiments stamp sets.


Here is a look at the inside of my card, The "Birthday Wishes" sentiment can be seen when the card is closed. The other sentiment is only revealed when the card is opened.


Monday, May 22, 2023

Every Day is a Fairytale


Hi Crafty Friends,

Today I am sharing a fairytale themed Pop-up Card using dies from Creative Crafter Products & Crafter's Companion.


For the pop-up portion of the card, I used Creative Craft Products' Inside Out Sentiments Best Wishes Card die set. I die cut the pop-up from dark pink cardstock, the photo shows it a lot darker than it actually is.

To decorate the card I used dies from the Crafter's Companion's Once Upon A Time Collection and Zig Zag Scene Builders Collection. The castle is from the Once Upon A Time set from the Zig Zag Collection and the other stamps/dies are from the Once Upon A Time Collection.


The patterned paper is a digital paper from Made To Surprise. 

For the two stamped sentiments I used oval dies from Crafter's Companion.


For the front of the card, I used two more die sets from the Once Upon A Time Collection from Crafter's Companion. I used the Ovals and Filigree Ovals die sets from Creative Craft Products.


Friday, May 19, 2023

Rainbow Presents


Hi Crafty Friends,

 I recently ordered and received the Picket Fence Studios' Paper Pouncers, so of course I wanted to have a play with them. One of the things the Paper Pouncers are supposed to be good for is stencils, so I pulled out my Pretty Pink Posh Layered Presents Stencil set to create the background for this card. I used Catherine Pooler inks, using three colours per colour family that I used on the background. For the final layer after adding the ink, I cleaned the stencil and repositioned it to add some glitter glitz gel over the top.

I die cut the panel and the black layer using Creative Craft Products Notched Nested Squares die set.   

I wanted to have the colours of the presents repeated on the base of my card, so I used Slimline rectangle die to die cut the 5 colours and adhered them to a 6 x 6 panel. I then used the Made To Surprise Linen Embossing Folder to add texture to the panel before adding it to a top folding 6 x 6 card base.

I hot foiled birthday sentiment using Waffle Flower Crafts Birthday Duo Hot Foil Plate. I used Pinkfresh Studio's Solid Foil Plate to get the negative image of the sentiment.

To finish off the card I added some iridescent jewels to the card.


For the inside of the card, I used the Notched Nested Squares again for the layers of the card. I added two sentiments using two stamp sets from Creative Craft Products.


Thursday, May 18, 2023

Sending You Birthday Wishes


Hi Crafty Friends,

I have another shaped birthday card to share with you today. 

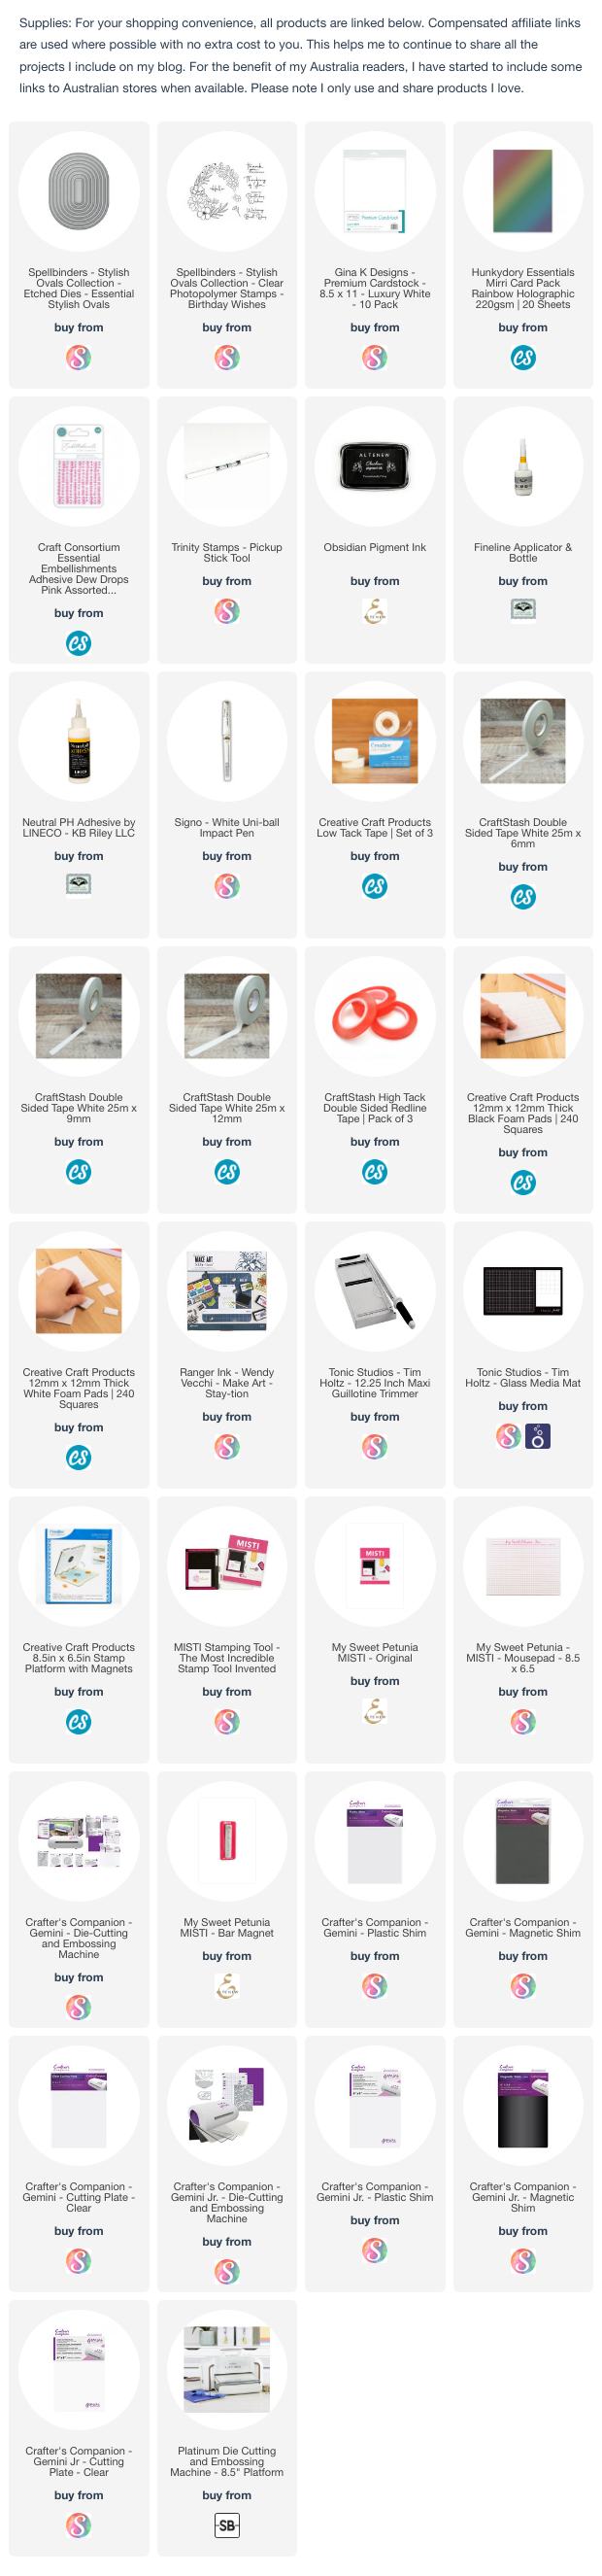
This card uses some of the new stamps and dies from Spellbinders Stylish Ovals Collection which was released in April. When I first saw the nested Stylish Ovals die set I knew they were something I needed to add to my collection as they are such a different shape to have.

I used the Stylish Oval dies to create an oval shaped card, this card measures 4 1/4 inches x 5 1/2 inches.

The flowers and sentiment are both from the Stylish Oval Birthday Wishes stamp set. I coloured the flowers using my Black Widow Wax Colouring Pencils.


To create the card base I die cut the largest stylish oval die from white cardstock twice and then scored along the top edge of one 1/2 inch down and adhered the 1/2 inch portion to the front card. I then adhered the pink layer over the front of the white panel.


I die cut two of the small stylish ovals for the inside of the card and added another of the sentiments and flowers from the stamp set.


Wednesday, May 17, 2023

Record Shop


Hi Crafty Friends,

Today I am sharing a fun 3D card I created recently using dies from Concord & 9th.

I have been loving the cute little shops I have been seeing online using the cute Window Shoppe Card Base die from Concord & 9th, so I decided to purchase the die along with a few other things from a recent release. As one of the other things I purchased was record themed, I decided to use the Window Shoppe Card Base die set to create a record shop. Apparently the day I made this card was actually "Record Shop Day", yes it is a thing I remember my husband and I going to a few some years back. I have had so many things to post on my blog, that it has taken almost a month to get it posted on here.


I love the "record" sentiment and the tiny record that comes in Concord & 9th's For the Record die set, it was perfect to use for the sign of my shop ... the shop word came from the Window Shoppe Base die set.


The die set also included a die to make a 3D crate and a record cover, so I die cut them three dies to add to the inside of my store, I added a brown panel under the crates to look like a table/bench. I added a couple more records to the wall.


For the inside of the card, I added the ovals using dies also included in the For the Record die set. I added a stamped sentiment from Honey Bee Stamps For the Record stamp set, which is no longer available. Concord & 9th did release a record themed stamp set, but as I have so many other stamp sets of this theme I decided not to get it.

I then die cut a larger record using dies and stamps from Sugar Pea Designs, this is probably also no longer available as it's pretty old.

I used hands from MFT Stamps In Good Hands die set to make it look like someone holding the record.

Other Supplies:

For the Record Stamp Set - Honey Bee Stamps (discontinued)


Tuesday, May 16, 2023

Cheers


Hi Crafty Friends,

Today I am sharing a Circle Double Slider Card using Made To Surprise's Circle Double Slider Card die set. Last year I shared a square version of the Double Slider Card using the Square Double Slider Card die set and I have been trying to get hold of the die set for the circle version for months. I had started to think that Craft Stash wouldn't be restocking it, but about a month or so ago the die set became available again so of course I ordered it.


Here is a quick video to see my card in action.

I love the paper included in the Occasions Paper Pack also by Made To Surprise, so I used the drinks paper from the pack for my background.

I added the glasses from the Cheers stamp/die set which I added to each side of the card.

The "Cheers" sentiment at the top of the card is an older MFT Stamps die.


I added a slider on either side of the circle. When you pull the tabs, it reveals "bubbly" sentiments also included in the Cheers Stamp/Die set.


This die set also includes a stand to attach to the back of the card so the card can be displayed upright. This is also a good place to add another sentiment and hand write a personal greeting. I added a sentiment and a cork using the Cheers Stamp/die set again.


One last photo to show how the card is displayed using the attached stand at the back. This does fold flat for mailing. The finished card measures approximately 6 inch high x 6 1/2 inches wide. 


Monday, May 15, 2023

Hummingbird


Hi Crafty Friends,

Today I am sharing a fun bird shaped card I created recently using dies from Spellbinders Paper Arts.

I thought I would be able to resist the recent release by Spellbinders of Bibi Cameron's Hummingbird Collection, but after seeing a few samples that other people had made using these products, that soon went out the window.

For my card today I used the Hummingbird Card Creator die set to create this bird shaped card. I first die cut the white card base using the die so that the top portion of the tail and wing were hanging slightly over the fold in the card. I then die cut another using teal cardstock which I decorated before adhering to the white card base.

This makes a 5 x 7 inch card.


I used a "bird" themed sentiment stamps from Becky's Place for the sentiment on the front of the card. I have it in stamp form, but I think it is only available now as a digital stamp. I have included the link to the digital set below.


For the inside of the card, I added another bird themed sentiment this time one from Creative Craft Products/Craft Stash.


Friday, May 12, 2023

Sending You So Much ...


Hi Crafty Friends,

It's Mother's Day on Sunday down here in Australia and I suddenly realised that I haven't made any Mother's Day cards this year. While I don't need them for Sunday, I normally make a few to add to my daughter's card packs I make to give them at Christmas, so I quickly got one made. I will get some more done during the year.

For my card today I created a 5 x 7 inch card using one of the new Creative Craft Products A2 Additions Love Word Panel Die and Stamp set. This die set includes the rectangle panel with decorative overlay & attached "Love" sentiment and a stamp set with various words/phrases that work with the word "Love". Being that this die is made to fit an A2 Card, it's a little wider than the width of my 5 inch wide card, and while I could have trimmed it flush with the card I liked the look of it hanging over the edge. The sentiment at the top of my card, is also included in the stamp set.

I decorated the lower left corner of my card using the flowers from Made To Surprise's Flowers and Foliage Stamp/Die set.

I added the word "Mum" which is from an older Simon Says Stamp stamp set, which I stamped onto a pink heart and added to the word panel.

To finish off the card, I added some pink dew drops randomly over the card.


For the inside of my card, I again used the rectangle panel included in the A2 Additions Love Word Panel Die and Stamp set. I trimmed off the word "love" from the top of the panel before adding it to my card. I used the panel on the front of the card to work out where to position the panel on the inside of the card, but this time I did trim off the overhanging sides.

I stamped the "Happy Mother's Day" sentiment which is from the same Simon Says Stamp stamp set I used on the front. I die cut it into a rectangle and adhered it to the centre of the word panel.


Thursday, May 11, 2023

Roaring Twenties Accordion


Hi Crafty Friends,

Today I am sharing another card using a few of the stamps and papers from Crafter's Companion's Roaring Twenties Collection. This time around I have created an Accordion Stepper Card.

 Creative Craft Products have two Accordion Stepper Card die sets one slightly bigger than the other. Back in January I shared an Accordion Stepper Card that measured 6 inches square when closed, that's the smaller of the two. Today I am sharing the larger version which measures slightly over 6 3/4 inches square when folded and will fit into a 7 inch square envelope. I like both sizes depending on the images you are using at the time.


For this card I used Crafter's Companion's All That Jazz; Raise a Glass and Shine Like The Stars stamp sets along with their Roaring Twenties 12 x 12 paper pad. I am really loving these products.


I added the larger square panels to the back of the card, one that I stamped a sentiment on, using one of the sentiment stamps from the Shine Like The Stars stamp set. . 
I added a second panel which I left blank, other than the glasses, so there is a place to write a personal greeting.