Wednesday, May 22, 2019

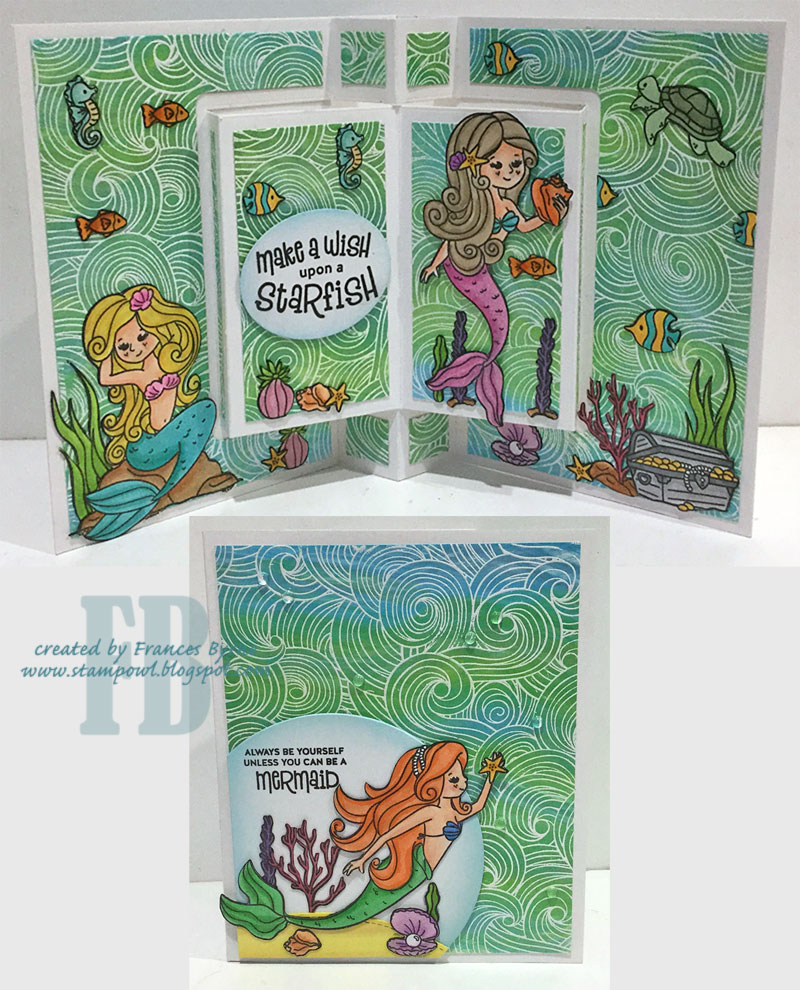
Make A Wish Upon A Starfish


Hi Crafty Friends,

My card today is for a challenge I do with a couple of friends of mine. Each month we challenge each other to create something using supplies we all own.

This month our challenge is to create a card using any Tim Holtz product. This could include Distress Inks, Distress Oxides, Alcohol Inks, Stencils, Stampers Anonymous Stamps etc etc .... lots of options for this one.


As I recently received my order of the new Alcohol Pearl inks, I decided to use those for the challenge this month. I love the pearl finish these have on a card and I can already tell I will be using these a lot!

So far I have been having fun playing with a technique that Jennifer McGuire shared back in March where she applied a long piece of felt to a protractor or stamp block and added the alcohol pearl ink to the edge of the felt and then swiped it over the card a number of times until you get the look you want. You can see her tutorial here. When I was making a card recently for an upcoming challenge, I noticed that I could apply the alcohol pearl inks to normal cardstock using this method. As I had so many panels to ink up for the card I was creating today, I decided to use normal white cardstock rather than Yupo Paper to save my Yupo. Please note that the inks don't move on this cardstock for other alcohol ink techniques, just the swiping method.


For my card today I decided to pull out my Crafter's Companion Square Twist Card which makes a Pop Up Book Card. 

For my background panels, I applied Tranquil, Celestial & Sublime Alcohol Pearl Inks to a long piece of felt attached to a protractor and swiped it over my cardstock continually until I got the look I wanted. I then used the large background stamp from the Honey Bee Stamps Ocean Borders Clear Stamp set using white embossing powder. These were then die cut using the layering dies from the Square Twist Card.

To decorate my card I used Simon Says Stamp Beautiful Mermaids Clear Stamp set.


For the front of my card I added another background panel and then added a circle to the lower left hand corner of the card.

I added a sand base to this circle using Lawn Fawns Stitched Hillside Border. This was colored using Alcohol Pearl Inks in Alchemy and Mineral.

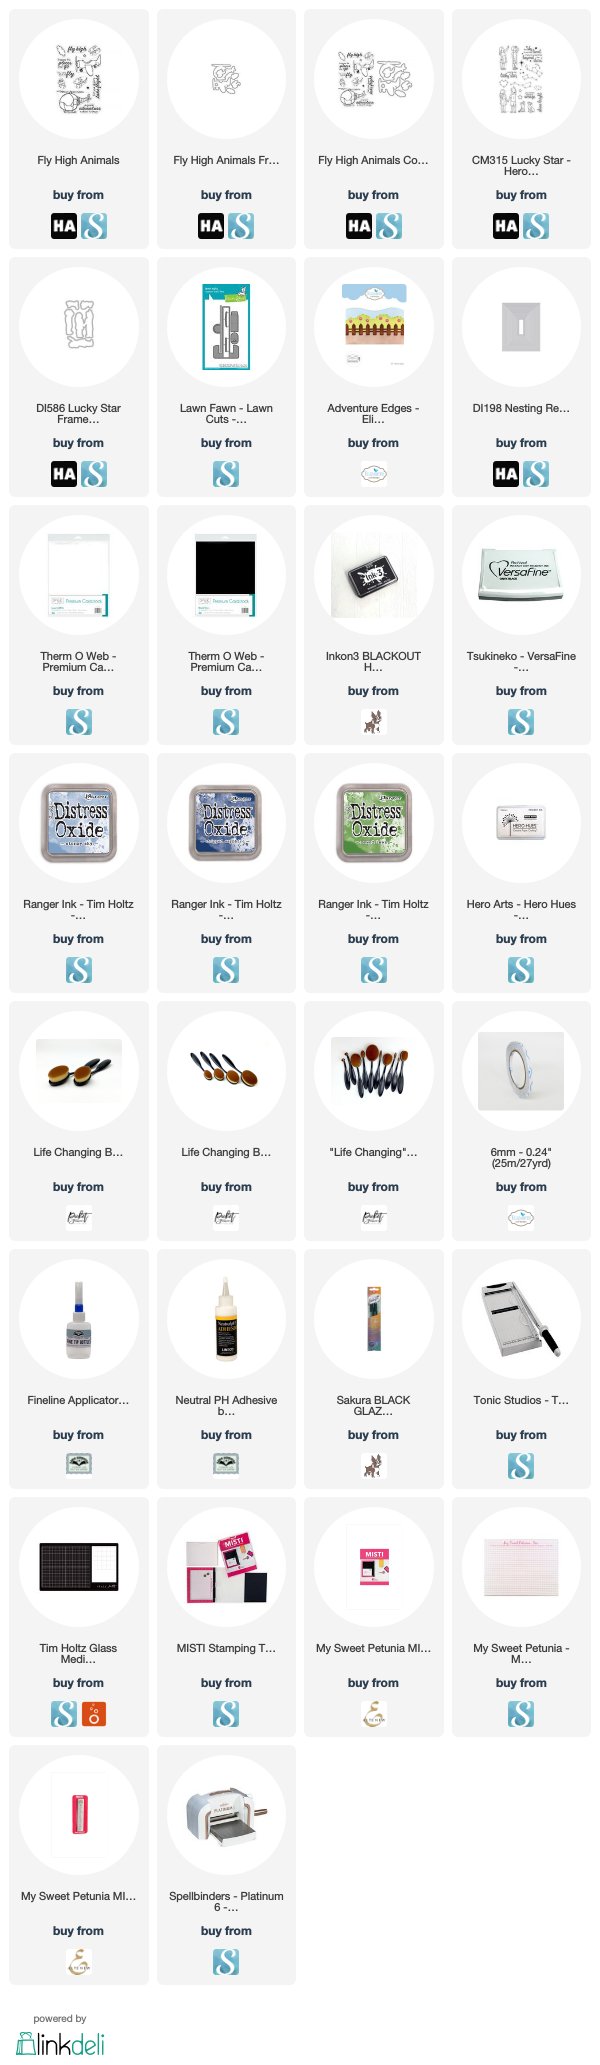
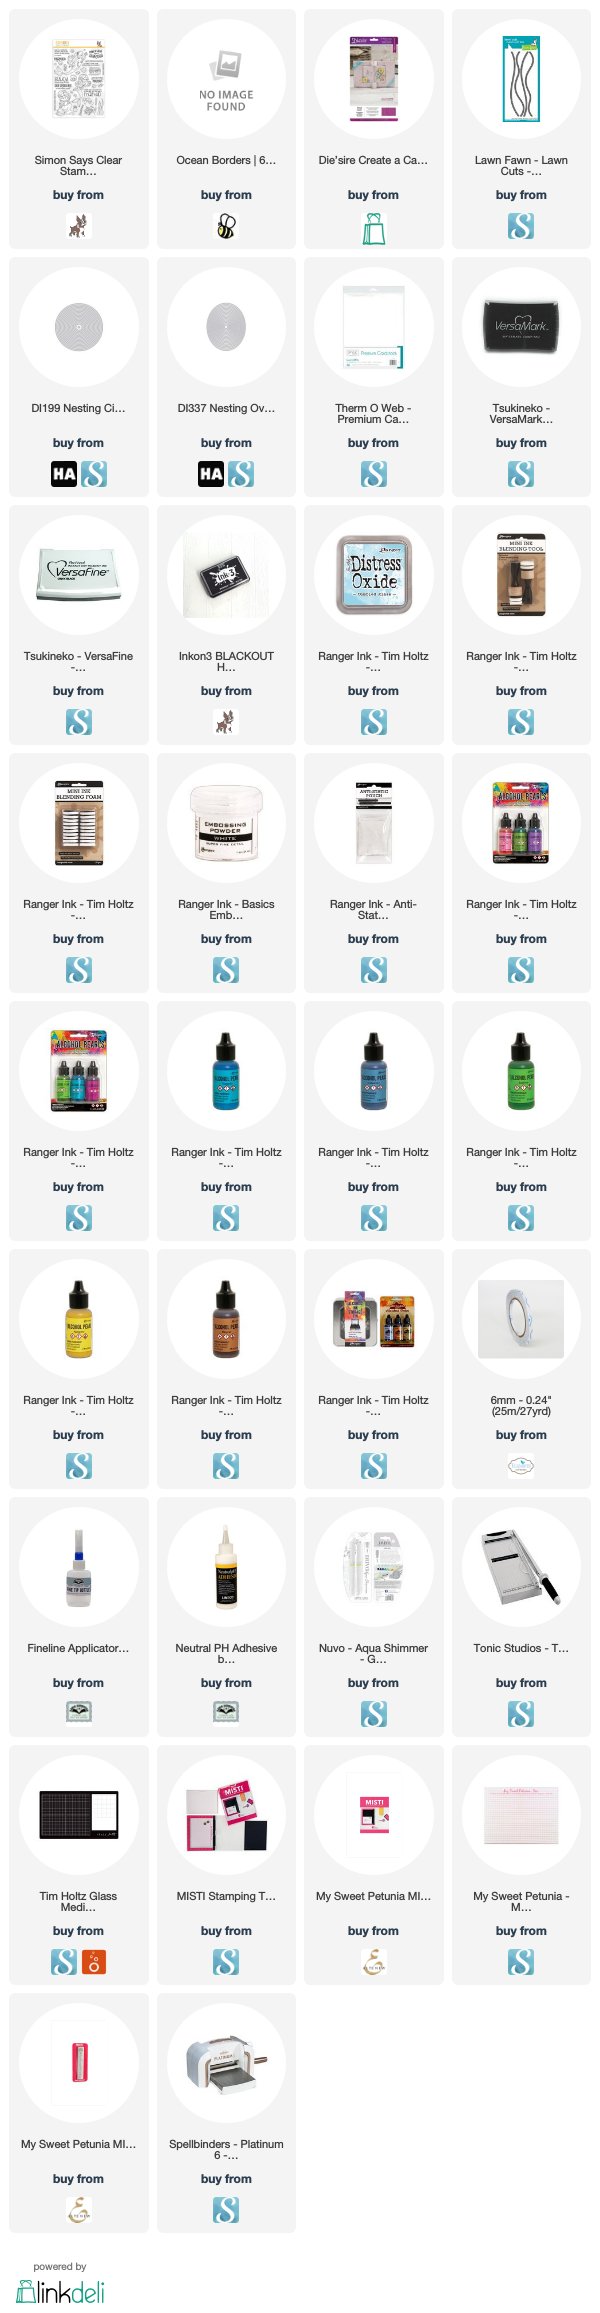
Supplies:
For your shopping convenience, all products are linked below. Compensated affiliate links are used where possible with no extra cost to you. This helps me to continue to share all the projects I include on my blog. Please note I only use and share products I love.




Tuesday, May 21, 2019

Sending You My Love


Hi Crafty Friends,

I have another card to share with you all today, using the Alcohol Pearl Inks.

To create my background I used Alcohol Pearl Inks in rainbow order using the swiping technique Jennifer McGuire shared a few months ago. You can see her technique here

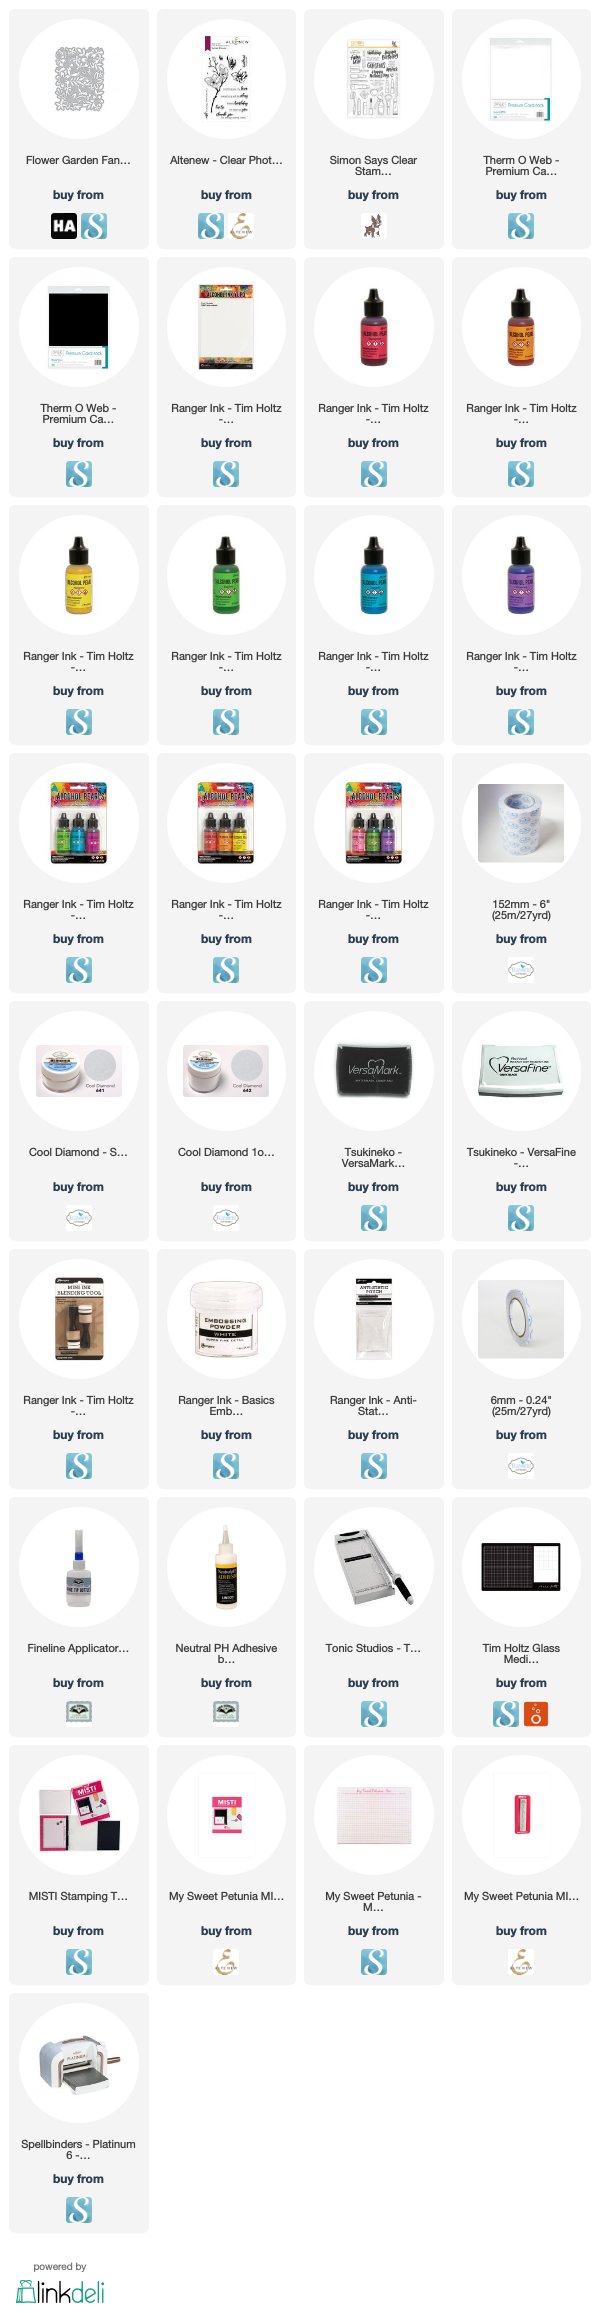
On top of the rainbow panel I layered Hero Arts Flower Garden Fancy Die which I die cut using Clear Double Sided Adhesive Tape on the front, and adding Cool Diamond Silk Microfine Glitter over the top.

I colored clear rhinestones using the same colors of Alcohol Pearl Inks that I used on the background adhering them onto the card over the flower that was over the relevant color on the background.

To finish the front of the card I added a sentiment from Altenew's Dotted Blooms Clear Stamp set.


I added a rainbow panel to the left side of the inside of the card, and also die cut a bunch of the flowers from the Flower Garden Fancy die I used on the front, cutting out just a few.

I added a birthday sentiment to the top right hand side of the card.

Supplies:
For your shopping convenience, all products are linked below. Compensated affiliate links are used where possible with no extra cost to you. This helps me to continue to share all the projects I include on my blog. Please note I only use and share products I love.


Monday, May 20, 2019

7th Birthday


Hi Crafty Friends,

I have been waiting a couple of months for the new Pearl Alcohol Inks to finally make their way down to Australia! Well they have finally arrived and I couldn't wait to play with them.

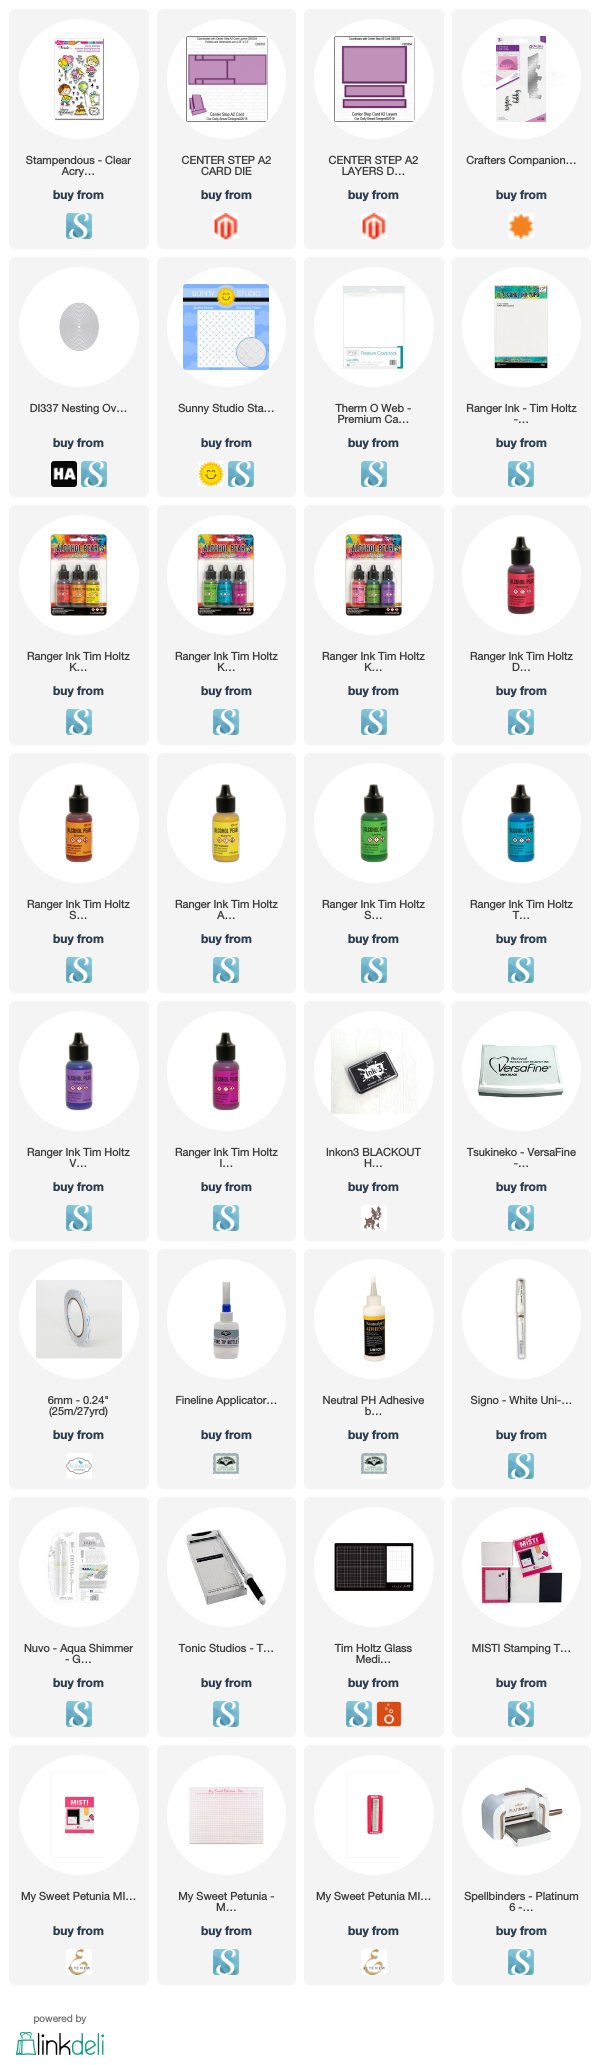
For my first card I created a rainbow background using seven of the new colors. Once the alcohol inks were dry I embossed the card using Sunny Studio Stamps Quilted Hearts Embossing Folder and then sanded the embossed area to reveal the white yupo paper.


I used Divinity Designs A2 Center Step Card and A2 Centre Step Layers die set to create my card. To decorate the card I used the Stampendous Birthday Kids Clear Stamp set. Along the bottom of the card I added the Birthday Edge'ables die from Crafter's Companion.


For the inside of my card I added another striped of Pearl Alcohol inked Yupo Paper along the bottom of the card and then added two sentiments and the three balloons from the Birthday Kids Clear Stamp set.

Supplies:
For your shopping convenience, all products are linked below. Compensated affiliate links are used where possible with no extra cost to you. This helps me to continue to share all the projects I include on my blog. Please note I only use and share products I love.


Sunday, May 19, 2019

Best Dad Ever


Hi Crafty Friends,

Today I am sharing a card I created for Divinity Designs Color Combo Design Team Challenge. This month the colours to be used are Medium  Blue, Cherry and Bright Blue. For more inspiration from the Divinity Designs Design Team visit the Divinity Design blog.


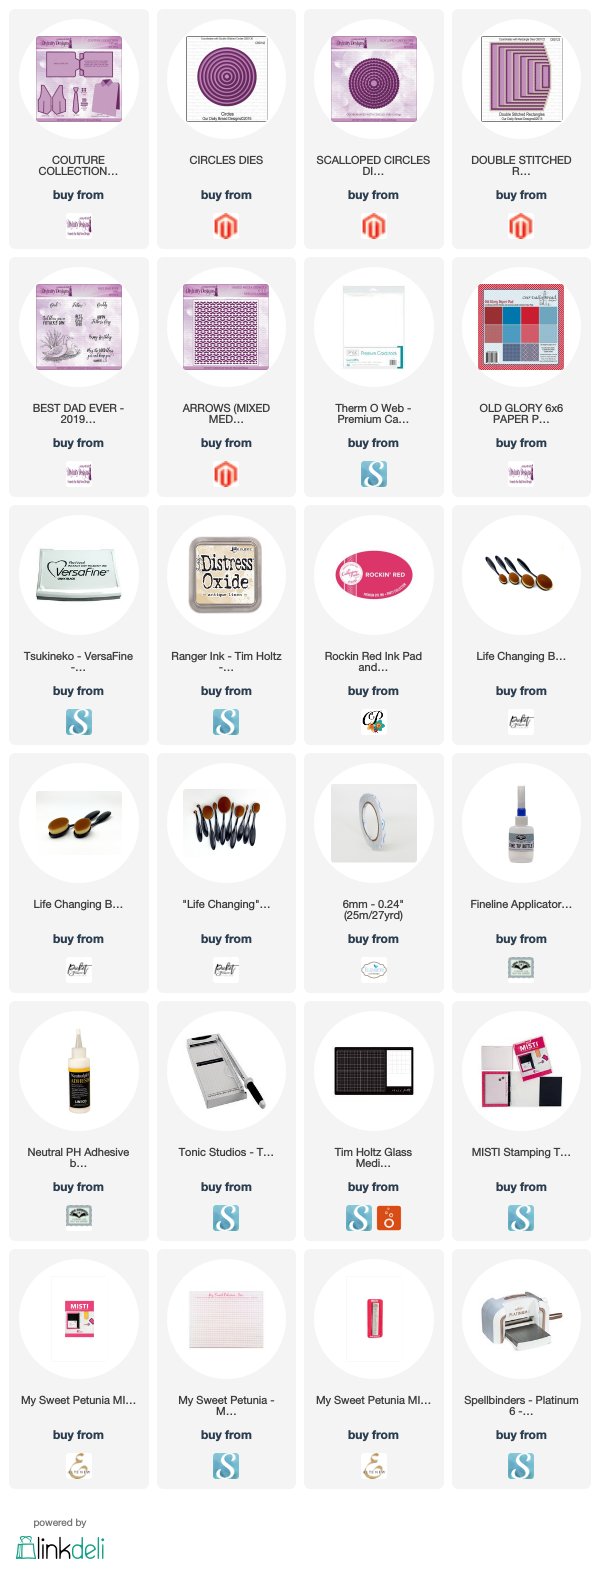
For my card today I created a Father's Day using the new Couture Collection die set. 

To decorate the tie I used the Arrows Stencil, embossing it onto the tie and then adding some red ink over the top.

I added a sentiment to the lower pocket, using one of the sentiments from the Best Dad Ever stamp set and using one of the rectangles from the Double Stitched Rectangles to die cut the sentiment. I adhered it to the pocket so it could resemble a card or piece of paper which is inside the pocket.


For the inside of the card, I added the left over stripe of cardstock to the left side of the card. This was left over after die cutting the paper for the shirt on the front.

I added two sentiments from the Best Dad Ever stamp set which is layered using the Ovals & Scalloped Ovals die sets.

Don't forget to check out the Divinity Designs Blog, so you can see what the other Design Team members created for this challenge.
Thanks for visiting my blog today!


Supplies:
For your shopping convenience, all products are linked below. Compensated affiliate links are used where possible with no extra cost to you. This helps me to continue to share all the projects I include on my blog. Please note I only use and share products I love.


Saturday, May 18, 2019

All My Love


Hi Crafty Friends,

It’s challenge time with the “Crazies” over on the Crazy 4 Challenges blog. Maryann Einam our challenge hostess for the month continues to issue the challenges.

Being the third Saturday of the month, it's time for a sketch challenge.


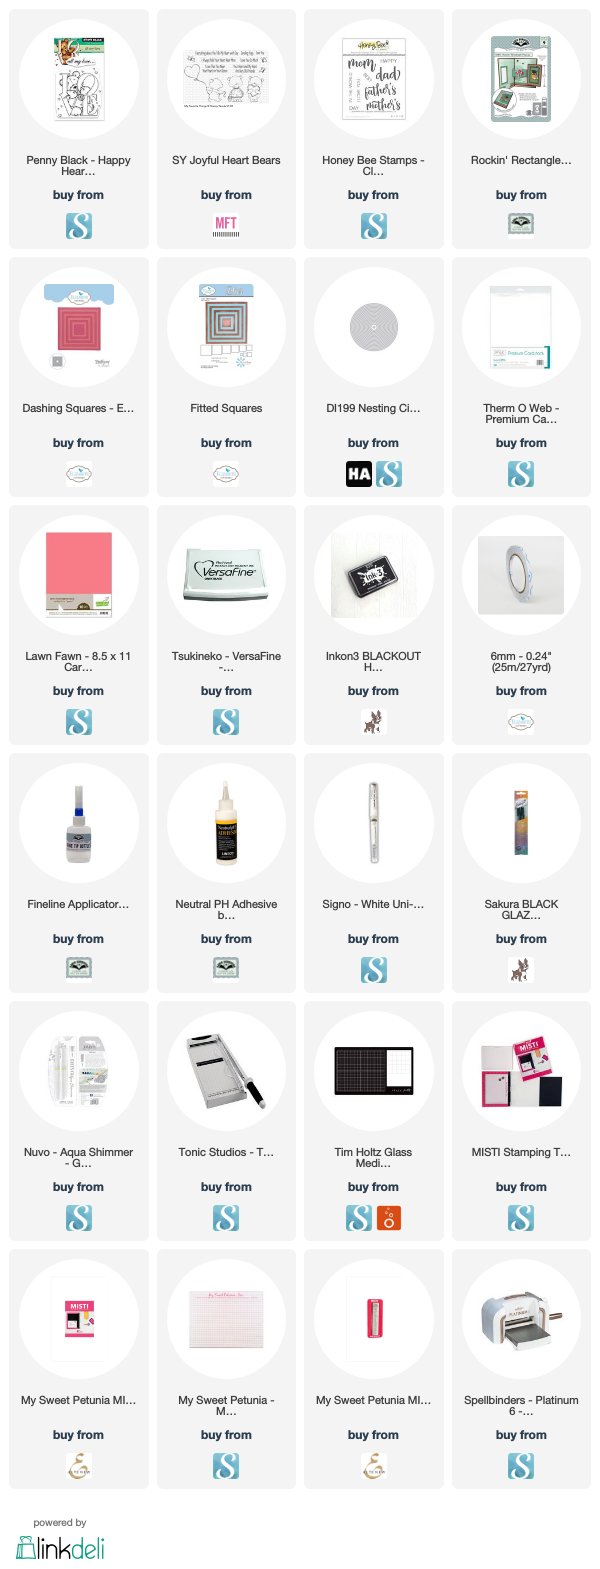
For my card today I pulled out a Penny Black stamp I purchased a month or two ago. I just loved this cute little bear and thought it was about time I used it. As Mother's Day was only last weekend, I decided to take the opportunity to add another Mother's Day card to my stash, I always need a few of these so my daughters both have enough for their needs.


For the inside of my card I decided to create a pop-up card using Karen Burniston's Rockin' Rectangle Pop-up die set, substituting the rectangle for a circle.

I used the leftover triangles of cardstock that i had from creating the front of the card on the inside.

I also added another bear, this time from a MFT Stamp stamp set on the upright section of the pop-up arm.


Here is another view of the inside of the card, so you can see the pop-up portion of the card a little better.

Don't forget to check out the rest of the “Crazies” cards over on the Crazy 4 Challenges blog and also their individual blogs for more details.


Supplies:
For your shopping convenience, all products are linked below. Compensated affiliate links are used where possible with no extra cost to you. This helps me to continue to share all the projects I include on my blog. Please note I only use and share products I love.


Friday, May 17, 2019

Best Dad Ever


Hi Crafty Friends,

Today we are taking a look back at Divinity Designs May Release, here is the card/project I created using the new Best Dad Ever stamp set. For more inspiration using the May Release and to see the other designers projects, be sure to visit the Divinity Designs Blog .


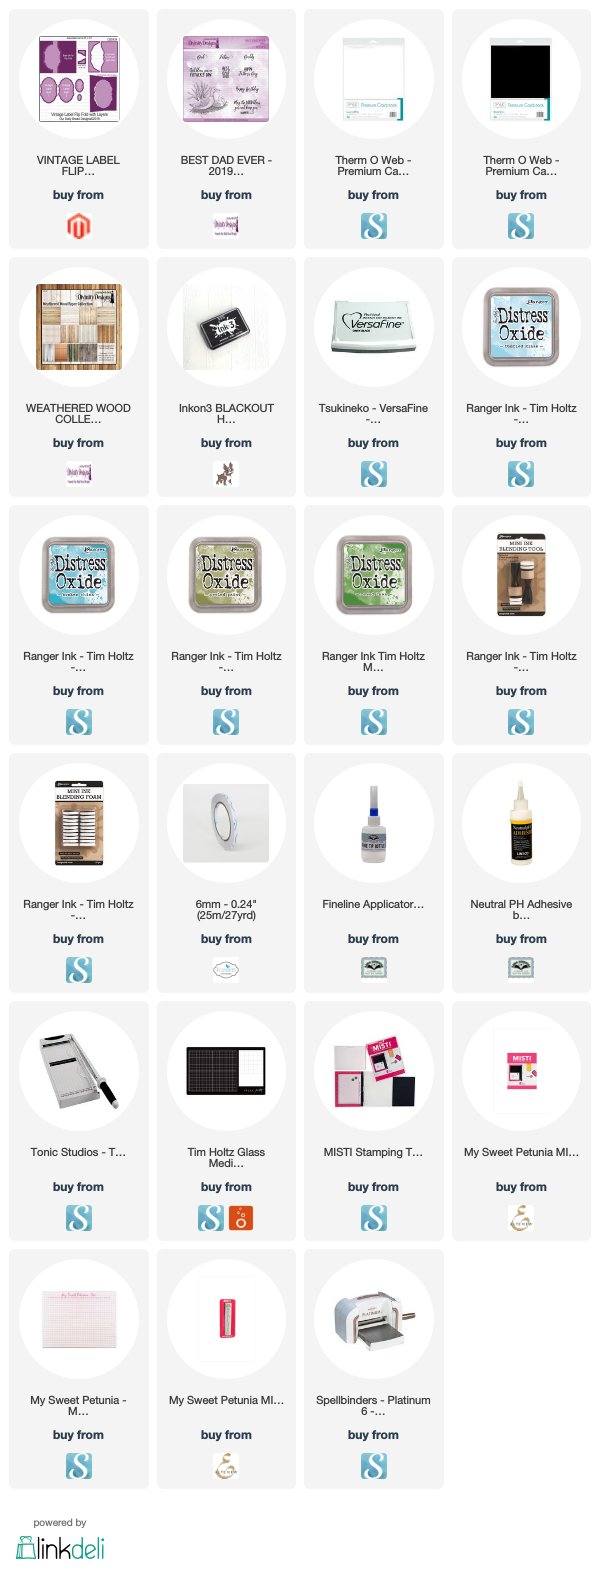
For my card today I created a Flip Fold Card using Divinity Designs Vintage Label Flip Fold Card with Layers die set.

For the layers of the card I used one of the papers from the new Weathered Wood Paper Collection. 

I stamped the image from the Best Dad Ever stamp set onto white cardstock and then die cut the image using one of the labels from the Vintage Label Flip Fold Card with Layers die set. I masked the ducks and added blue & green inks.


When you 'flip' the card it reveals a sentiment also from the Best Dad Ever stamp set on the label on the reverse side of the centre label.

Thanks for visiting my blog today, I hope you enjoyed my project.


Supplies:
For your shopping convenience, all products are linked below. Compensated affiliate links are used where possible with no extra cost to you. This helps me to continue to share all the projects I include on my blog. Please note I only use and share products I love.


Thursday, May 16, 2019

Pizza Party


Hi Crafty Friends,

It's challenge time with my friends over on the CCEE Stampers challenge blog. As challenge hostess for the month, I continue to issue the challenges.

Apparently Tomorrow (17th May) is Pizza Party Day, so for our challenge this week create a card that features pizza or some other food item on it.


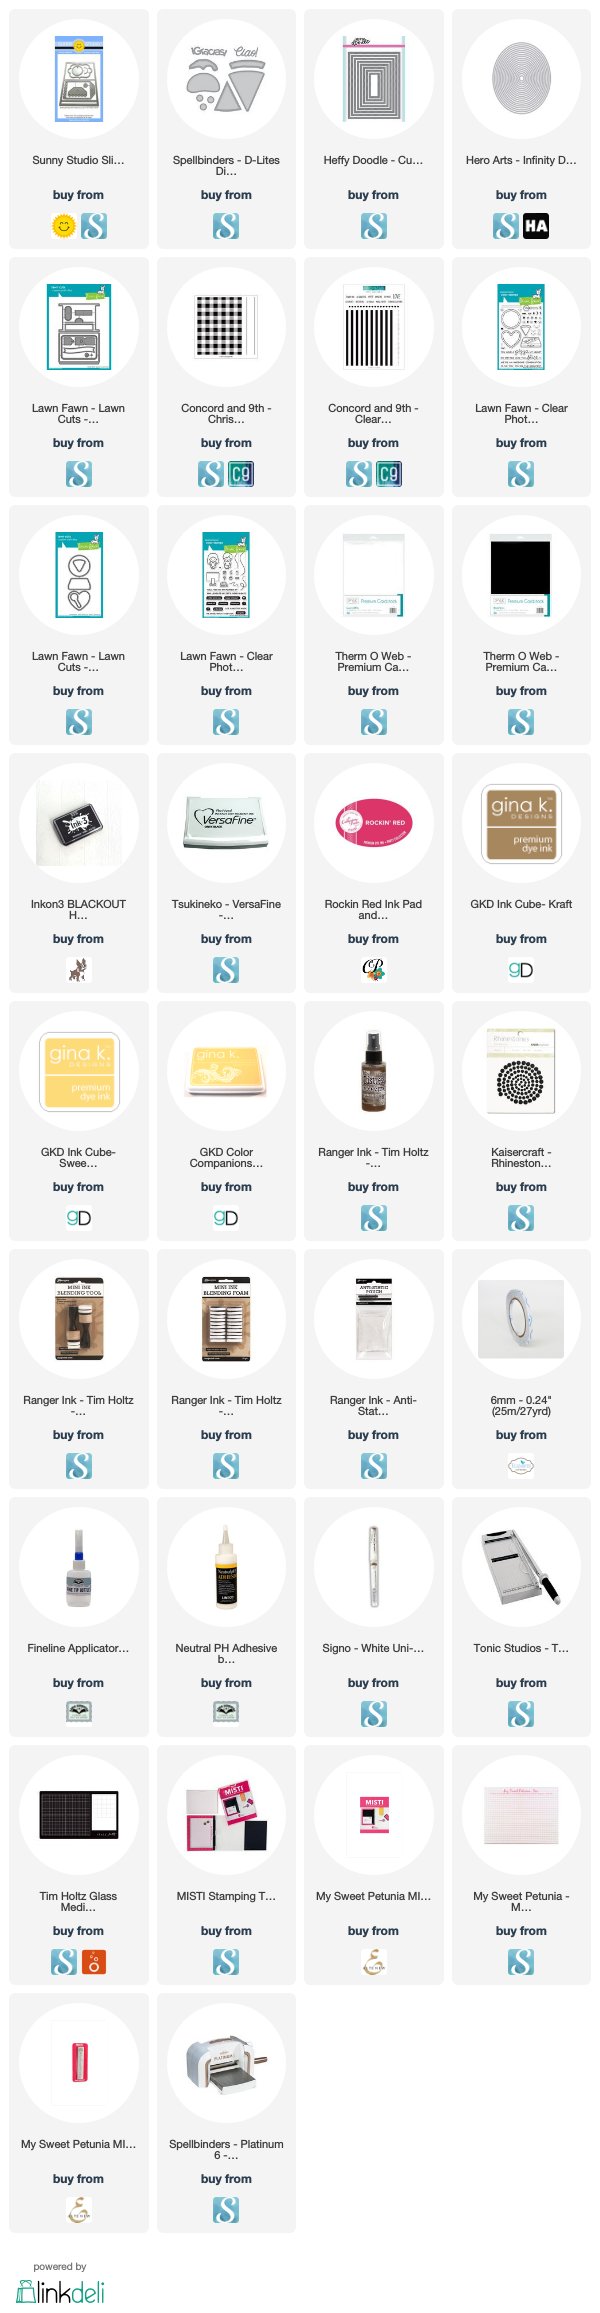
As I have both Pizza stamps and dies, I decided to play with those for today's challenge. I have created a Sliding Window or Sliding Pop-up Card using Sunny Studio Stamps Sliding Window die set.

For the background of my card I pulled out two Concord & 9th Stamp sets .... Plaid Background (the red part of the backing) and the double stitched stripes from the Stripes & Sayings Clear Stamp sets.


The pizza slices were created using Spellbinders Party Food die set which includes the Pizza Slice, a Taco and two Italian sentiments. I layered this onto the card using ovals from Hero Arts Infinity Ovals die set.


For the sentiment which is reveal when you pull the tab up, and the heart pizza at the top of the card when the tab is pulled, I used stamps from Lawn Fawn's Pizza My Heart. The tiny pizza slices on either side of the sentiment are from Lawn Fawn's Game On stamp set.

The red tab is a die from Lawn Fawn's Double Slider Surprise die set.


I kept this card as a flat card rather than adding it to a folded card, I added another piece of red plaid to the bottom of the card. I found the stack of pizza boxes all stamped, colored and cut out from when I made another pizza themed card inside my Lawn Fawn stamps. So I pulled those out of the package and added them to my card. I added the sentiment to the left hand side of the pizza boxes.

Don't forget to check out the CCEE Stampers blog (goes live 12 AM EST) to see the rest of the creations the CCEE Stampers created this week. You can also see more details of their creations on their individual blogs:


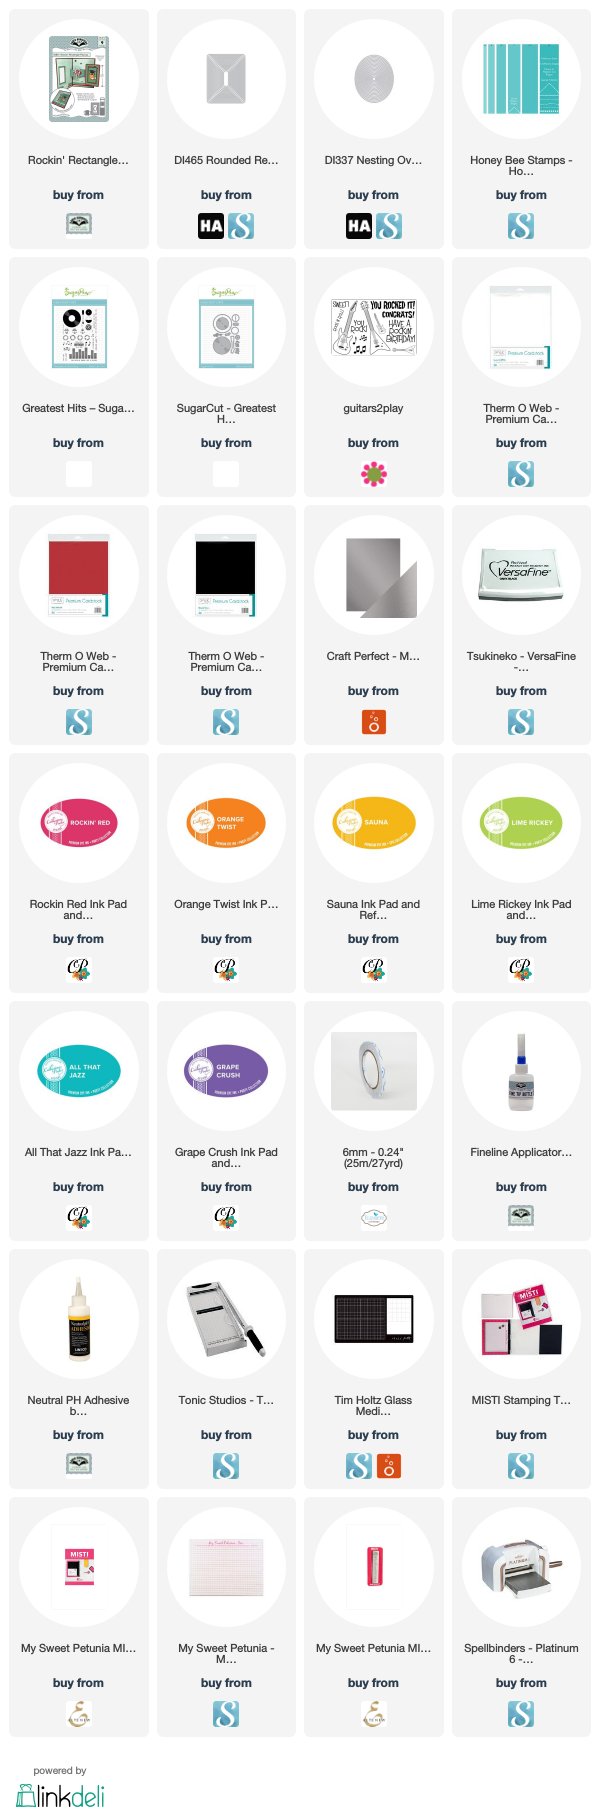
Supplies:
For your shopping convenience, all products are linked below. Compensated affiliate links are used where possible with no extra cost to you. This helps me to continue to share all the projects I include on my blog. Please note I only use and share products I love.


Wednesday, May 15, 2019

Let Your Dreams Take Flight


Hi Craft Friends,

Today I am sharing a Slider Card I created using stamps from Hero Arts.

To create my card I used the dog and helicopter from Hero Arts Fly High Animals Clear Stamp set. I used the Lawn Fawn Let's Toast Pull Tab Add-on die set to create the slider portion of the card.


Here is a quick video to see my card in action.


To create the grassy area at the bottom of the card I used the border die from Elizabeth Craft Designs Adventure Edges 2 die set. I also added the boy, cat and dog which are from Hero Arts Lucky Star Clear Stamp set.


For the inside of the card I added another grass border and a boy and girl from the Hero Arts Lucky Star Clear Stamp set and a sentiment from the High Flying Animals Clear Stamp set.


Supplies:
For your shopping convenience, all products are linked below. Compensated affiliate links are used where possible with no extra cost to you. This helps me to continue to share all the projects I include on my blog. Please note I only use and share products I love.


Tuesday, May 14, 2019

Hope Your Birthday Is A Hit


Hi Crafty Friends,

Welcome to our May Paper Pros challenge. This month our challenge is hosted by me, and I challenged everyone to .....

Back to Basic Shapes - Many of Karen’s die sets contain the name of a basic shape in it .... Oval; Circle; Square & Rectangle etc. Use at least one die set that includes one of those shapes in it’s name for your card.

I decided to create another Rockin' Rectangle Pop-up card using the acetate window on the front. You can find Karen's tutorial on how to create this style of card here.


Here is a quick video to see my card in action.


I have purchased a couple of different record themed stamp and die sets this year and I have had this idea brewing for a little while. Vinyl Records & Record Players have become very popular in recent years.

For the background of my card I used used the large vinyl record stamp from SugarPea Designs Greatest Hits Stamp set, stamping the records using black ink and then stamping the inner section using colors of the rainbow.

For the record player I used the coordinating dies to the stamp set. The rectangle panel included in the Rockin' Rectangle Pop-up die set was too long for the mechanism to work properly turning the rectangle on it's side, so I used Hero Arts Infinity Rounded Rectangle dies putting the card back into the die to make the length a little bit shorter.

I added a sentiment to the left side of the card.


I created a border of smaller records which I added to the side panel on the front of the card.  The easiest way to get these even was to adhere them to a black piece of cardstock the same length as the card, lining up the edge of the records with the edge of the card. I then trimmed around this and added half records to the back to the portion that would be seen through the acetate when the card was opened.

To finish off the card, I added a birthday sentiment.

You can see what the other "Paper Pros" created for this challenge on their blogs:


Supplies:
For your shopping convenience, all products are linked below. Compensated affiliate links are used where possible with no extra cost to you. This helps me to continue to share all the projects I include on my blog. Please note I only use and share products I love.