Friday, August 21, 2020

Be The Light


Hi Crafty Friends

Today we are taking a look back at Divinity Designs August Release.Today I have created two cards using the new Be The Light  Stamp set. For more inspiration using the July Release and to see the other designers projects, be sure to visit the Divinity Designs Blog .


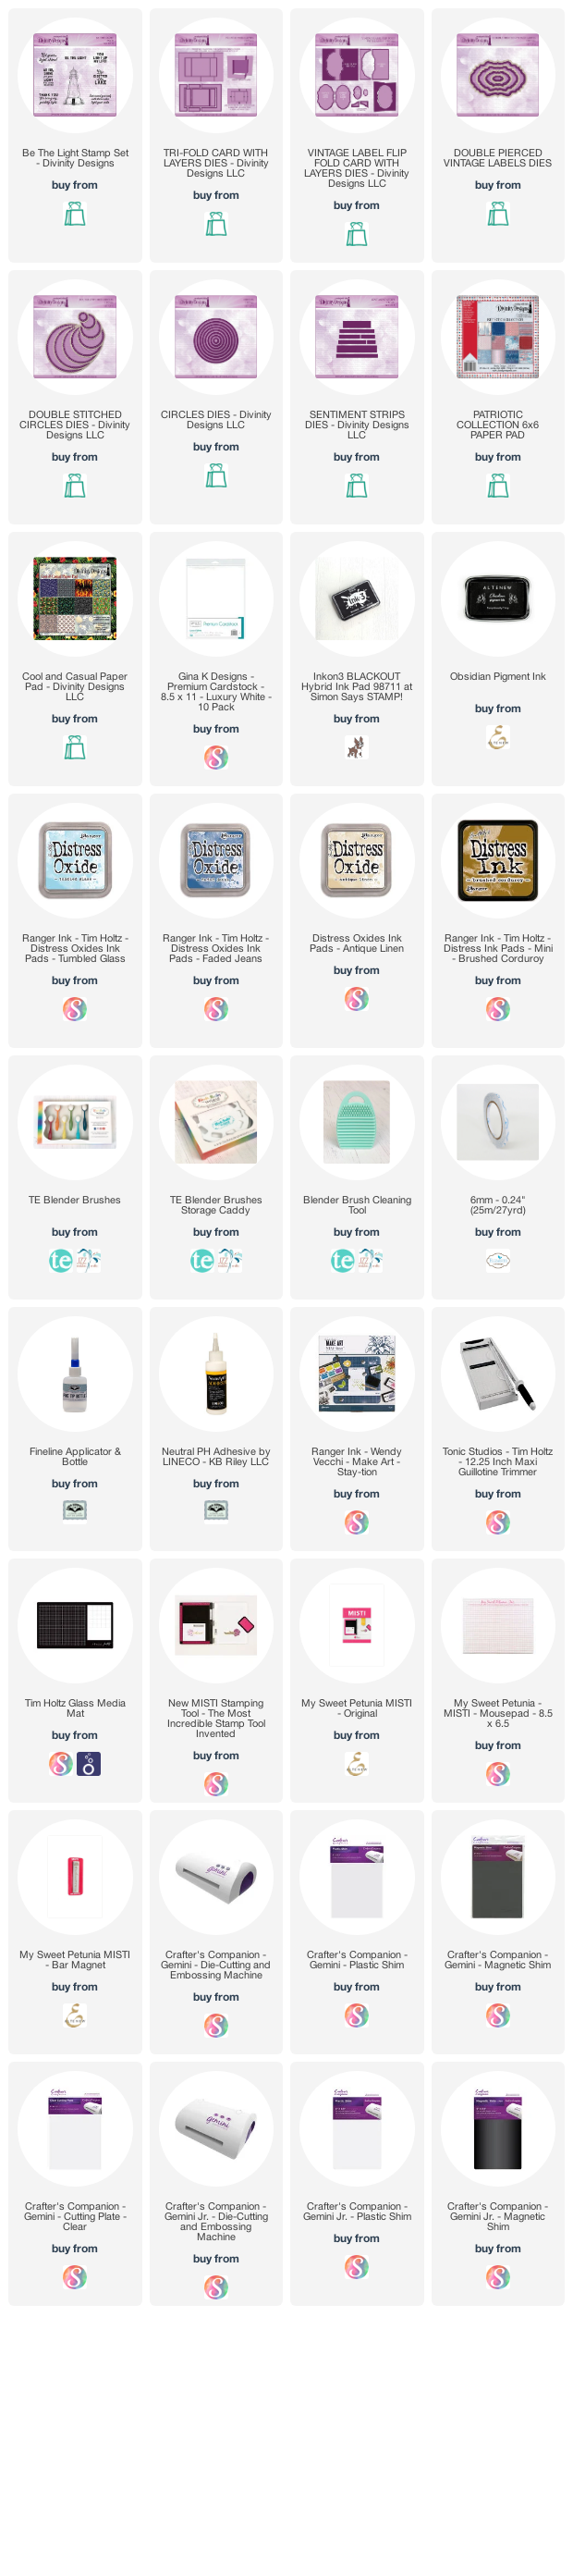
For my first card I created a trifold card using the Tri-Fold Card with Layers die set. I used papers from the Cool & Casual Collection as well as the Patriotic Collection.


I added two sentiments from the Be the Light Stamp set using the Double Stitched Circles and Circles die sets.


For my second card today I created a flip-it or flip fold card using Divinity Designs Vintage Flip Fold Card with Layers die set.

I used the Double Pierced Vintage Labels die set to die cut the lighthouse image.


I used papers from the Patriotic Collection to decorate the layers of my card. I added the "Be The Light" sentiment which was die cut using one of the labels from the Sentiment Strips die set.


When you pull the left hand side panel, the label in the centre flips over to reveal another of the sentiments from the Be the Light stamp set.

Supplies:
For your shopping convenience, all products are linked below. Compensated affiliate links are used where possible with no extra cost to you. This helps me to continue to share all the projects I include on my blog. For the benefit of my Australia readers, I have started to include some links to Australian stores when available. Please note I only use and share products I love.



Thursday, August 20, 2020

Big Birthday Wishes


Hi Crafty Friends,

It's challenge time with my friends over on the CCEE Stampers challenge blog.  Lynn McAuley our challenge hostess for the month continues to issue the challenges.

Here it is the day after Liz’s BIG birthday, the Big 7-0, so in honor of National Senior Citizens Day on Aug. 21st, let’s use some adorable old women still having fun and enjoying life on your cards today.


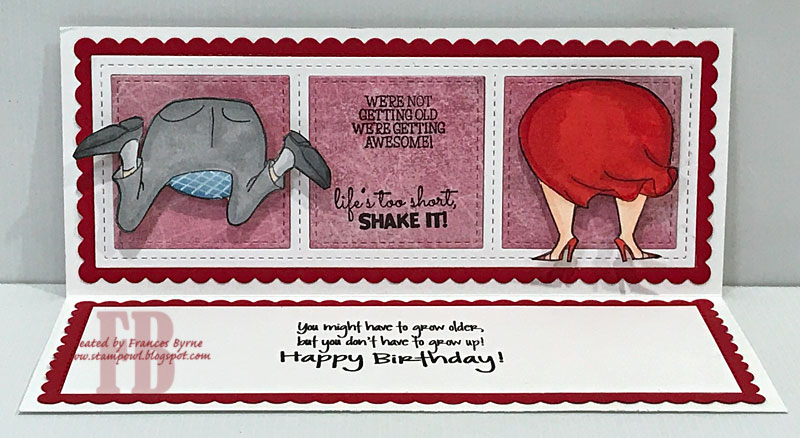
When I was looking through my Art Impressions stamps which has the majority of the "older women" stamps that I own, I came across my Shake Your Booty stamp sets which I haven't used for a few years. I thought it would be fun to use a couple of those stamps for my card today.

As you can see I created a Slimline card for my card today using two of the new Slimline dies from Newton's Nook Designs. I attached the images to my card using action wobbles.


As the Shake your Booty Stamps comes with a front and back view, I couldn't let those go to waste, so I added the frame to the upper inside panel and then attached the back view to the card with action wobbles also.

The centre panel has a couple of sentiments from older Art Impressions Stamp sets.


I added two birthday sentiments to the other inside panel which are both from a The Stamps of Life Stamp set Greetings4Birthdays.


Don't forget to check out the CCEE Stampers blog (goes live 12 AM EST) to see the rest of the creations the CCEE Stampers created this week. You can also see more details of their creations on their individual blogs:


Supplies:
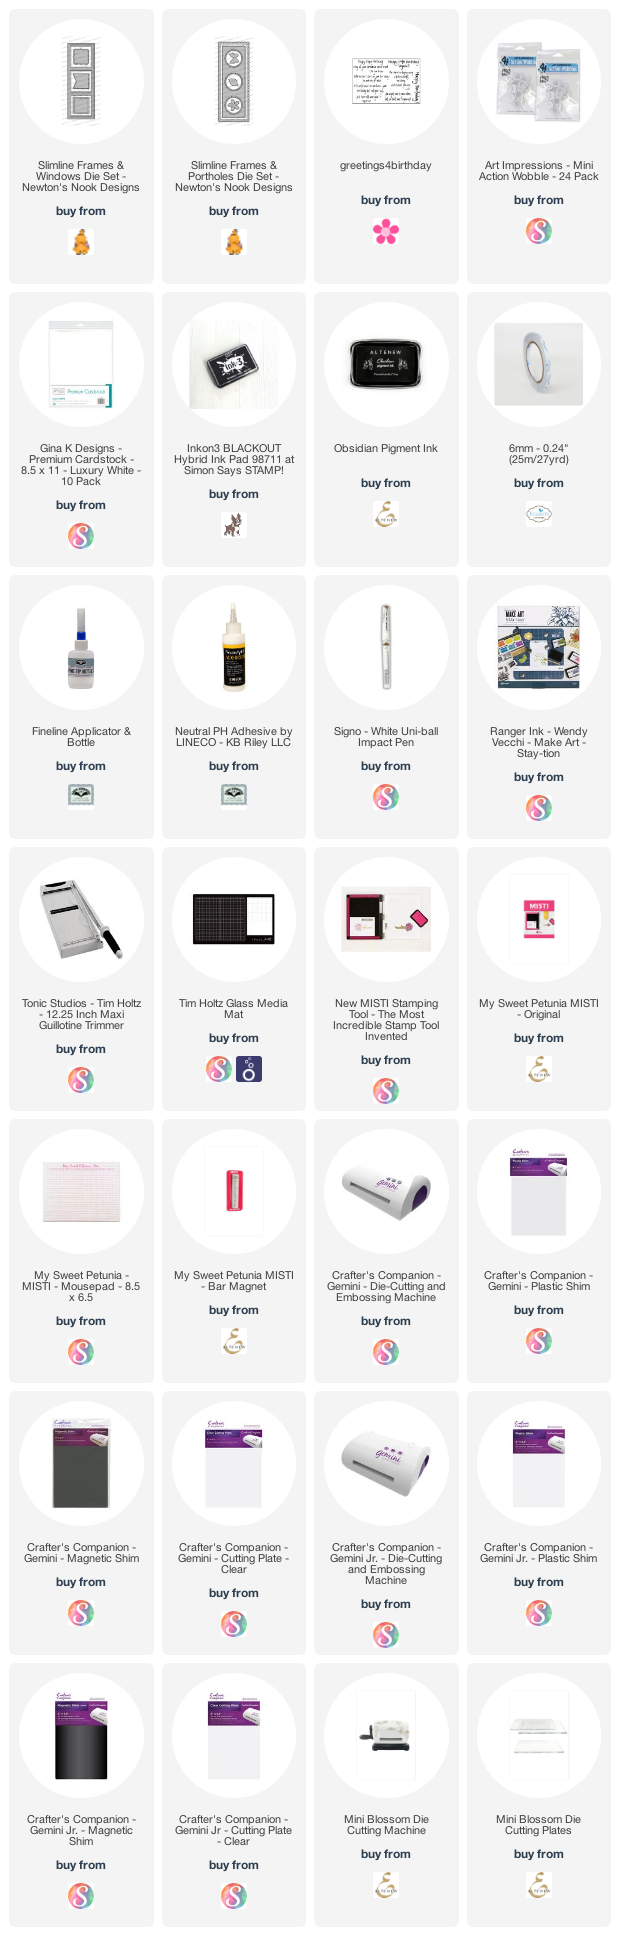
For your shopping convenience, all products are linked below. Compensated affiliate links are used where possible with no extra cost to you. This helps me to continue to share all the projects I include on my blog. For the benefit of my Australia readers, I have started to include some links to Australian stores when available. Please note I only use and share products I love.

Shake Your Booty Dancer Set - Art Impressions (retired)
Shake Your Booty Bummer Set - Art Impressions (retired)
Aged To Perfection - Art Impressions 
Dance It Out - Art Impressions


Wednesday, August 19, 2020

Birthday Hugs


Hi Crafty Friends,

Today I am sharing a Trifold Shaker Card I created recently using stamps, dies and papers from Divinity Designs.

I used the Tri-Fold Card with Layers die set to create the base of my card. For the layers I used patterned paper from the Geometric Paper Collection which is included in the July 2020 Blessings Box.


The sentiment in the centre of the card comes from the Let's Celebrate Stamp set which is also included in the Blessings Box.

The Balloon Shaker is from the Pierced Balloon Shakers die set which is also included in the Blessings Box.


This is a look at the card when it is closed ready to be placed in an envelope.

Supplies:
For your shopping convenience, all products are linked below. Compensated affiliate links are used where possible with no extra cost to you. This helps me to continue to share all the projects I include on my blog. For the benefit of my Australia readers, I have started to include some links to Australian stores when available. Please note I only use and share products I love.


Tuesday, August 18, 2020

Life Is Better at the Beach


Hi Crafty Friends,

Today I am sharing another Slimline card that I created yesterday. It may be hard to see  in the photo above, but this card is 3D and is a Slimline Bridge card.

A couple of days ago, Jennifer McGuire posted a video which was all about more ideas for creating Bridge Cards. I have made a fair number of Bridge Cards in the past, but I hadn't thought about making one Slimline size which is two of the ideas Jennifer shared in her video ... one landscape style and one portrait style. Of course I loved the idea so set to work to make one. You can see Jennifer's video tutorial here.

Just like making a normal slimline card, having the extra length works well when you are creating scenes, which is one of the reasons I am enjoying making slimline cards.


To create the Slimline Bridge card, I cut a piece of blue cardstock to 4 inches x 11 inches and then scored on each side at 1 1/4 inches and 2 1/4 inches. I used a cloud stencil and white pigment ink to add clouds to the background.

I use Lawn Fawn's Slimline Stitched Hillside Border to create the ocean and the sand . The ocean uses the wavy border dies which I die cut from a bright blue cardstock and sponged along the top of the waves using white ink. The sand I die cut three panels of white stock which were just over 9 inches long and used the other two border dies in the set. I then applied color to the panels using Antique Linen and Gathered Twigs Distress Oxide inks. Once I have blended the color, I then flicked on Gathered Twigs Distress Oxide ink to add texture to the panels. I used these sand panels to add one to the inside portion of the card which I trimmed to fit at the back and sides of the card. I then used the other two sand panels to bridge the front of the card.


I used Honey Bee Stamps Hello Summer stamp set to stamp the umbrella, chairs and other beach stuff which is decorating the card.

For the trees and birds I used the Beach House Add-On die set.


My Slimline Bridge card folds flat to measure 4 inches x 9 inches and will fit inside a #10 envelope.


I always like to decorate the back of my Bridge cards, it's a great place to add extra sentiments and write a hand written greeting.

I added the large "beach" sentiment from the Hello Summer stamp set and repeated a few of the elements that I used on the front of the card.

Supplies:
For your shopping convenience, all products are linked below. Compensated affiliate links are used where possible with no extra cost to you. This helps me to continue to share all the projects I include on my blog. For the benefit of my Australia readers, I have started to include some links to Australian stores when available. Please note I only use and share products I love.


Monday, August 17, 2020

Eek! It's Your Birthday!


Hi Crafty Friends,

Today I am sharing a Slimline Card I created recently.

For this card I used one of the new Mama Elephant Slimline die sets which was released in July. This one is called Slim Window Dressing die set. This die set has everything you need to create to create a fun house scene, the two rectangle panels (one plain and one scalloped; the windows, flowers even the grass dies which are long for the landscape style slimline cards.

I created the bricks on the background of my card using MFT Stamps English Brick Small stencil with Frayed Burlap Distress Oxide inks.

I used the mice from MFT Stamps It's A Mice Time To Celebrate stamp set.


For the inside of the card I used the smaller rectangle die included in the set and used the brick stencil to create the background. I added another layer of grass to the bottom of the panel. I added a left over mouse I had from the stamp set I used on the front of the card.

I added two sentiments from an older MFT Stamps Birthday Greetings stamp set.


Supplies:
For your shopping convenience, all products are linked below. Compensated affiliate links are used where possible with no extra cost to you. This helps me to continue to share all the projects I include on my blog. For the benefit of my Australia readers, I have started to include some links to Australian stores when available. Please note I only use and share products I love.

Birthday Greetings Stamp Set - MFT Stamps (discontinued)


Sunday, August 16, 2020

Jawesome


Hi Crafty Friends,

Today I am sharing a Slimline Pop-up card I created recently.


Here is a quick video to see my card in action.


To create the slimline card I used the stitched rectangle die from LDRS Creative's Slim Line Scallop die set. 

To add the water to the card I used MFT Stamps Perfect Pool Water stencil, once you have applied ink through the stencil the first time, you turn the stencil 90 degrees and apply ink again, this is done 4 times to get the look of ripples in the water. 

I created the ocean bed, by diecutting Kraft cardstock using Lawn Fawn's Slimline Stitched Hillside Borders die set.

The shark is from MFT Stamps, I added the sentiment to the card which is also from MFT Stamps and stamped onto one of the speech bubbles from Whimsy Stamps' Comic Speech Bubbles die set.

The seaweed and fish are from Lawn Fawn's Build An Aquarium die set.


For the inside of the card I created a pop-up card using Karen Burniston's Pop 'N Swap die set. This pop up fits in a 4 inch card and my card is 3 1/2 inches wide, so I had to do some surgery on my pop-up to make it fit. After folding the pop up mechanism as per instructions, I then trimmed about 1/2 inch away from the diagonal fold on the right upper arm. I then used this as a tab to reassemble the pop-up and adhered it to my card.

On the front panel of the pop-up I added a panel which I decorated using the stencilled background I did on the front of the card. I added waves to the panel which are from Karen Burniston's Tropical Scenes die set.

 I forgot to add the sentiment before I added that to the mechanism, so I stamped this onto an oval using the Crosshatch - Ovals die set. The sentiment is from MFT Stamps Sharky Sentiments stamp set.


I added the shark to the top arm of the pop-up mechanism which is from Karen Burniston's Sea Animals die set. The fish on the bottom arm is from the Lawn Fawn Build An Aquarium die set.

Supplies:
For your shopping convenience, all products are linked below. Compensated affiliate links are used where possible with no extra cost to you. This helps me to continue to share all the projects I include on my blog. For the benefit of my Australia readers, I have started to include some links to Australian stores when available. Please note I only use and share products I love.


Saturday, August 15, 2020

Snowflake Christmas


Hi Crafty Friends,

It’s challenge time with the “Crazies” over on the Crazy 4 Challenges blog. Tracey Farr our challenge hostess for the month continues to issue the challenges.

It's the third Saturday of the month, which means it is time for a sketch challenge.


I changed my card from an A2 card in the sketch to a Slimline Card. I also flipped the sketch so my cluster of three items were at the top left corner rather than the bottom right.

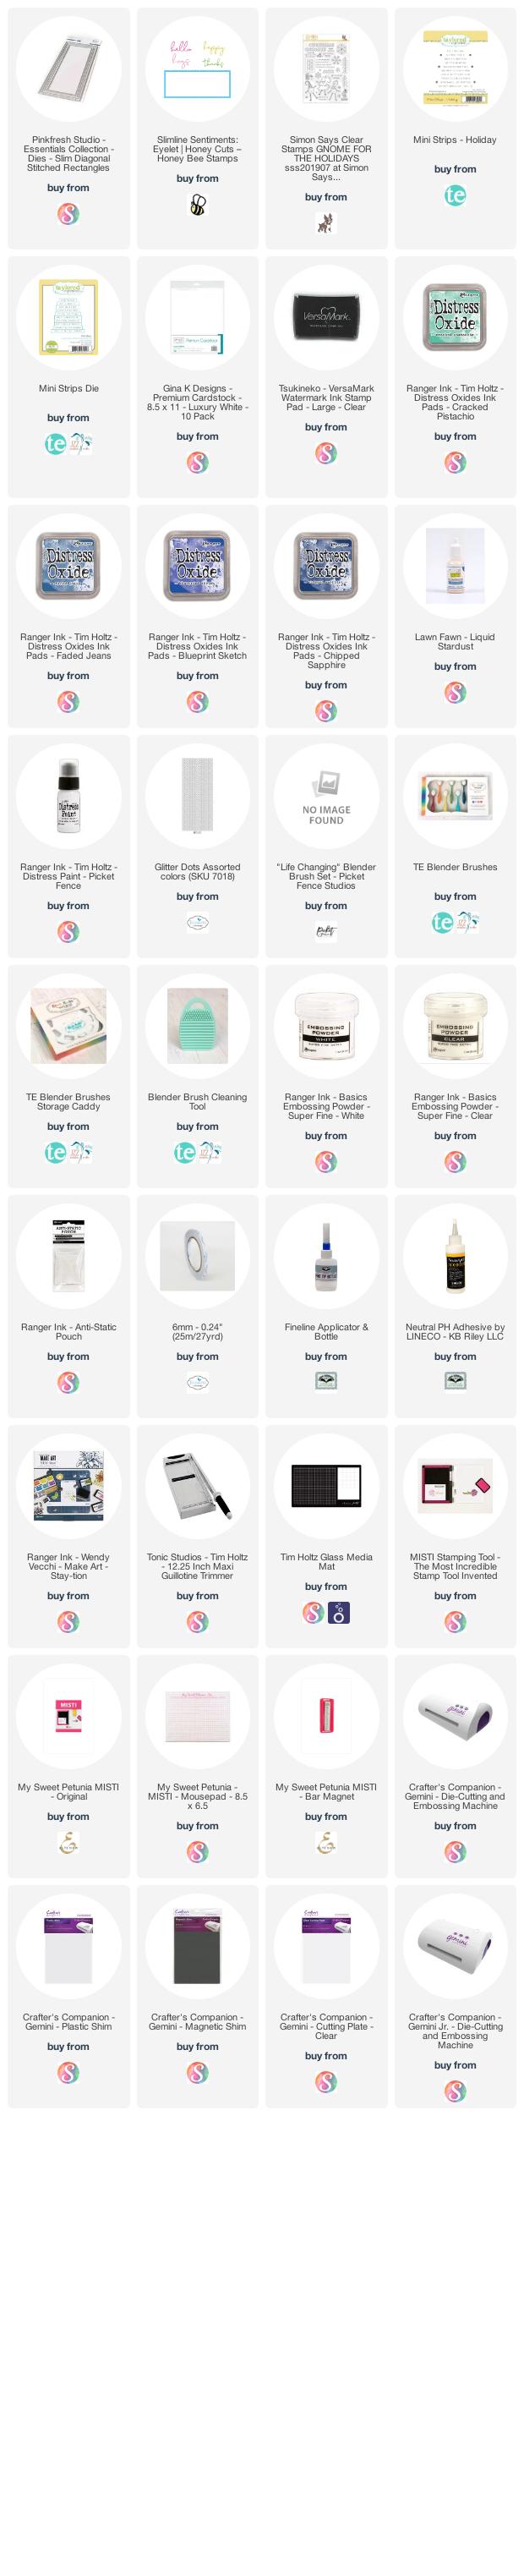
To create the background panel of my card, I did cut the smallest rectangle using the Pink Fresh Studios Slim Diagonal Rectangle die set  from white cardstock. I used snowflakes from Simon Says Stamp's Gnome for the Holidays stamp set, stamping them with VersaMark Ink onto the card and embossing with white embossing powder. Once embossed I covered the cardstock with Pistachio Distress Oxide ink. I then used the same snowflakes and clear embossing powder and stamped a few more snowflakes. Next I blended on Faded Jeans Distress Oxide ink  and then added a few more snowflakes. Finally I blended on Blueprint Sketch & Chipped Sapphire Distress Oxide inks.

I die cut three snowflakes from white and aqua glitter cardstock and adhered them to the top left hand corner of the card.

I used Taylored Expressions Mini Strips - Holiday stamp set and coordinating die to add the sentiment to the lower portion of the card.


For the inside of my card I added the rectangle layers using both the Pink Fresh Studios and Honey Bee Stamps Slimline dies I used on the front of the card.

I added the sentiment which is from a Kaisercraft Stamp set and three snowflakes from the Simon Says Stamp Gnome for the Holidays stamp set.

Don't forget to check out the rest of the “Crazies” cards over on the Crazy 4 Challenges blog and also their individual blogs for more details.


Supplies:
For your shopping convenience, all products are linked below. Compensated affiliate links are used where possible with no extra cost to you. This helps me to continue to share all the projects I include on my blog. For the benefit of my Australia readers, I have started to include some links to Australian stores when available. Please note I only use and share products I love.

Snowflake Die Set - Elizabeth Craft Designs (discontinued)
Jolly Sentiment Stamp Set - Kaisercraft (discontinued)


Friday, August 14, 2020

Butterfly Wishes


Hi Crafty Friends

Today we are taking a look back at Divinity Designs August Release. For more inspiration using the August Release and to see the other designers projects, be sure to visit the Divinity Designs Blog.

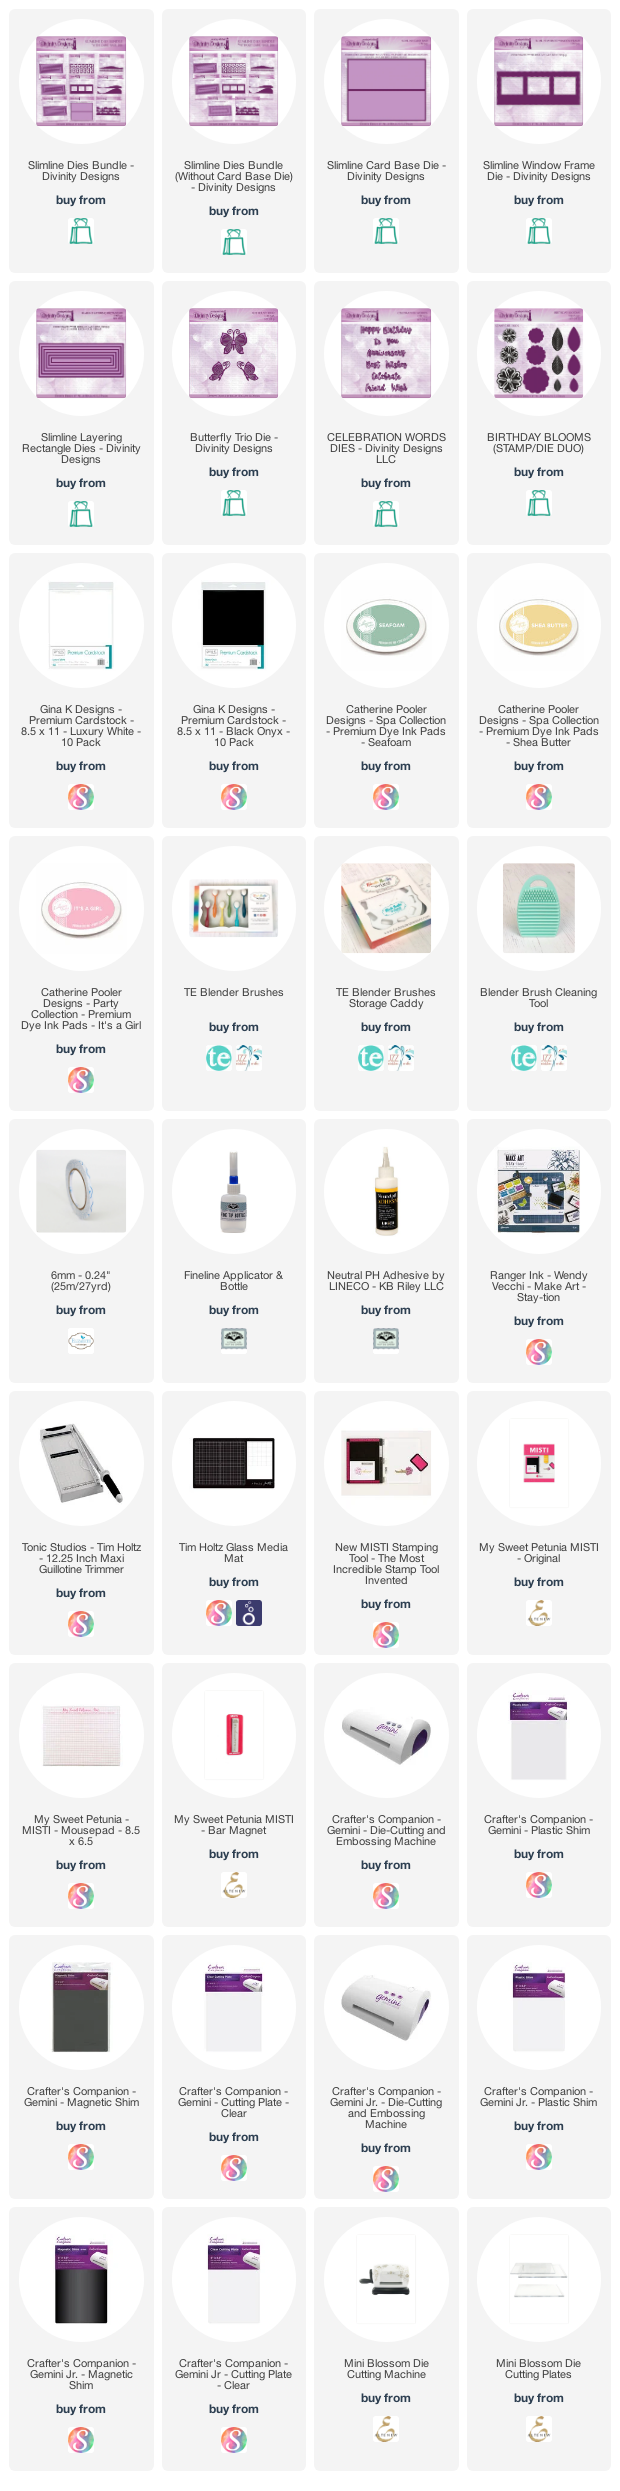
For my card today I have created a Slimline card using Divinity Designs Slimline Pierced Window Frame, Slimline Layering Rectangles and Slimline Card Base. 

I colored the inner panels of the window using Catherine Pooler Seafood ink and I also used this to add color around the edges of the card base.

To decorate my card I used the butterflies from the Butterfly Trio die set which is part of the August release.

I used the Birthday Blooms Stamp/Die Duos set to add the flowers to either side of the card.

To finish off the card I added the "Best Wishes" sentiment from the Celebration Words die set.


For the inside of the card I added a few more of the flowers/leaves from the Birthday Blooms Stamp/Die Duos set. I also added another sentiment from Celebration Words die set.

Supplies:
For your shopping convenience, all products are linked below. Compensated affiliate links are used where possible with no extra cost to you. This helps me to continue to share all the projects I include on my blog. For the benefit of my Australia readers, I have started to include some links to Australian stores when available. Please note I only use and share products I love.


Thursday, August 13, 2020

Thanks


Hi Crafty Friends,

It's challenge time with my friends over on the CCEE Stampers challenge blog.  Lynn McAuley our challenge hostess for the month continues to issue the challenges.

Apparently August 14th is International Rose Day. So for our challenge this week we are to include a rose or roses on our card.


I just received a couple of orders that included Slimline dies and stencils, so of course I wanted to play with some. So I went through my stash to see which rose stamps would work with one of the new slimline die sets. I came upon an order Stampendous stamp set called Build a Bouquet which I pulled out for this card.

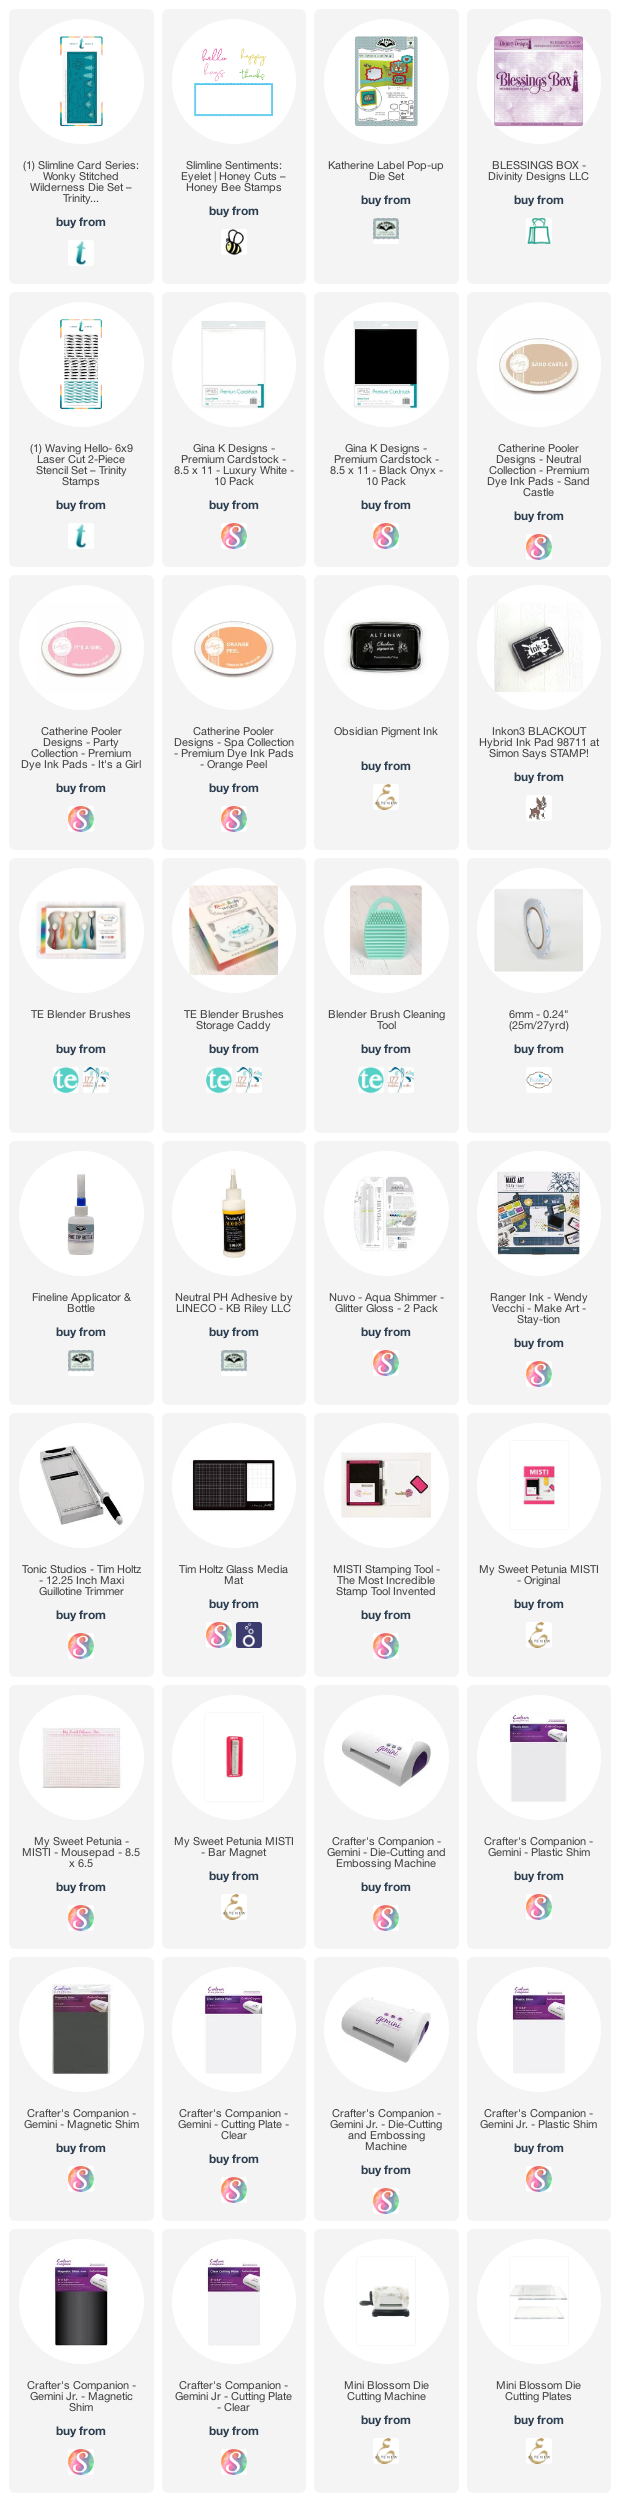
For the background panel, I used Trinity Stamps Slimline Wonky Stitched Wilderness Die set which I have wanted for ages. Fortunately one of my locals recently got some of the Trinity Stamps Slimline dies in, so I was able to get this die set and a few others too.

I used Trinity Stamps Waving Hello Stencil, this is a 6 x 9 inch two part stencil. I used one of the stencils to apply Catherine Pooler Orange Peel ink and the second one It's A Girl ink.  Once I had applied the ink through both stencils once, I then placed the first stencil back onto the card were there was no ink and repeated the process with the two stencils.

I stamped and colored the Build A Bouquet stamp set and die cut the flowers etc using the coordinating dies. I then created the arrangement onto my card panel. 

I added the "thanks" sentiment which is from Honey Bee Stamps Slimline Sentiments Eyelet die set.


I created another background panel using Trinity Stamps Slimline Wonky Stitched Wilderness Die set  and the Waving Hello stencil. I cut the background panel in half and attached the halves to either side of the card.

I then used Karen Burniston's Katherine Label Pop-up die set to add the pop up panel on the top right hand panel of the card.

I added the "thank you" sentiment which is from the Let's Celebrate stamp set from Divinity Designs July 2020 Blessings Box.


Don't forget to check out the CCEE Stampers blog (goes live 12 AM EST) to see the rest of the creations the CCEE Stampers created this week. You can also see more details of their creations on their individual blogs:


Supplies:
For your shopping convenience, all products are linked below. Compensated affiliate links are used where possible with no extra cost to you. This helps me to continue to share all the projects I include on my blog. For the benefit of my Australia readers, I have started to include some links to Australian stores when available. Please note I only use and share products I love.

Build A Bouquet Stamp Set and Coordinating Dies - Stampendous (discontinued)