

Hi Crafty Friends,
A couple of days ago I posted a pop-up card I created using the Gingerbread House die set and the General Pop-ups die set for my Elizabeth Craft Designs October Designer Challenge. While I had the Gingerbread House die set out I decided to make a set of gift tags too.

Here is a close up of one of my finished gift tags.

- To create a gift tag, cut a piece of brown cardstock approximately 3 1/2 inches wide x 8 1/2 inches.
- Fold in half to create a 4 1/4 inch x 3 1/2 inch top folding card.
- Place the die onto the folded cardstock so the roof part of the house is overhanging the fold.
- Die cut.
- Die cut a second house from a single piece of brown cardstock and adhere this to the folded house.

- For the icing overlay pieces, the easiest way to cut these so you save on paper, adhesive and time is to place some masking tape on the back of the house die and then position the windows into the centre of the house so they are on the adhesive part of the masking tape. Make sure that none of the dies touch each other and then use this to die cut your white cardstock.
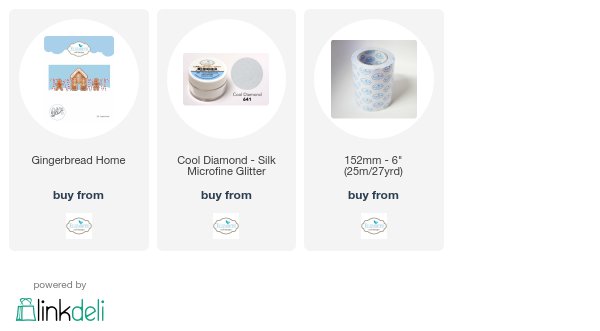
- For my icing I added glitter so I die cut the icing overlay pieces so that the adhesive was on the front of the card and then used Cool Diamond Silk Microfine Glitter.
- Assemble the pieces and then punch a hole through the top hole in the icing roof and then through ribbon, Adhere a ribbon bow to the top of the roof.

Add a to/from sentiment to the inside of the gift tag and you are done.
Supplies:
Elizabeth Craft Designs;
2 comments:
Adorable tags.
love those tags
Post a Comment