Tuesday, June 20, 2017

It's Your Birthday ... Go Nuts!


Hi everyone,

Today I am sharing another card using some of the new dies from Karen Burniston. This time around I am playing with the Tree Pop Up die (love how easy it is to add leaves to the tree) and the cute little squirrel from the Woodland Animals die set.


I have used the cloud die from the Nature Edges to create the scallop edge at the top and bottom edges of my card. Behind the tree I added grass using the grass die from the same die set.  I die cut the squirrel out of white cardstock and colored using my copics.  

I computer generated the sentiment to go with the cute little squirrels that are out collecting nuts!


Here is another view of the inside of my card.


For the front of my card I added grass layers using the grass from the Nature Edges die set and then added a tree and another squirrel. I used a circle from the Snowman Twist Circle Pop Up die set to create the sun and added a sentiment from the Word Set 1 - Greetings die set.

Paper: White; Brown; Tan; Green; Yellow; Playdate DP - Bella Blvd; DP - DCWV
Dies: Tree Pop-Up; Woodland Animals; Nature Edges; Word Set 1 - Greetings; Snowman Twist Circle Die Set; Katherine Label Pop-Up - Karen Burniston
Other: Black Ink; Twine; Foam Tape; Copics


Monday, June 19, 2017

Magnified Birthday


Hi Crafty Friends,

Last month I decided to purchase the Simon Says Stamp May Card Kit, because it had an animated stamp set I didn't miss out on. The kit also included a few other bits and pieces including designer papers and 1-Numbers Acetate sheet both by Illustrated Faith.

When I was looking around to see what other people had created using the kit, I came across a card on Youtube created by Scott which used the numbers designer paper and the numbers acetate sheet and a magnifying glass. As the numbers on the acetate sheet are larger than those on the papers it looks like the magnifying glass is really magnifying the number. I thought is was an awesome idea and as I had a magnifying glass stamp in my stash which hadn't been used for ages I decided it was about time it got used again!

I went more for a male theme for my card and 'magnified" the number 8 so I have one card that can be used for my grandsons birthday next year or for one of his friends.


For the inside I used the remainder of the number designer paper and added a birthday sentiment and a balloon in the shape of an "8".


Stamps: Magnifying Glass - Stampington & Co; Happy Birthday - Sizzix; Numbered Balloons - Avery Elle
Paper: White; Teal; Aqua; DP - Illustrated Faith
Other: Black Ink; Evergreen Bough Distress Ink; Illustrated Faith Basic Numbers Acetate Sheet; Sequins; Glossy Accents; Foam Tape; Copics


Sunday, June 18, 2017

Happy Birthday to You


Hi everyone,

Today I am sharing a card I created using the new Cupcake Pop-Up recently released by Karen Burniston. The set comes with two cupcakes (one large and one small) which can be used as a stand alone cupcake on anything you create or used with the Cupcake Pop-Up die included in the die set to create fun Cupcake Pop-Up cards.

I love how Karen has include plenty of instructions to help you create cards using her dies. Karen has include a step by step video and even a PDF file both which you can find on her shop website here.


For the edges of my card I used the cloud die from Karen's new Nature edges die set.  I cut it along my designer paper and then also a piece of green cardstock to layer underneath the designer paper piece.

I added Clear Double Sided Adhesive Tape to the front of my pink frosting and then adding Cool Diamond Silk Microfine Glitter over the top to get some fun glitter frosting. The large cupcake case has been accordion folding as suggested by Karen in her construction video.


Here is another view of the inside of my card so you can see the pop up portion of the card a little better.


For the front I added another cupcake and a sentiment from the Word Set 2 - Birthday die set.

Paper: White; Pink; Dark Pink; Green; DP - DCWV
Dies: Cupcake Pop-Up; Katherine Label Pop-Up; Word Set 2 Birthday; Nature Edges - Karen Burniston
Other: Clear Double Sided Adhesive Tape; Cool Diamond Silk Microfine Glitter - Elizabeth Craft Designs; Glossy Accents; Foam Tape; Copics


Saturday, June 17, 2017

Dahlias


Hi everyone,

It’s challenge time with the “Crazies” over on the Crazy 4 Challenges blog. Joanne Grzelak our challenge hostess for the month continues to issue the challenges.

Being the third Saturday of the month it is time for a sketch challenge.


For my card this week I was inspired after watching Susan Tierney-Cockburn and Els van de Burgt on Hochanda TV recently. Susan was showing how to use her new dies which have recently been released by Elizabeth Craft Designs. I loved her Dahlia's she created, so as I had the dies in my stash I pulled it out to play. This sketch was the perfect layout to put the two pink dahlia's I had created.

I always like to include some sort of construction style card when I am creating cards for the two challenge blogs which I am a Design Team of. Sometimes this can be an additional challenge in itself depending on the particular challenge. Of course this week's challenge was no exception and after a little thought decided to use Karen Burniston's Pop it Ups Twist Circle Card. This die has been discontinued by Elizabeth Craft Designs, but Karen Burniston has started a new company Karen Burniston in cahoots with Riley and Company and she has released an updated version of this die. I added a sentiment and two flowers to finish the card.

Don't forget to check out the rest of the “Crazies” cards over on the Crazy 4 Challenges blog and also their individual blogs for more details.


Stamps: Build a Bloom - Practical Publishing; Bunches of Love - Crafter's Companion
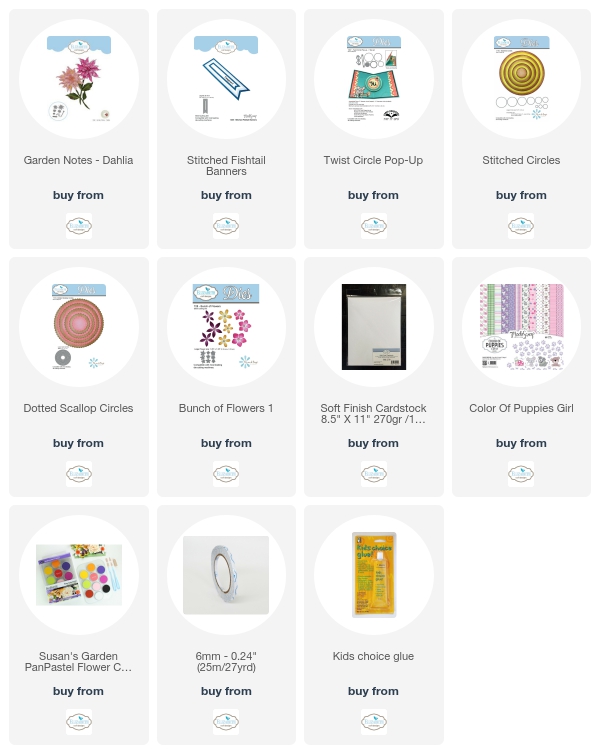
Paper: White; Pink; Dark Pink; Green; ModaScrap Color of Puppies Girl - Elizabeth Craft Designs
Dies: Garden Notes Dahlia; ModaScrap Stitched Fishtail Banners; Pop It Ups Twist Circle Pop Up; Stitched Circles; Dotted Scallop Circles; Bunch of Flowers 1 - Elizabeth Craft Designs
Other: Black Ink; Foam Tape; Copics


Friday, June 16, 2017

Glittered Flower Lace


Hi everyone,

Today I am sharing two cards I created using the new ModaScrap Flower Lace dies (Flower Lace 1 & Flower Lace 2) with Silk Microfine Glitter. This past weekend I was demoing Elizabeth Craft Designs at the Scrapbook & Papercraft Expo down here in Brisbane. Of course I had to demo the new ModaScrap dies which have just been released as well as Silk Microfine Glitter. As you can see I have combined the two for these cards.

These cards were inspired by some cards Els van de Burgt created and shared last Friday on her weekly YouTube video Technique Friday with Els.


For this card I used the ModaScrap Flower Lace 1. 
  • Covered a piece of cardstock with Clear Double Sided Adhesive Tape on the front. 
  • Die cut the Flower Lace 1 from the release sheet taken from the front of the adhesive tape.
  • Place the die cut release sheet Flower Lace panel to the centre of the adhesive.
  • Cover the adhesive on the card with Blue Streak Silk Microfine Glitter polishing the glitter in with my finger. 
  • Carefully remove the  die cut image from the adhesive and covered the remaining exposed adhesive with Cool Diamond Silk Microfine Glitter.

For this card I used the same technique as the card above, just using the Flower Lace 2 and Bright Grape Silk Microfine Glitter.


Stamps: Dreams Sentiments - Elizabeth Craft Designs
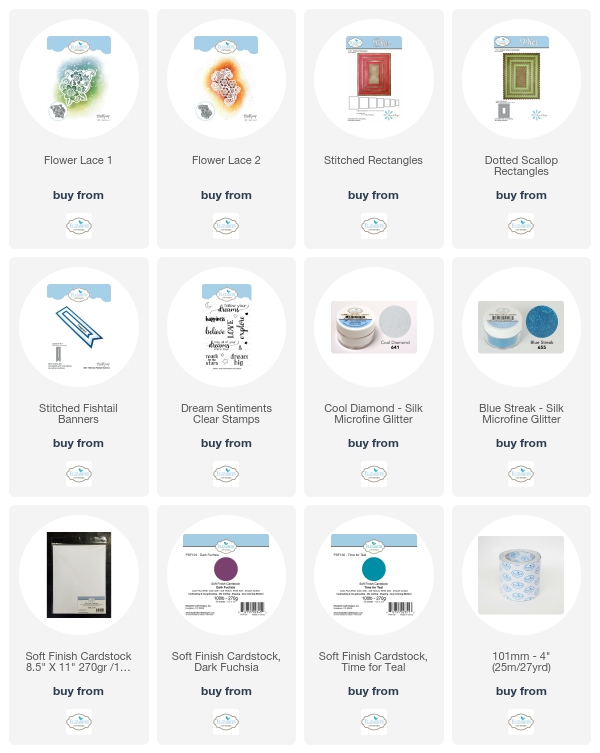
Paper: White Soft Finish Cardstock; Time for Teal Soft Finish Cardstock; Dark Fuchsia Soft Finish Cardstock  - Elizabeth Craft Designs
Dies: ModaScrap Floral Lace 1; ModaScrap Floral Lace 2; ModaScrap Stitched Fishtail Banners; Stitched Rectangles; Dotted Scallop Rectangles - Elizabeth Craft Designs
Other ECD Products: Clear Double Sided Adhesive Tape 101mm; Clear Double Adhesive Tape 6mm; Blue Streak Silk Microfine Glitter; Bright Grape Silk Microfine Glitter; Cool Diamond Silk Microfine Glitter
Other: Black Ink


Thursday, June 15, 2017

You are Flipping' Fabulous!


Hi everyone,

It's challenge time with my friends over on the CCEE Stampers challenge blog. As challenge hostess for the month I continue to issue the challenges!!!

According to the Days of the Year Web Site - Friday 16th is Flip-Flop Day. So for our card this week let's make flip flop cards! That can be the flip-flops that are shoes (thongs for us in Aussie)... Or Flip Flop Cards or both .... Or you may have another flip flop idea, whatever works for you. 😀

For my card today I decided to pull our a Flip-its card from The Stamps of Life. I haven't used my flip-its dies for ages so it was time for one to come out to play. As you can see I have decorated my card using flip-flops (or thongs as we say in Australia).

Go the decorative paper on my card I decided to play with my new Concord & 9th Dotty Turnabout Background Stamp set. Loving these turnabout stamps and easy to use with the MISTI. I used Distress Oxides for everything on this card except for the sentiments.


Here is a look at my card when the card is 'flipped' open. As you see I added another flip flop sentiment seeing I had them.

Don't forget to check out the CCEE Stampers blog (goes live 12 AM EST) to see the rest of the creations the CCEE Stampers created this week. You can also see more details of their creations on their individual blogs:


Vicky Gould


Stamps: sandals4summer; patterns4sandals - The Stamps of Life; Dotty Turnabout - Concord & 9th
Paper: White; Blue
Dies: Exclusive Fancy Edge Flip-its Card; Flip -its  - The Stamps of Life; Stitched Squares - Elizabeth Craft Designs
Other: Black Ink; Fossilized Amber Distress Oxide; Spiced Marmalade Distress Oxide; Cracked Pistachio Distress Oxide; Broken China Distress Oxide; Faded Jeans Distress Oxide; Foam Tape


Wednesday, June 14, 2017

Relish the Day


Hi Crafty Friends,

Welcome to our Paper Pros challenge for June. This time round our challenge is hosted by Shelly Hickox.

With Father's Day almost upon everyone in the USA, Shelly has given us the theme .... Masculine Cards.

Of course as Karen Burniston has just release her new dies through her new company ... Karen Burniston in cahoots with Riley and Company, I just had to play with a couple of her new dies for the challenge.

I used the new Charm Accordion and Nature Edges die sets for my card today. I love how easy the Charm Accordion is to create a card either die cutting the main accordion base die once or multiple dies to get a longer card. I die cut the base twice.


To decorate my card I used the Lawn Fawn Let's BBQ stamp set which I received for Mother's Day. 

The Charm Accordion die set comes with 5 charms you can use but I decided to use the BBQ tools for the charms for my card. It's probably better to have charms that fit within the square frame, but once you train the folds it works ok.


Even though Father's Day in Australia isn't until September, this was a good opportunity to add another one to my stash, I need a few for my kids. I found a "happy father's day!" sentiment that fitted onto the sauce bottles. I love how the ants are carrying all the food at the bottom of the card.


Here is a look at the front of the card when it is folded ready to be placed in an envelope. I added another of the sentiments from the stamp set on a fishtail banner.

You can see what the other "Paper Pros" created for this challenge on their blogs:


Stamps: Let's BBQ; Happy Summer - Lawn Fawn; The Sweetest - Penny Black
Paper: Red; Impervious DP - Authentique; Green DP - DCWV
Dies: Charm Accordion; Nature Edges - Karen Burniston; ModaScrap Stitched Fishtail Banners - Elizabeth Craft Designs
Other: Black Ink; Foam Tape; Copics


Tuesday, June 13, 2017

Zoo Babies Panda Baby Card


Hi everyone,

It's my turn to post a tutorial on the Elizabeth Craft Designs blog today for the Coloring Design Team. Today I am playing with the Krista Schneider Zoo Babies stamp set and coordinating dies to create a baby card. For some reason I seem to be making girl baby cards lately, but this card could easily be changed to suit a boy just by changing the colors of patterned papers used.


Here is how I created my card:

Step 1 - 
  • Cut a piece of pale pink cardstock so it measures 4 1/4 inches x 11 inches. Score and fold at 5 1/2 inches to create a top folding card.
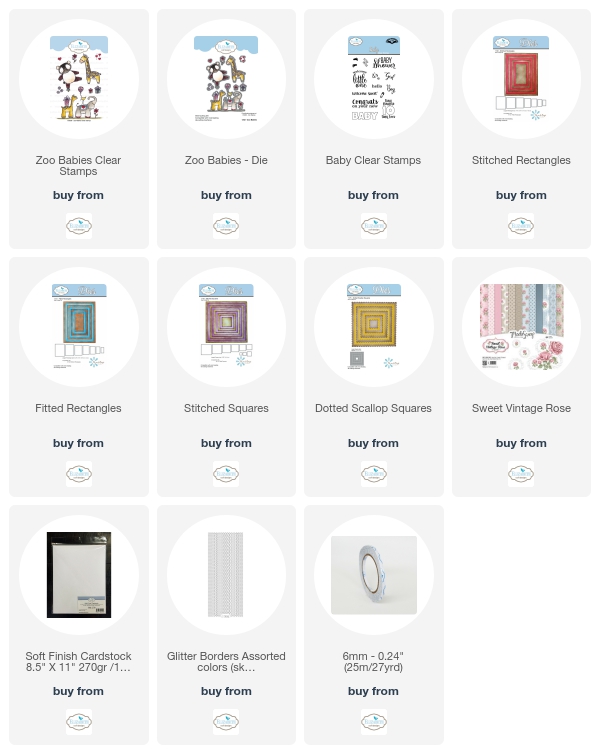
  • Use the second largest rectangle from the Stitched Rectangles die set to cut a rectangle from dark pink cardstock.
  • Use the second largest rectangle from the Fitted Rectangles die set to cut a rectangle from designer paper (from ModaScrap Sweet Vintage Rose Patterned Paper Pack).
  • Cut a piece of White Soft Finish Cardstock that measures 3 3/4 inches x 3 inches
  • Cut a piece of dark pink cardstock that measures 3 3/4 inches x 3 1/4 inches. 
  • Layer all pieces onto the folded card using photo above as a guide.

Step 2 -
  • Use the third smallest square from the Stitched Squares die set and die cut a square from designer paper.
  • Use the fourth smallest square from the Dotted Scallop Squares die set and die cut a square from dark pink cardstock.
  • Use a trimmer to card the square in half diagonally (see photo above).
  • Adhere one half of the square to the left hand side of the card using foam tape. (refer to photo below).

Step 3 -
  • Using the Zoo Babies Clear Stamp set, stamp out the bear; present and single flower onto White Soft Finish Cardstock using black ink.
  • Use coordinating dies to die cut each image and adhere to card using foam tape for the bear and present.
  • Decorate the edges of the white rectangle and the half square panel using Glitter Borders Peel-Off Stickers.
Step 4 -
  • Stamp a sentiment from the Baby Clear Stamp set to the lower right hand corner of card using black ink.

Step 5 - The Inside of Card:
  • Use the second largest rectangle from the Stitched Rectangles die set to cut a rectangle from dark pink cardstock.
  • Use the second largest rectangle from the Fitted Rectangles die set to cut a rectangle from designer paper (from ModaScrap Sweet Vintage Rose Patterned Paper Pack).
  • Cut a piece of White Soft Finish Cardstock that measures 3 3/4 inches x 3 inches
  • Cut a piece of dark pink cardstock that measures 3 3/4 inches x 3 1/4 inches.
  • Layer all pieces together and adhere to the inside of the card using photo above as a guide.

Step 6 -
  • Use the remaining half of the square we cut in half in step 2 to adhere to the left hand side of card. 
Step 7 -

  • Stamp the "Baby" and "Girl" sentiments from the Baby Clear Stamp set to the white panel.
  • Color the 'Baby" sentiment as desired.
  • Stamp the trio flowers from the Zoo Babies Clear Stamp set to the top and bottom right hand corner of white panel.
Thank you for  stopping by today, I hope you enjoyed my tutorial.


Other:
Cardstock - Pale Pink; Dark Pink
Black Ink
Copic Markers
Foam Tape

Monday, June 12, 2017

Romantic Corner Flower

Hi everyone,

Today I am sharing a card I created recently. The flower on this card was inspired by some flowers I saw Chiara of ModaScrap create on Facebook.  

The flower was made by using the ModaScrap Romantic Corner die set. 
  • Die cut five of the small corners from the Romantic Corner die set from White Soft Finish Cardstock. 
  • Color using a variety of red distress inks to add color to all of the corners.
  • Fold along each of the tabs, apply glue to the tab and join together to form a cone shape.
  • Adhere each of the "cones" to each other. Attach to card.
  • Die cut the large dandelion from the Dandelion Fluff die set, cut off the petals and adhere to the base of the flower.


Here is another look at my flower/card taken at a different angle.

I white embossed a sentiment onto a red Stitched Fishtail Banner.


And one last photo.


Stamps: Dream Sentiments - Elizabeth Craft Designs
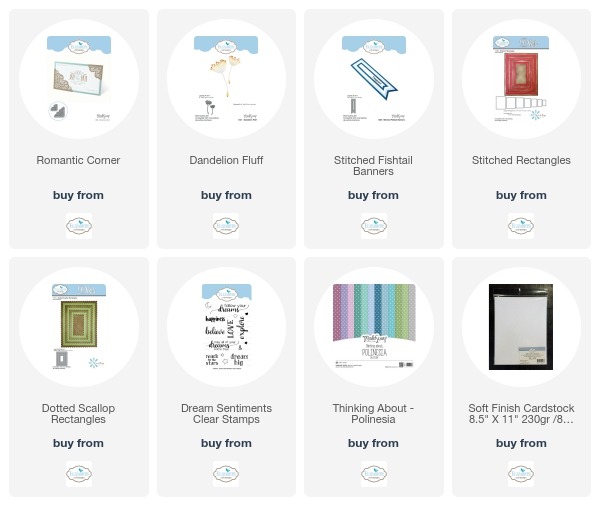
Paper: White Soft Finish Cardstock; ModaScrap Thinking About Polinesia DP - Elizabeth Craft Designs
Dies: ModaScrap Romantic Corners; ModaScrap Dandelion Fluff; ModaScrap Stitched Fishtail Banners; Stitched Rectangles; Dotted Scallop Rectangles - Elizabeth Craft Designs
Other: Versamark Ink; Worn Lipstick Distress Ink; Festive Berries Distress Ink; Fired Brick Distress Ink; Peel Paint Distress Ink;  White Embossing Powder; Pearls


Sunday, June 11, 2017

Hello Monkey Spinner


Hi everyone,

Today I am sharing a Spinner card I created using Joset Designs Sliders & Spinners die set and the monkey from Krista Schneider Jungle Cuties stamps and coordinating dies. The designer paper used here is the new papers from ModaScrap which are just gorgeous to work with!!!! All these products are available from Elizabeth Craft Designs.

I made one similar to this earlier in the year but as I had given that away and I wanted a card to show at the Scrapbook and Papercrafts Expo where I was demoing this past weekend.  I created a card made in full and then another that was partly completed, so I could show how easy it is to create if you have the dies.

I substituted a penny for washers, covering the washer with a cardboard circle as the closet coin we have to a penny in Australia is 10c, the washers work really well.


Here is a quick video to see my card in action.


Stamps: Jungle Cuties; General Sentiments
Paper: White Soft Finish Cardstock; Soft Sky Soft Finish Cardstock; Time for Teal Soft Finish Cardstock; ModaScrap Color of Puppies Boy - Elizabeth Craft Designs
Dies: Jungle Cuties Dies; Sliders & Spinners; Stitched Rectangles; Dotted Scallop Rectangles - Elizabeth Craft Designs
Other: Black Ink; Foam Tape; Copics


Saturday, June 10, 2017

Roses


Hi everyone,

It’s challenge time with the “Crazies” over on the Crazy 4 Challenges blog. Joanne Grzelak our challenge hostess for the month continues to issue the challenges.

June is Rose Month. So for our challenge this week Joanne has asked us to include a rose as one element (or the only element) on your card. OR .... have a whole garden or roses


For my card today I have used the ModaScrap Rose Pocket to create the base of my card and then decorated the pocket card using roses from Susan's Garden Rose 3 die set.


I added a circle layer to the lower right hand side of the card to which I added my three roses. I also added an ivy vine to my card.

The roses were created using White Soft Finish Cardstock and then colored using PanPastels.


For the inside of the card which pulls out of the pocket I added an old PSX sentiment I had in my stash. The birthday sentiment on the pull circle is from the Steampunk Greetings from Elizabeth Craft Designs.

Don't forget to check out the rest of the “Crazies” cards over on the Crazy 4 Challenges blog and also their individual blogs for more details.


Stamps: Steampunk Greetings - Elizabeth Craft Designs; Come into my Garden - PSX
Paper: White Soft Finish Cardstock; ModaScrap Thinking About Polinesia Paper Pack - Elizabeth Craft Design; Pink; Dark Pink;
Dies: Garden Notes Rose 3; Garden Notes Ivy Vine; ModaScrap Rose Pocket; Stitched Circles; Dotted Scallop Circles - Elizabeth Craft Designs
Other ECD Products; All Metal Tool Kit; Leaf Pad; Molding Mat; PanPastel Flower Coloring Kit 1; Clear Double Sided Adhesive Tape; Kids Choice Glue
Other: Peeled Paint Distress Oxide; Peeled Paint Distress Ink; Foam Tape