Monday, June 13, 2022

Gifts Galore Slimline


Hi Crafty Friends,

Today I am sharing a birthday themed Slimline Shaker Card that I created recently.

My cards uses Whimsy Stamps Gifts Galore Slimline Stamp with coordinating die to create the frame for my card. The paper that shows through the acetate window is from Lawn Fawn's Watercolor Wishes Paper. 

For the sentiment I added the "Birthday" using Pinkfresh Studio's Brushed Sentiments Hot Foil Plate. I added the "Wishes" using a hot foil plate from Spellbinders.


For the inside of my card, I added a border along the bottom of the card using Whimsy Stamps Gifts Galore Slimline stamp. 

I added a birthday greeting to the card using an older Print Works stamp.


Friday, June 10, 2022

Faith Can Move Mountains


Hi Crafty Friends,

I have a slimline card to share with you today using stamps, dies and papers from Divinity Designs June Release.

To create the slimline portion of the card I used the Slimline Card Base; Slimline Rectangles and Slimline Layering Rectangles. The background paper is from the Heavenly Skies Slimline Paper Pad.

The mountain was created using the new Slimline Mountain Silhouettes die set which I die cut from dark grey, grey and white cardstock. I decorated the bottom of the mountain using the tree and grasses from the Cowboys and Cactus Silhouettes die set. The birds are from the Beach Silhouettes die set which is one of the dies included in the April 2022 Blessings Box. There are birds in the Cowboys and Cactus Silhouettes die set, but as I used those in my previous mountain card last week, I decided I wanted a different look with the birds.

I added the stamped sentiment from the Move Mountains stamp set.


Thursday, June 9, 2022

Best Fishes

Hi Crafty Friends,

It's challenge time with my friends over on the CCEE Stampers challenge blog. Lynn McAuley our challenge hostess for the month, continues to issue the challenges.

June 8 is World Oceans Day. I want the CCEE Stampers to celebrate the oceans of the world with a nautical themed project of your choice. Winds, waves, boats, birds: anything related to oceans will do. 


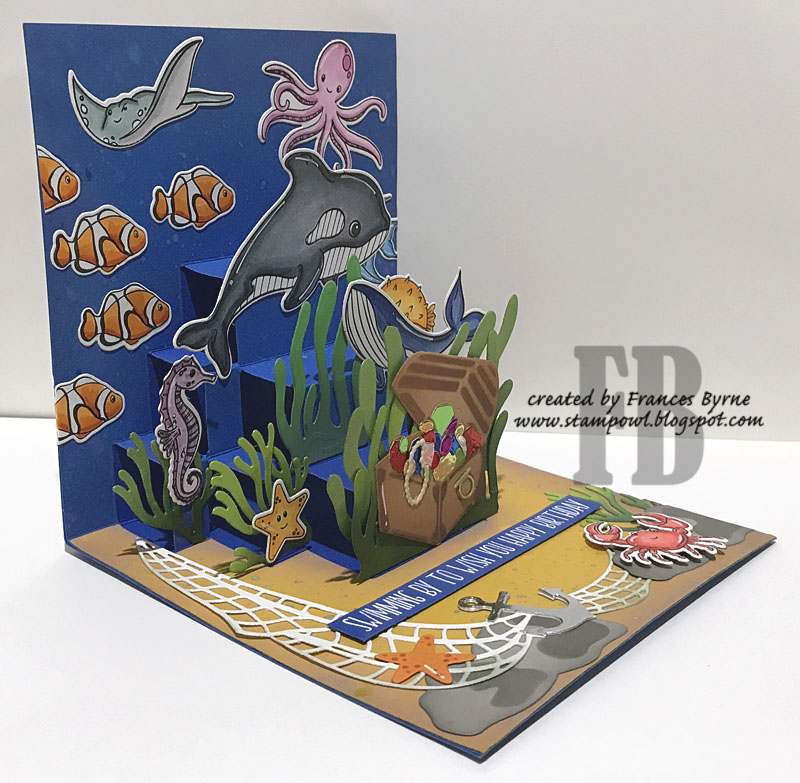
I actually created this card almost 2 months ago, shortly after Lynn posted her challenges to the Design Team. I had just received the pop-up die and I knew as soon as I saw the challenge the stamps and papers I wanted to use. As I didn't want it to be in my head for 2 months and sat down and made it there and then.

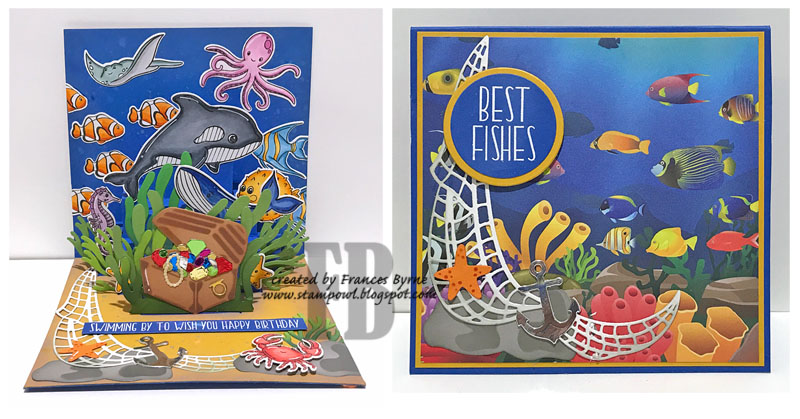
My card used stamps, dies and papers from Made To Surprise by Sam Calcott. I have posted an ocean themed card using the ocean themed stamps, dies and papers. I used the Under the Sea and Riding the Waves stamp/die sets for all the stamped images. I also used the Treasure Trove die sets for all the die cut images. The sentiment is from the Under the Sea Sentiment stamp set.


As you can see, I created a pop up card using Sam Calcott's newest collection (at the time of making) Simple Pop-ups die set. This die is a multi level die. I used plain cardstock to die cut the pop-up portion of the card using blue cardstock, I then sponged on various dark blue distress inks onto the upper portion of the card so I could spritz with water to get a water look. I die cut the lower half of the pop-up onto a ochre coloured card panel, trimmed out the pop up portion of the card, inked the panel and added it to my card base.

I then decorated the card using the various images from the sets listed above.


As the focus of this card is the inside of the card, I kept the front of the card fairly simple. I used one of the papers from the coordinating Under the Sea paper pad and added it to the front of the card. I added the net & rock  die cut images to the left side of the card.

I white embossed the "Best Fishes" sentiment onto blue cardstock and die cut using circle dies and layers the sentiment to the top left side of the card.


Don't forget to check out the CCEE Stampers blog (goes live 12 AM EST) to see the rest of the creations the CCEE Stampers created this week. You can also see more details of their creations on their individual blogs:


Wednesday, June 8, 2022

Bake The World A Butter Place

Hi Crafty Friends,

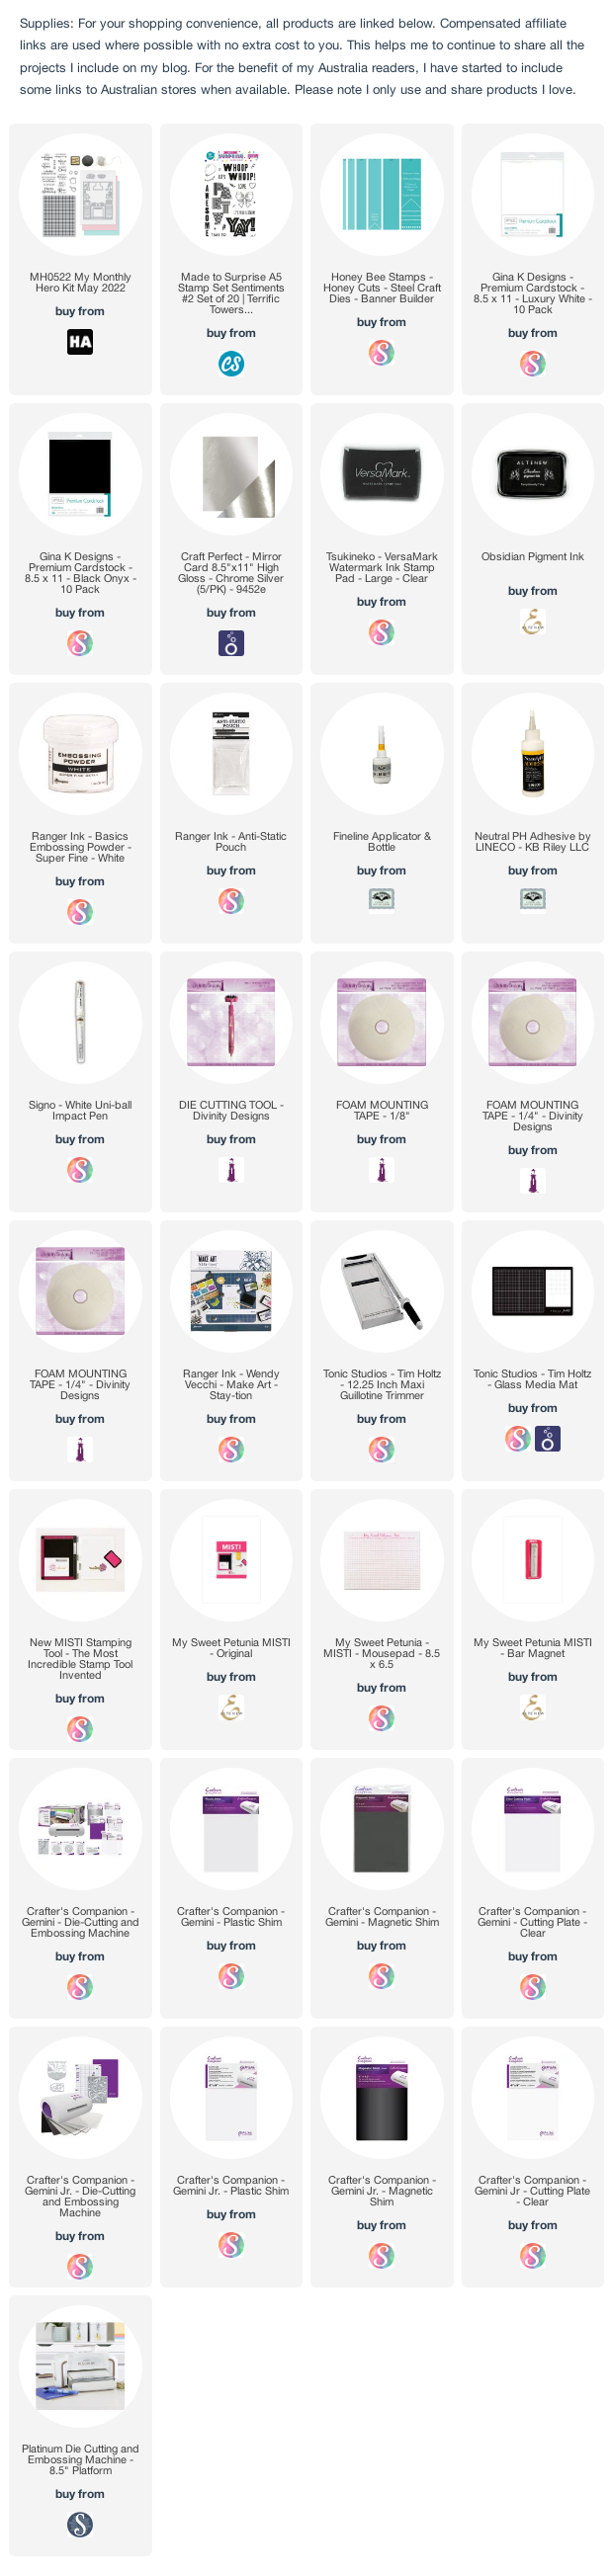
Today I am sharing a card I created using Hero Art's My Monthly Hero Kit for May.

As soon as I saw the kit was kitchen related I knew it was one I needed to add to my stash. 

One fun fact about me is that I always have to have a kitchen that includes blue in it somehow, so for my card today I decided to use that colour scheme. 

I used the tiled background stamp included in the kit to white emboss the aqua cardstock panel. I then used a marker that was slightly darker than the cardstock to highlight each of the tiles.

I die cut the kitchen die from white x 2, blue and silver cardstock. I cut out the stove and range hood from the blue cardstock and adhered it over the same image on the white card panel. Before adhering the stove to the card, I added a layer of black cardstock.

From the silver cardstock, I cut out the stove dials, handle, the cupboard door handles; the saucepan, toaster and coffee pot. I adhered all these to the white panel. Before adding the toaster, I added the bread which I coloured as toast.


From the second white die cut panel, I cut all the items off the shelves and coloured them before adhering them all to the white images on the shelves.

I stamped the sentiment onto white cardstock which I then die cut and adhered to the tiles above the bench.

I also added the "Warm Wishes" sentiments to the inside of the oven door.


For the inside of the card, I white embossed another panel of aqua cardstock using the tile background stamp. I trimmed this panel down and added to the left side of the card.

On the right hand side of the card I added another of the sentiments included in the stamp set from the kit.

The "It's Your Birthday" sentiment is from a Made To Surprise stamp set.


Tuesday, June 7, 2022

June 2022 Karen Burniston Designer Challenge


Hi Crafty Friends, 

Welcome to our June Karen Burniston Designer Challenge.

Check out Karen Burniston's blog on Wednesday (US Time) when you will be able to see what all the designers created for the challenge this month, plus Karen will have an amazing video tutorial to share with us all.

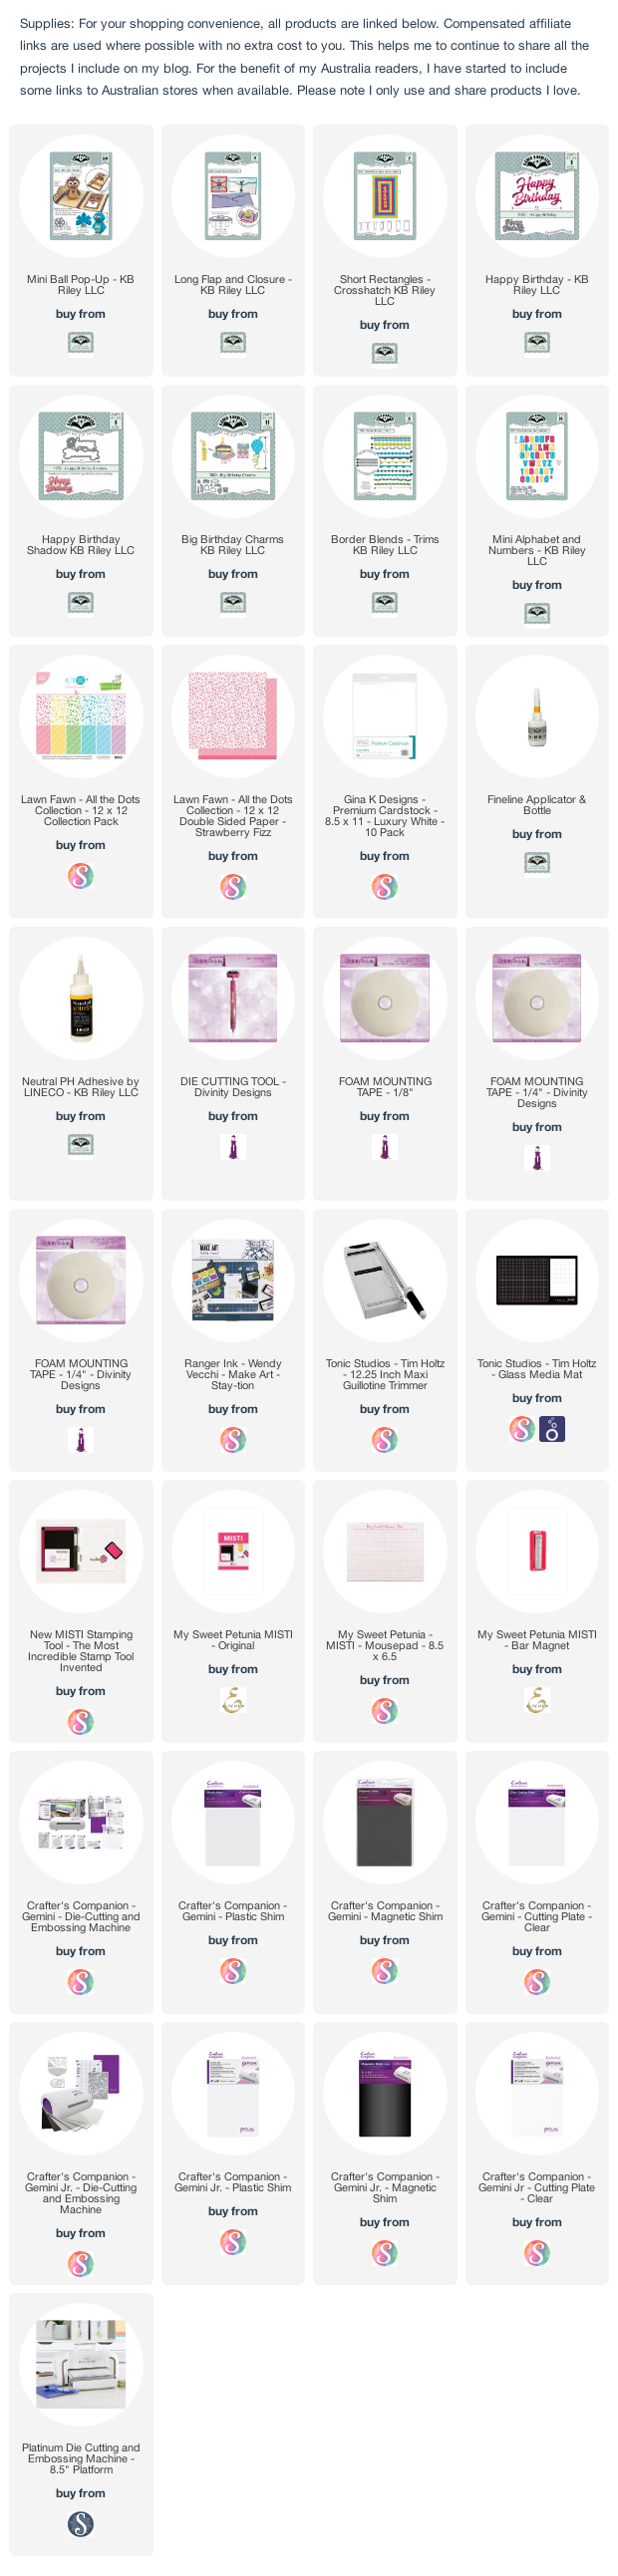
Our challenge theme this month is ... "MINI SLIMLINE" - create a card in a mini-slimline size of 3.5" x 6".


Being a lover of Slimline and Mini Slimline cards, this challenge was right up my alley! Of course being a Karen Burniston challenge, I wanted to include some form of pop-up inside of the card. Many of Karen's dies will work inside of a Mini Slimline. Until recently one thing that wouldn't work was the ball dies, specifically the Surprise and Bitty Ball dies. However with the release of the Mini Ball last 
month we can now include those in slimline cards if you wish.

I turned the mini ball into a birthday cake, at 3 1/2 inches wide you need to be careful what "extra" pieces you add to then mini ball for it to fit inside the card. I was able to do a monkey last month inside a 4 inch slimline card.

For the layers of my card, both on the inside and front I used the new Short Rectangles - Crosshatch die set, using the largest rectangle included in the set to die cut my panels.

I also used the Long Flap and Closure die set to create the flap to my card which helps to keep the card closed.


To decorate my "cake" I added a ribbon trim using one of the border dies included in the Border Blends Trims die set. The candle and presents are all from the Big Birthday Charms die set.


On the back panel I added the birthday sentiment using the Happy Birthday & Happy Birthday Shadow die sets. The Happy Birthday was die cut using pink glitter paper.


To decorate the front of the card, I added four presents using dies from the Big Birthday Charms die set.

I also used the Mini Alphabet die set to create the HB2U on the flap.


Monday, June 6, 2022

On Your Retirement

Hi Crafty Friends,

A friend I have known for many years, retired last month. They have sold their home and planning on moving up to a coastal area in the very near future. My friend normally is the one who has organised the cards for her fellow workmates over the years, and as she didn't want to make her own retirement card she asked me if I would make one for her. Of course I said yes.

When I was planning my card, I thought of the different things that would suit ... beaches, playing golf, trips away in their caravan etc. 

In the end I decided to create a Slimline Bridge Card, the base of this card is slimline sized being 4 inches x 9 inches. However because the palm tree leaves are overhanging on both ends of the card it is a little longer than that. This could be easily fixed by cutting the palm trees flush with the edge of the card, but I liked the overhanging look, so I kept them as it. It did mean I had to find an envelope which would fit. I fixed that issue by finding an oversized envelope and cutting it down to fit.


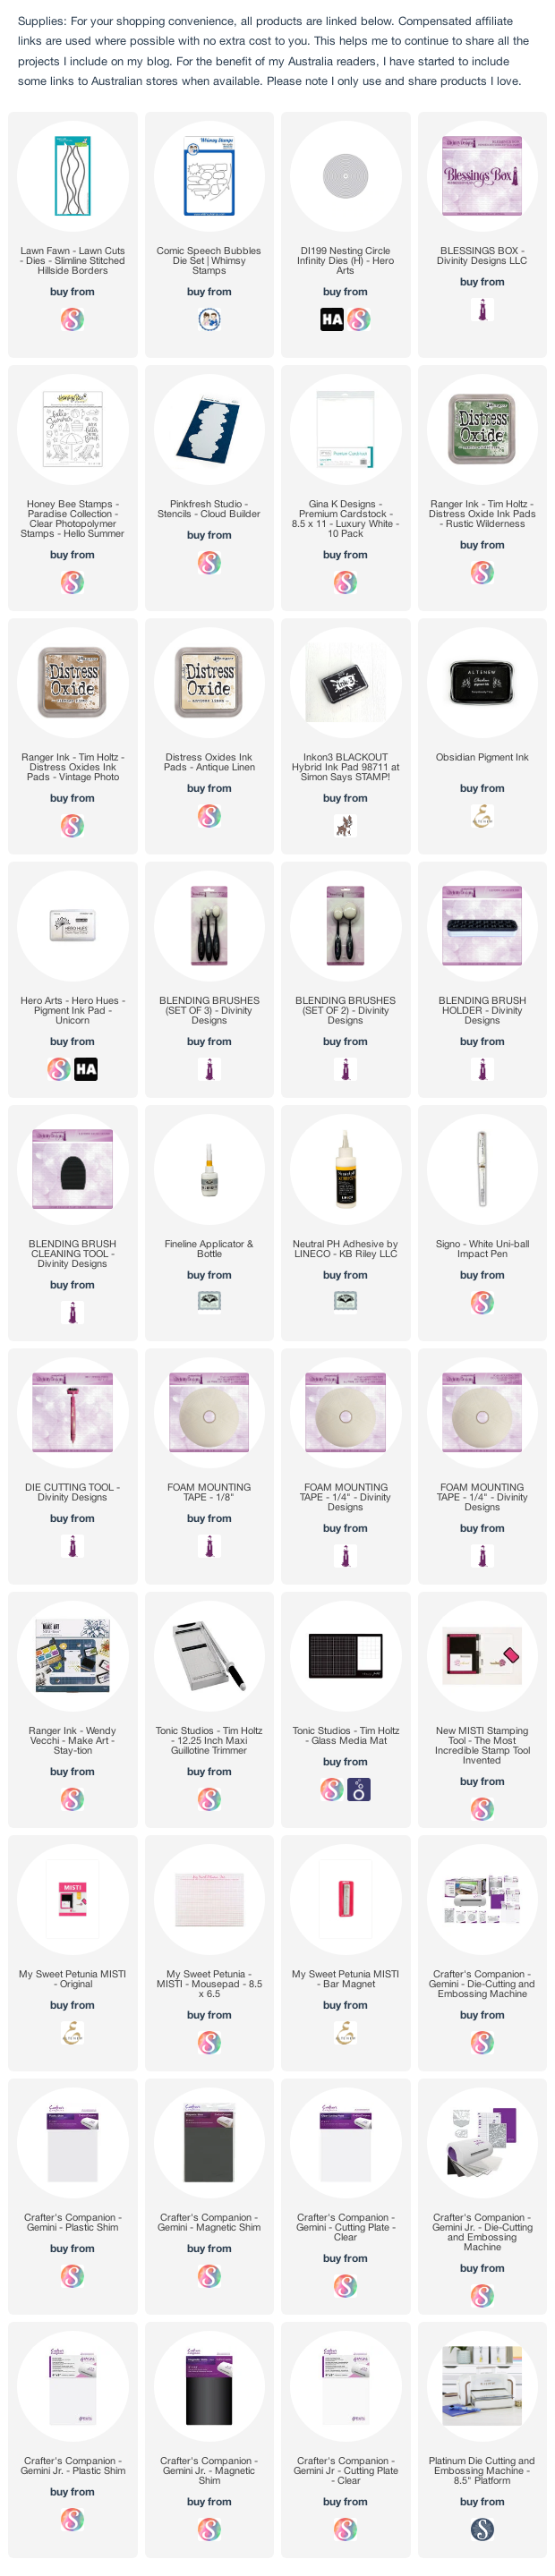
To create the sand hills and waves in the background I used Lawn Fawn's Slimline Hillside Borders die set. I die cut the sand from a soft yellow cardstock and the waves from a bright blue card and added ink to both.

The caravan and palm trees are two older dies I had in my stash from MFT Stamps.

I couldn't find a retirement sentiment, so I used my computer to create one and added it to the top of my card inside a speech bubble using Whimsy Stamps Comic Speech Bubbles die set. 

The birds are from Divinity Designs Beach Silhouettes die set which is included in the April 2022 Blessings Box. I think I will be using those dies a lot!

As I know my friend and her husband will do a lot of golfing, now they are retired, I had to add a golf club and ball to the card. I have made many golfing themed cards for my friend in the past.

To finish off the front of the card I added a sign post with the name "Hervey Bay" which is where they will be moving to.

One more photo of the front of my card, taken so you can see a bit more of the depth of the card. The waves in the background with the yacht etc.


On the back of the card, I added a panel for a personal greeting, adding more sand along the bottom of the card, another palm tree and of course the golf club and ball. 


Other Supplies:
Palm Tree Die-namics - MFT Stamps (retired)
Happy Camper Die-namics - MFT Stamps (retired)


Friday, June 3, 2022

Lattice Sunflowers

Hi Crafty Friends,

Today I am sharing a floral 5 inch x 7 inch card that I created recently.

As you can see by the photo above, I have included a Lattice Fold along the left side of the card. It's been many years since I have created this style of card which used to involve a lot of measuring and intricate cutting. For my card today I used one of the lattice dies included in Made to Surprise by Sam Calcott's Creative Cuts Collection. The die used for this card is the Double Arrows Lattice die included in the Wide and Double Arrows Die Set.

I used Pinkfresh Studio's Slim Diagonal Stitched Plaid die to add some texture to all the white panels on my card.

To decorate, I used the Pinkfresh Studio's Sunflowers Washi Tape with coordinating dies for all the flowers.

I added a gold foiled sentiment using Waffle Flower Crafts' Hey There Hot Foil Plate with Coordinating dies. I used Pinkfresh Studio's Solid Foil Plate to hot foil the reverse image of the sentiment.

To finish off my card I added three gold metallic pearls.


For the inside of the card, I added two more of the white/green layered rectangle panels which both have been cut using the Pinkfresh Studio's Slim Diagonal Stitched Plaid die.

I decorated both panels with more of the sunflower images using the Sunflower Washi Tape.

On the left panel I added ovals which is a place to add a handwritten greeting.

On the right panel I added the "hello" sentiment using Waffle Flower Crafts' Oversized Hello Hot Foil Plate with coordinating die.


Thursday, June 2, 2022

Berry Sweet


Hi Crafty Friends,

It's challenge time with my friends over on the CCEE Stampers challenge blog. Being a brand new month, it's time to introduce our new challenge hostess that is Lynn McAuley.

Country Cooking Month – In the United States, June has been declared country cooking month. I am therefore asking the CCEE Stampers to create cards which feature fabulous bounty from the garden in the form of fruits or vegetables that you love to prepare and serve your family during the hot months of summer.

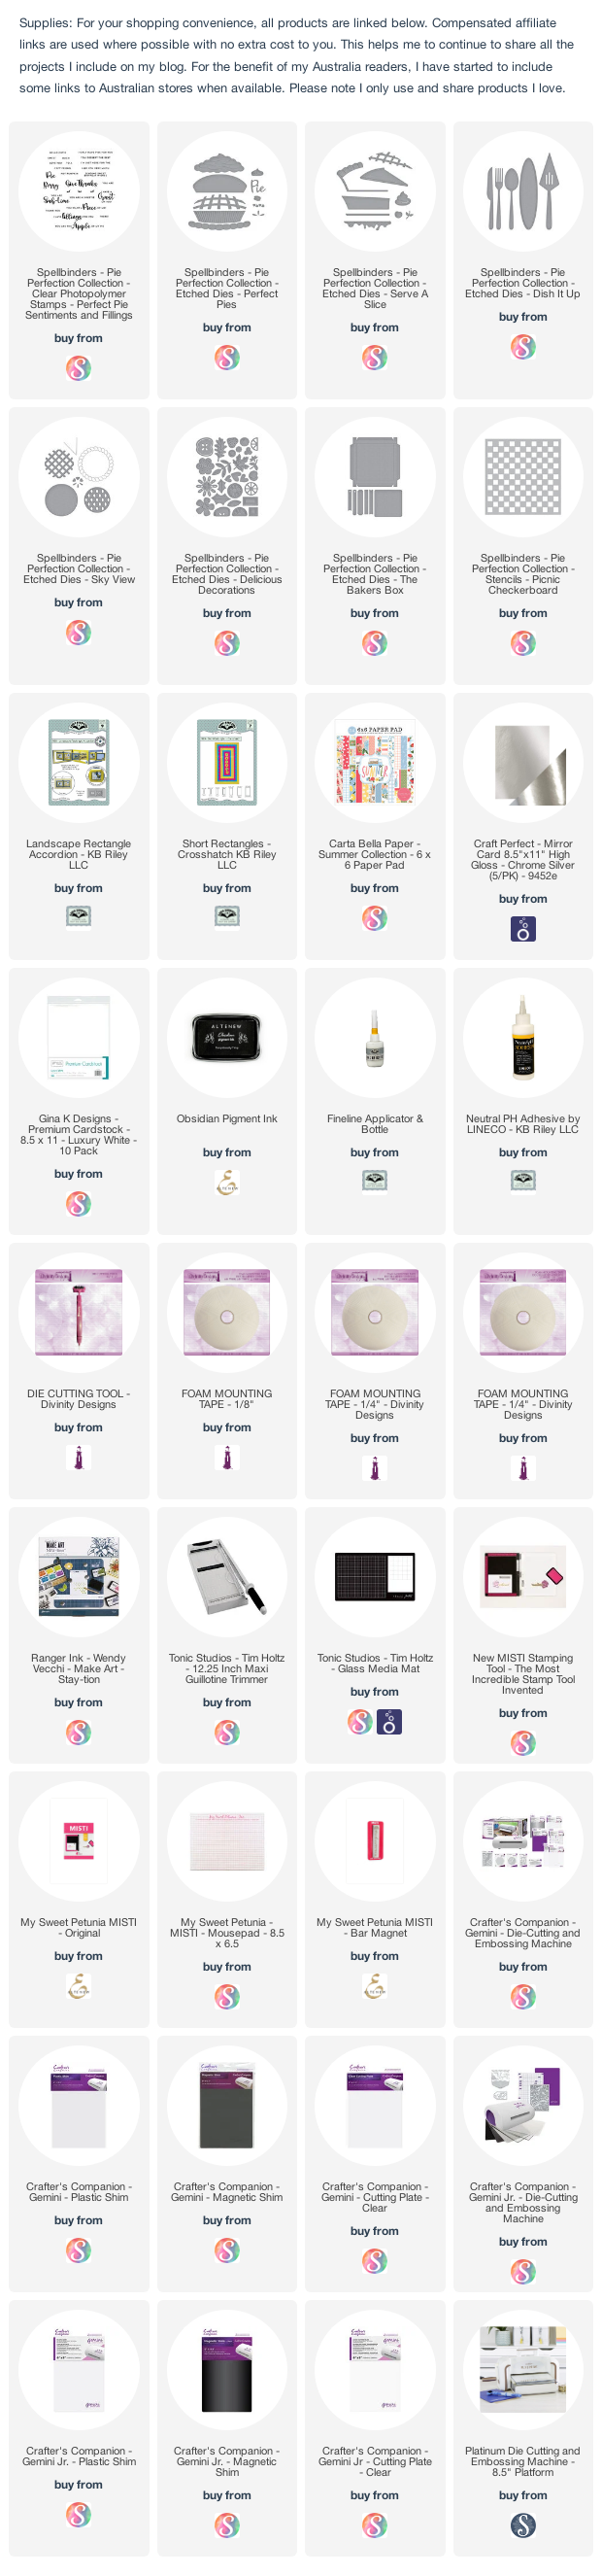
I recently purchased the Spellbinders Perfect Pie Collection designed by Tina Smith, so as soon as I saw this challenge I knew I had to use some of the dies to create my card for this challenge.

As you can see I created an accordion card using Karen Burniston's new Landscape Rectangle Accordion die set. This die set makes an accordion card which is Mini Slimline sized being 3 1/2 inches x 6 inches.


I used the rectangle dies from the Short Rectangles - Crosshatch die set to create all the layers and white panels at the centre of each page.

For the first panel of my card I used the Serve a Slice and Dish It Up die sets to create the slice of strawberry pie.

All the sentiments on this card are. from the Perfect Pie Sentiments & Fillings stamp set which is also a part of this collection. The tiny strawberries are from the Delicious Decorations die set.


 I created a large strawberry pie for my last page of my accordion card using the dies from the Perfect Pies die sets.


Here is a look at my card when it is closed ready to be placed in an envelope.


Don't forget to check out the CCEE Stampers blog (goes live 12 AM EST) to see the rest of the creations the CCEE Stampers created this week. You can also see more details of their creations on their individual blogs:

Wednesday, June 1, 2022

Divinity Designs June Release


Hi Crafty Friends,

I have lots to share with you today as it is time for Divinity Designs June 2022 Release. This time around Divinity Designs are releasing a cute Gnome Paper/Die Duo set; 1 stamp set; 1 slimline die; 1 frame die; 2 sentiment dies and a 3D card die.


The slimline die being release this month, is the Slimline Mountain Silhouettes. This die can be used on it's own to make beautiful cards, I decided to use it today with a number of other dies to create a scene card.

To create the base of my card I used the Slimline Card Base; Slimline Rectangles and Slimline Layering Rectangles die sets. I used one of the papers from the Sunset Skies Paper Pad to create the beautiful background.

Next I die cut the Slimline Mountain from two shades of grey cardstock and white cardstock and added that to the scene. I die cut the Slimline Tree & Hill Silhouettes die from green cardstock to add some greenery below the mountain.

The moon, birds and cowboys are from the Cowboy and Cactus Silhouettes die set, this was included in a previous Blessings Box but now can be purchased separately.

To finish off the front of the card, I added a stamped sentiment from the Move Mountains stamp set.


For the inside of my card, I added the tree and birds from then Cowboy and Cactus die set. I added the Thinking of You sentiment, which is another of the new dies from this release.


For my next card, I created a Triple Step Card using the new Triple Step Landscape with Layers die set. 

I used papers from the Coffee Break Gnomes Paper/Die Duo set for all the layers of this card. The gnomes and coffee cups are also included is this set.


I added the Thinking of You sentiment using the Thinking of You with Layers die set.


For the inside of my card, I added another gnome and some of the accessories included in then Coffee Break Gnomes Paper/Die Duo set.

The sentiment is from the Perk Up Stamp/Die Duo set.


For my final card today, I have again used the Coffee Break Gnomes Paper/Die Duo set for the papers, gnomes and coffee/food images. 

The brown frame was created using the new A2 Pierced Multi Windows die set. This was layered to a scalloped rectangle using one of the dies from the Scalloped Rectangles die set. I then layered this panel to the front of a top folding A2 card which was created using the A2 Portrait Card Base with Layer die set.

I added a "coffee" themed sentiment using one of the stamps from the Hug In A Mug Stamp/Die Duo set.


For the inside of the card, I added another sentiment using the Hug in A Mug Stamp/Die Duo set. I also added another gnome and some coffee mugs.