Thursday, December 15, 2022

Santa Flip Card


Hi Crafty Friends,

I have another Christmas card to share today using the images and papers from the Made to Surprise by Sam Calcott's card kit included in the Papercraft Essentials Magazine #217. 

For this card I created a 5 x 7 Flip card using the Made to Surprise 5 x 7 Fabulous Flip Card die set. To create the frame around each of the openings, I die cut the large frame again from green cardstock and then trimmed it down so it had a narrow border.

I die cut the flip mechanism pieces from holographic cardstock.


For the sentiment I used an older Stampers Anonymous/Tim Holtz stamp set called Handwritten Holidays 2.

I adhered the flip card onto a top folding white card that measures 5 inches x 7 inches. I cut a strip of cardstock that measures 3 inches x 7 inches. I scored along the 3 inch side at 1/2 inch; 1 1/2 inches and 2 1/2 inches and then folded to create an "M" shape.I adhered this piece to the bottom of the inside of the card to turn it into a tent style card. This makes it easier to display.


When you pull the arrow, the front of the card flips to reveal the other side of each panel and a sentiment on the inside.


I added the elf and present image, both of which are also included in the Magazine card kit. The stamped sentiment is another older one from Kaisercraft.

I added the "Ho Ho Ho" using alphabet dies from Karen Burniston.


Seeing the card doesn't open, because I turned it into a tent card, I added a few panels to the back so that I could add a sentiment and hand written greeting.

The "Oh So Merry" sentiment is from Mama Elephant's The Penguins Waddle die set. I added the stamped sentiment above, using Lawn Fawn's Reveal Wheel Holiday Sentiments stamp set.

To finish off the back of the card, I added some holly also from the Magazine card kit.
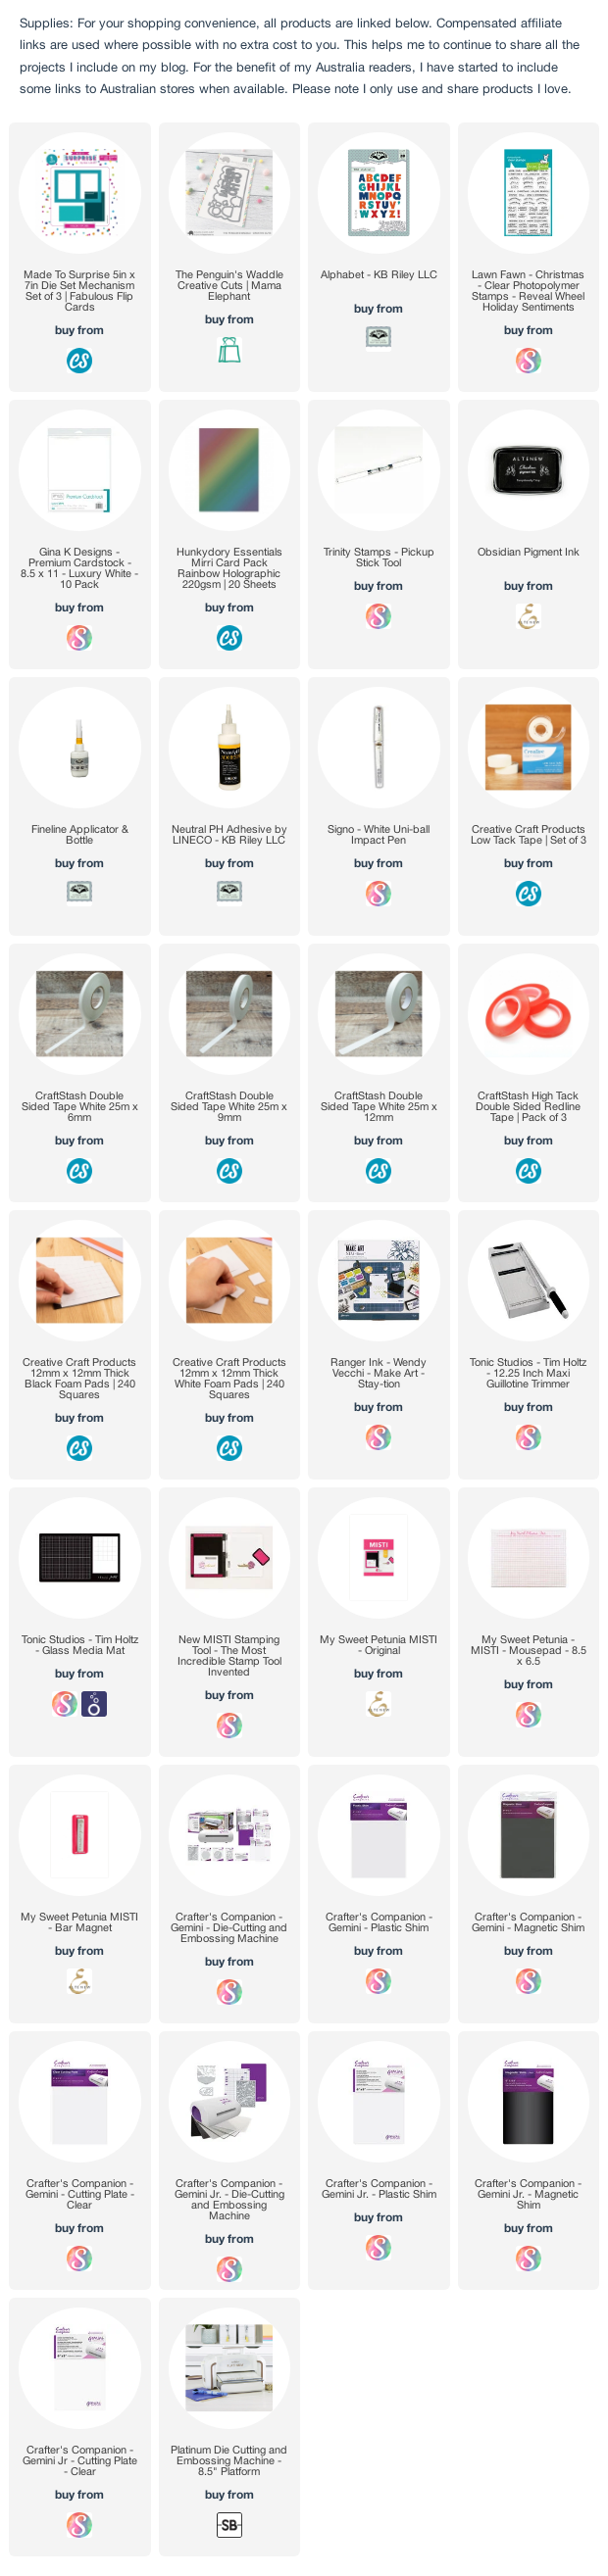


Other Supplies:
Made to Surprise Card Kit - Papercraft Essentials #217
Handwritten Holiday 2 Stamp Set - Stamper's Anonymous/Tim Holtz (discontinued)
Sentiments Jolly Stamp Set - Kaisercraft (discontinued)



Wednesday, December 14, 2022

Snowman Christmas


Hi Crafty Friends,

I have another Christmas card to share today, using dies from Karen Burniston including the new Banners - Crosshatch die set which was released on Monday.

For my card today I decided to just create a flat simple card, rather than a pop up card. Sometimes you need some quicker cards to have in your stash.

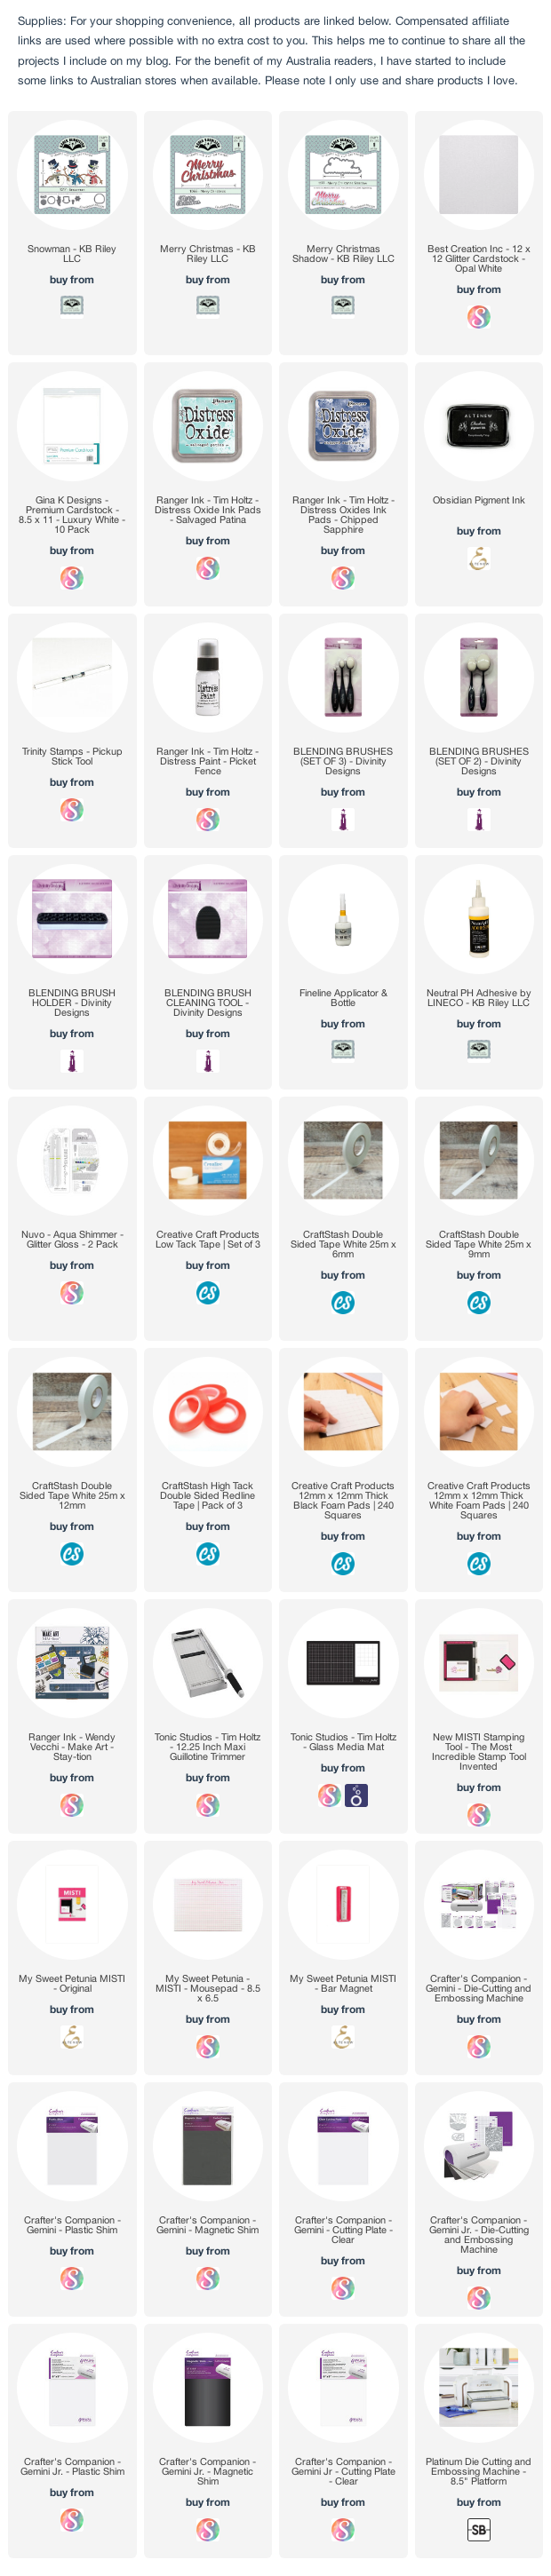
To decorate my card I used the Snowman die set and the Merry Christmas & Merry Christmas Shadow die sets. 

For the inside of the card, I used the same layout as on the front, substituting the patterned paper for white card. I added a stamped Christmas sentiment and then added some stencilled snowflakes.


Tuesday, December 13, 2022

Karen Burniston - KB Riley LLC December 2022 Release Blog Hop


Hi Crafty Friends,
Welcome to our Karen Burniston Products - KB Riley LLC December Release Blog Hop. The Design Team have come together with Karen today for a fun blog hop to celebrate the release of 11 new dies. Sneak peeks of the new release started last week, and the dies are available to order NOW!


This release includes:
  • 2 new charm die sets
  • 1 new stand alone die set
  • 2 new Tiny House Add-Ons sets
  • 2 new Pop-up die sets
  • 1 new Woven Box Basket die set
  • 2 new Crosshatch die sets
  • 1 new Box die set
Dies are available to order now on the website.
GIVEAWAY:
To celebrate the release Karen Burniston and each of the Karen Burniston - KB Riley LLC Design Team members will be giving away a $25 Gift Certificate to some lucky person who comments on our blog posts, so make sure you join the hop and comment on everyone's blog post. Winners will be randomly chosen from ALL of the blog hop comments received on our blog posts by Monday, 19th December 2022. Lots of chances to win some goodies, so just leave a comment on this post or any other blog hop posts to enter! Don't forget to leave some way for us to contact you, in case you are a lucky winner!


My card today uses three of the new die sets being released ... Dog Tiny House Add-Ons; Bam Box Pop-up and Hexagon - Crosshatch die sets.

I have created a Slimline Card with a 3/4 Front. To create my card I cut two pieces of red cardstock for the base. The back measures 3 5/8 inches x 8 5/8 inches. The front is 3 5/8 inches x 6 inches, I then scored along the long side of this panel at 1/2 inch to adhere this panel to the back panel. Once I had the base of my card all done, I was then able to add my layers. As this is a Christmas card, I decided to bling it up a little by adding holographic card for the layer under the patterned papers.


Here is a quick video to see my card in action.


For the dog house I used the new Dog Tiny House Add-On die set with the Tiny House Pop-up die set. The new add on set comes with the walls for the dog house, a dog, bones, a paw print, a ball, collar and a dog. The walls and paw print have the stamp feature on them which means you can ink up the die to add the colour as you die cut.

Although this die set does come with a dog, as I had to make a pug themed Christmas card for my daughter to give to her vet, I decided to use pugs on this card. The pugs in this set are from an older Clearly Besotted Bah Hum-Pug! stamp set and as there were already a few pugs stamps, cut and coloured in the back of the stamp set and went with three of those. 


For the two pugs not attached to the dog house, I used the pop-up included in the new Bam Box Pop-up die set to pop them up. When my card is. closed the two pugs adhered to the Bam Boxes are on top of each other adding bulk to that area, next time I make this type of card I will make sure that I adhere them in different positions. The Bam Box folds flat for closing and pops up when you open the card.

I used the two of the labels included in the Bam Box Pop-up die set to add the two labels on the inside of the card. One has a stamped sentiment from an older pug themed stamp set, the other is blank for the sender to write a personal message.


As this card has three pop ups and is a little bulky, I needed a way to keep the card closed when needed. So I created a belly band. I used the new Hexagons -  Crosshatch die set for the layering panels and then added a pug image using Crafter's Companion's Bah! 
Humbug! stamp set.


Here is one last look at my card when it is open with the belly band sitting on the right side of the card.

Well that's about it from me today, thank you for dropping by. To continue on the blog hop, click on the next person on the list, which is  Nicky Foden


Here is the complete blog hop list in case you need it.


Blog Hop List:


Karen Burniston

Lois Bak

Sue Small-Krieder

Karen Aicken

Jennifer Webster

Frances Byrne. <<<< YOU ARE HERE >>>>

Nicky Foden

Sandy Diller

Suzanne Smit

Fran Sabad


Monday, December 12, 2022

Candy Cane Wishes


Hi Crafty Friends,

Thanks for visiting my blog today. I have a Christmas themed 5 x 7 card to share with you all, using an Intri'lace die from Crafter's Companion.


I used the Sweet Candy Canes die to die cut the front of a white side folding 5 x 7 card. I then backed the candy canes using a piece of 5 x 7 acetate. I then die cut the candy cane die from green mirror card for the bow and red cardstock to paper piece all the candy canes.

For the sentiment, I used a sentiment from Divinity Designs Candy Cane Wishes Stamp/Die set, masking off the first part of the sentiment as I only wanted "Candy Cane Wishes".


I adhered a panel of red striped paper to the inside of the card, so it can be seen when the card is closed.


As there is acetate on the front of my card, it means that you can see the inside of the card from the front. So I didn't want to add a sentiment that could be seen on the inside of the card. Instead I added a panel to the back of the card and added my sentiment to this.


Friday, December 9, 2022

Woven Basket Teacher Card


Hi Crafty Friends,

Today I am sharing another sneak peek of some of the new dies to be released by Karen Burniston next Monday 5th December. This card uses three of the new dies being released.


As the school year finishes in a few weeks down here in Australia while we have our summer holidays, I need to get a few more teacher thank you cards made, so that is what I have done for my card today.

My card uses three of the new die sets ... first up the Wide Woven Basket Box Card die which I have used with the Woven Basket Box Card die set to create my basket base. You can use these two dies either in conjunction with each other so you have the wider front and the narrower sides or just use the new wide die set if you want a bigger square shaped basket base. For my card I opted to keep my basket the same color, but you can weave a different color if you want.


To decorate my card, I used the new Bookworm die set. This die set includes that cute little bookworm and dies to create two different styles of books. I also used the Office Charms die set to die cut a few pencils.

Another of the new dies being released, is the Bam Box Pop-up ... this is going to be so much fun and you can use this to pop-up so many different things. I have used the bam box itself at the bottom of the inside of the basket so that the box automatically opens when you remove it from the envelope. I will show this in the photo below. But this die set also includes some label dies, which is what I used for the label the "Thank You" is adhered to. I just love the different shape of these labels.


Not the most exciting photo, but here you can see the two bam boxes used in opposite corners of my basket, so it "pop" open when it comes out of the envelope. Watch out for more ways on how to use this from all the Design Team in coming posts.


As you can see the card folds flat so it can be placed inside an envelope. I added the "Teacher" sentiment to the front of the card using the Ovals - Crosshatch die set.


Thursday, December 8, 2022

Most Wonderful Time of the Year


Hi Crafty Friends,

It's challenge time with my friends over on the CCEE Stampers challenge blog. Maryann Einam our challenge hostess for the month, continues to issue the challenge.

Today is our final challenge for 2022 and also for all time. After over 15 years the time has come to say goodbye to CCEE Stampers. Over the years we have had some amazing card makers participate in the weekly challenges. It is a little sad to say goodbye to this one as for me I was one of the foundation members who started this challenge with a group of 8 people over on Splitcoast Stampers. Thank you to all of you who have supported us over the years.

Maryann tells us that it is countdown time until the end of the year, make a card using a clock, stopwatch or just numbers to end the year.


As I am trying to focus on mostly Christmas cards for the month of December, I knew I wanted my card to be a Christmas theme. I did think about using a clock in someway, but when I started thinking about the challenge I remembered the Hourglass Cards I made last year using the Hourglass die set from The Greetery. The Hourglass is a form of telling time which goes back to the 14th century.

I used the Hourglass Frame dies and insert dies along with the two coordinating die sets Christmas Time in the City and Christmas Time in the Country to create the scene at the bottom of the hourglass. 

I found the sentiment in my Christmas stash, which was a free thank you gift from The Greetery, which worked perfectly for this challenge. 

To finish my night time scene, I added Santa in his sleigh to the sky. This stamp is from Lawn Fawn's Winter Skies stamp set.


As you can see, I created a shaker card by die cutting the hourglass insert 5 times to create the well for the shaker elements. I was careful not to put too much inside the shaker part as I didn't want the image covered up at all.


For the inside of my card, I added a sentiment using one of the sentiments included in the Honey Bee Stamps St Nick stamp set. I also added the tiny Santa image, using Mama Elephant's Little Santa Agenda stamp set.

I added the Hourglass stand to the inside of my card this time around for a different look.

Don't forget to check out the CCEE Stampers blog (goes live 12 AM EST) to see the rest of the creations the CCEE Stampers created this week. You can also see more details of their creations on their individual blogs:

Wednesday, December 7, 2022

Surprise!


Today I am excited to be able to share a project I created using some of Karen Burniston's new die sets which will be released next Monday 5th December. There will be 11 new die sets that will be released on this day.


I guess this isn't really a card, but it is something to give to someone instead of a card and can be lots of fun. I used two of the new die sets from the upcoming release to create this ... the first is the Slider Box die set, which will be something that can be used for all sorts of things.

I decorated the front of the using Santa that I created using the previously released Gnome and Santa die set.


The fun bit starts when you open the slider box ... just what is that inside the box????


Here is a quick video to see my card in action. 

Isn't this lots of fun!!!! I have added some snowflakes to mine to fly out along with the surprise cubes and also added a tiny card at the base of the box.


I used the new Surprise Cube Pop-up die set to create three of the cubes, that flatten out and fit into the box. This is what flies out when the box is opened. As mine is a Christmas theme, I decorated mine using the snowflake from the Holidays Charms die set. I die cut my snowflakes from white glitter cardstock and then added a red glitter dot to the centre of each snowflakes.


Here is the front of my card, it's tiny as it needs to fit into the box 2 1/2 inches x 4 1/2 inches. I used the square dies included in the Surprise Cube Pop-up die set to add the square panels to the front of the card. I have again used the snowflakes.


And the inside of my card. This time I used a rectangle die from the Slider Box die set for the white rectangle that I used to stamp my sentiment.


Tuesday, December 6, 2022

December 2022 Karen Burniston Designer Challenge


Hi Crafty Friends, 


Welcome to our December Karen Burniston Designer Challenge.

Check out Karen Burniston's blog on Wednesday (US Time) when you will be able to see what all the designers created for the challenge this month, plus Karen will have an amazing video tutorial to share with us all.

Our challenge theme this month is ...  "FIREPLACE DIE THROUGH THE YEAR" - you signed up for a month to represent with a card using the Fireplace Pop-up matching the theme of that month.

As you might be able to guess from the photo of my card, I have December which of course is Christmas!

Sneak peeks for the new December release have also started, so I have used two of the new dies on my card today .. I will talk more about them later.


Here is a quick video to see my card in action.


I have used the fireplace pop-up die on a few different formats of card sizes so far ... Slimline; square and today I have created a 5 x 7 inch card. I am really enjoying this larger format card, like the Slimline it gives you extra room to create whatever you wish on it.

As well as the Fireplace pop-up, I also used the Fireplace Extras 1 and Fireplace Extras 2 to add the various details to my fireplace and scene. I positioned the fireplace to the left of my card to give me room for other things.

I couldn't do a Christmas scene without adding a Christmas tree, this time around I used the Christmas Tree Pop-up die set, using one of the larger trees in the set to die cut three trees. I then layered them up trimming as need to make a taller tree. I wanted the tree to be higher than my fireplace. This tree does have a few notches on it to create the 3D tree it was designed for, but I covered those up using baubles that I die cut using red mirror card. I also added a star to the top of the tree, making sure the star was enclosed in the card when the card is closed.


One of the new die sets being release next week is the Hexagons -  Crosshatch die set ... a great addition to the Crosshatch collection. I used two of the dies included in the set to create the rug in front of the fire. I also used this as a place to stamp a Christmas sentiment.


Another of the new dies included in this newest release is the Bam Box Pop-up. This is such a fun new die set and there are so many different ways this can be used, I am sure it will become a much loved favourite. I used the Bam Box Pop-up on this card to pop my girl up.I postitioned her on an angle and closer to the front, to give her enough room to fold down when closing the card. For the girl and the surrounding wrapping paper, I used two older stamp sets from Essentials by Ellen.

I also used the Gift Pivot Panels to die cut some presents to put under the tree and one beside the girl.


The focus of this card is on the inside, so I kept the front of my card fairly simple. I added the snowflake background using the Snowflake Pattern Plate die, die cutting it twice from white cardstock. I also created a white frame to go around the edge of the card.

I used the Hexagon - Crosshatch die set again to add the green panel to the centre of my card. I then added the sentiment using the Merry Christmas and Merry Christmas Shadow die sets.


Other Supplies:
Christmas Sentiment Stamp Set - Couture Creations (discontinued)