Sunday, April 18, 2021

Happy Birthday Slimline Card with Gift Card Pocket


Hi Crafty Friends,

Today I am sharing a Slimline Card that also has a pocket to hold a gift card on the front.

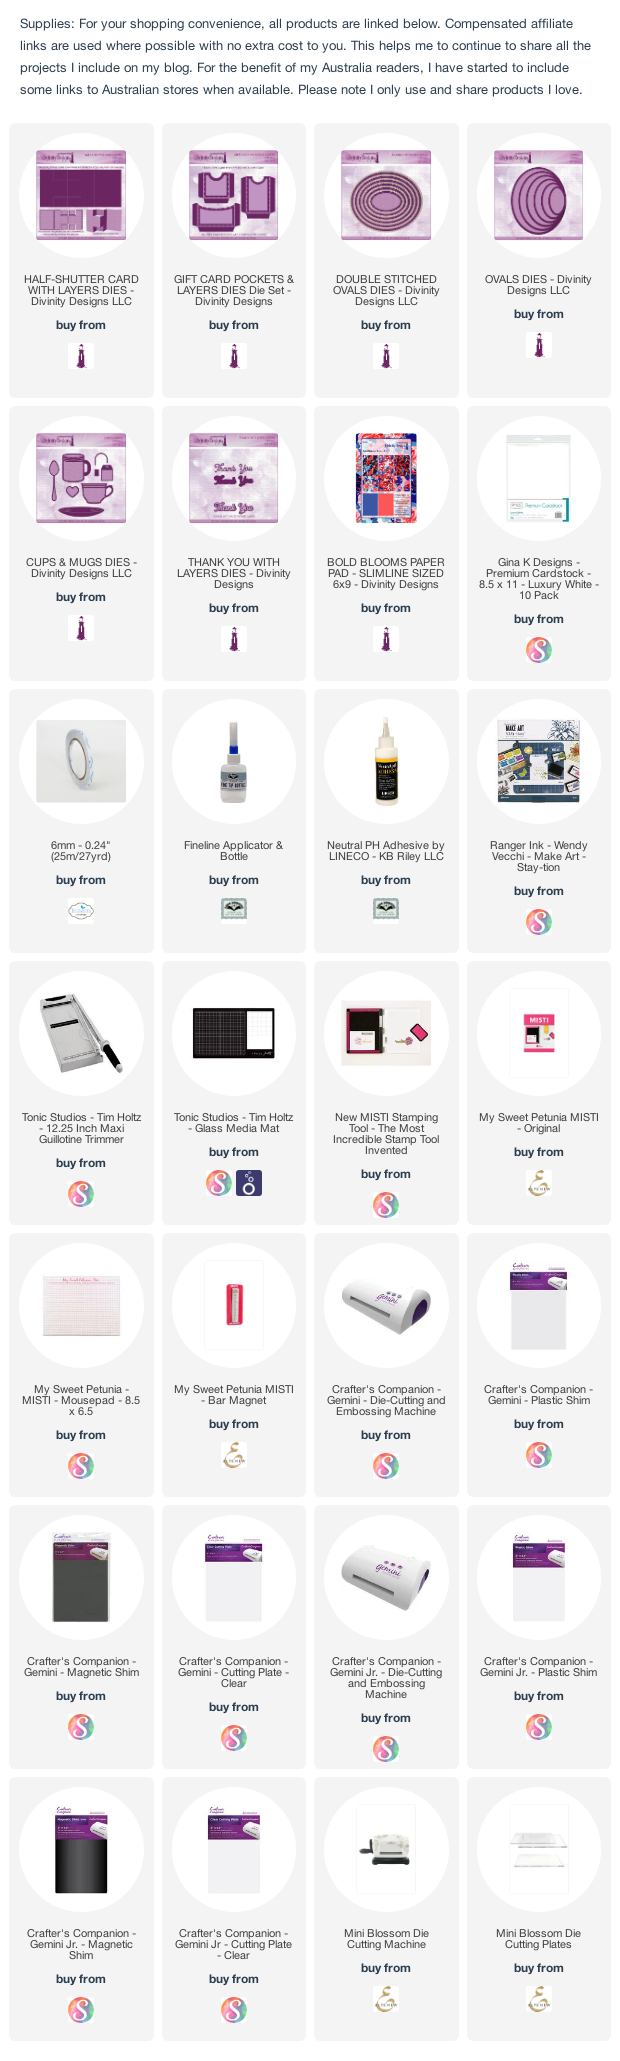
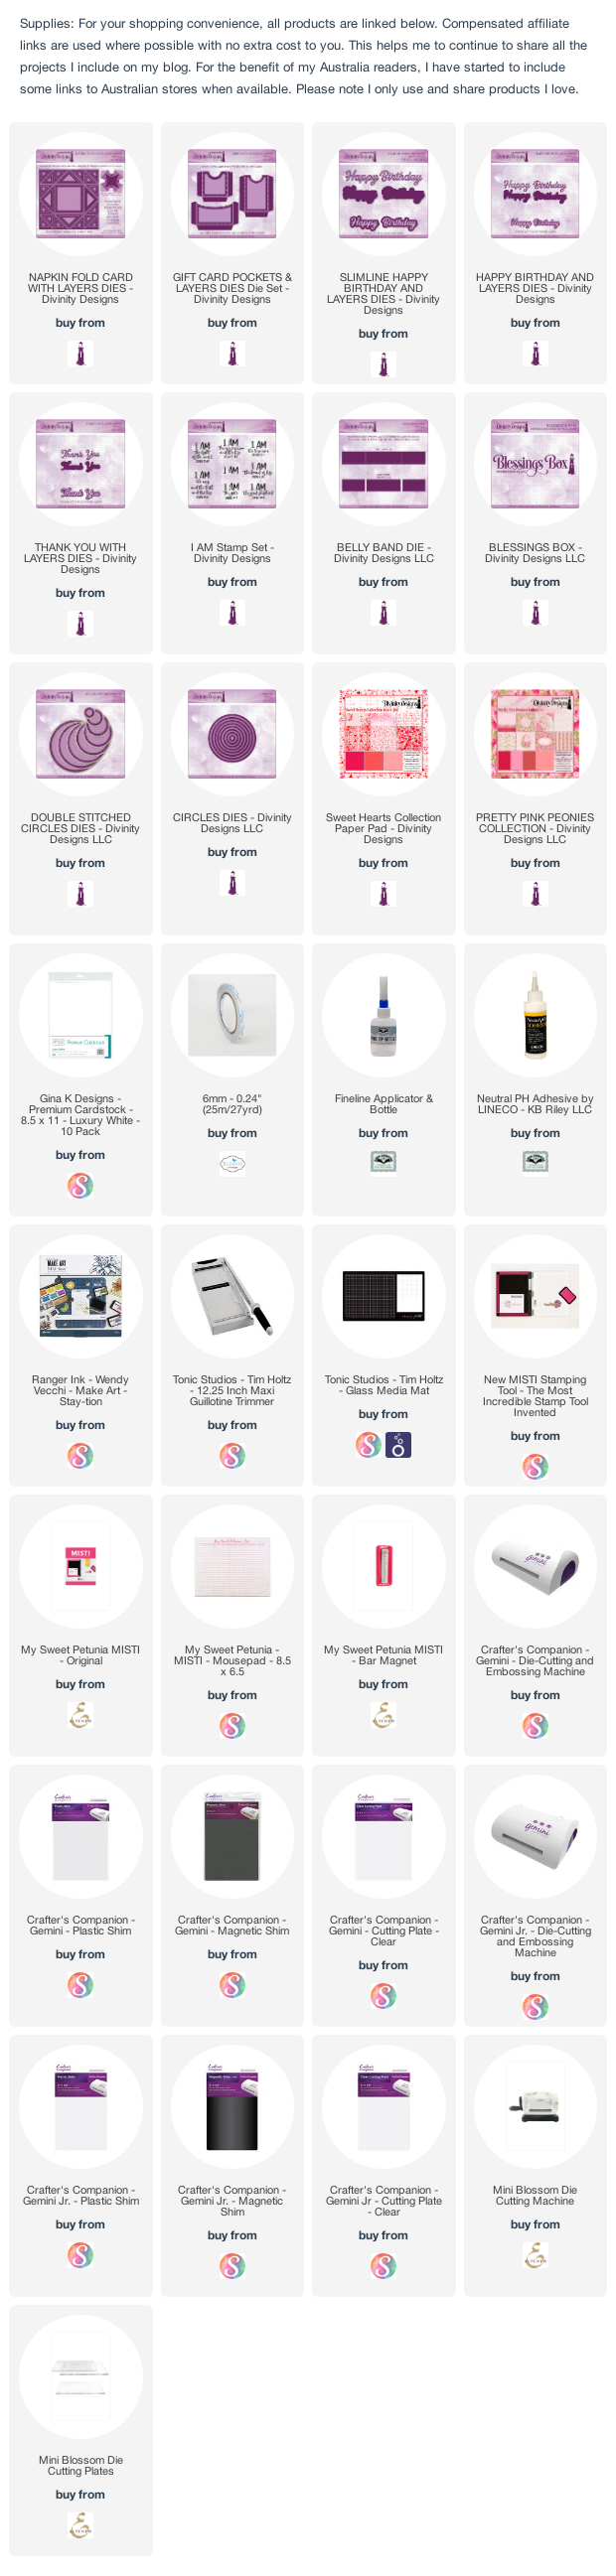
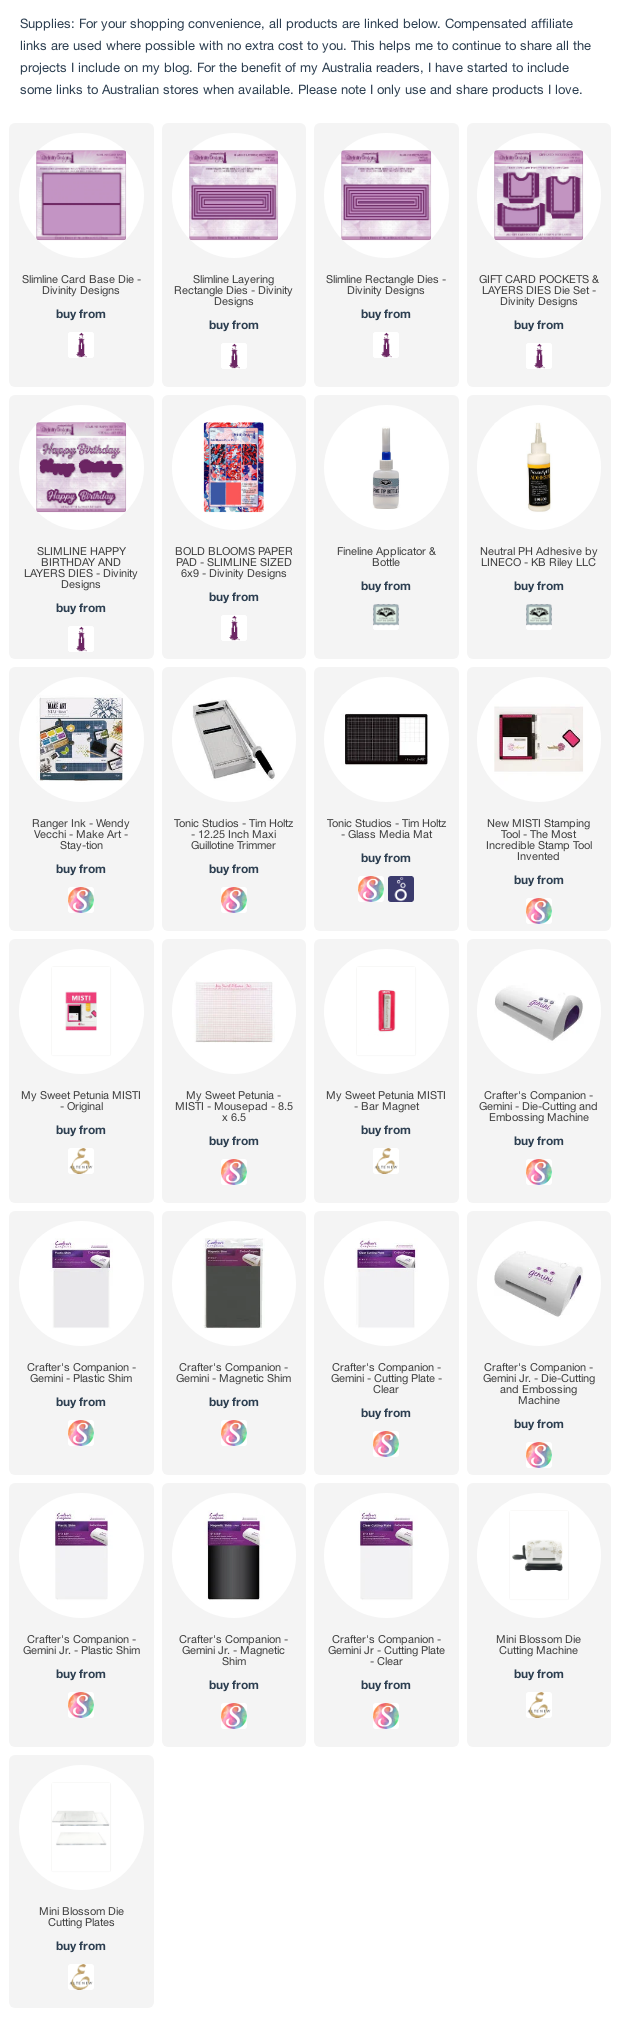
To create my slimline card I used Divinity Designs Slimline Card Base, Slimline Layering Rectangles and Slimline Rectangles die sets. 

I  used patterned paper from Bold Blooms Slimline Sized Paper Pad for the layers of my card.

For the gift card pocket I used one of the pocket dies from the Gift Card Pockets with Layers die sets which I added to the right side of the card.

I added the Happy Birthday sentiment to the left side of the card which uses the new Slimline Happy Birthday and Layers die set.


Saturday, April 17, 2021

Black, White and Red Celebrate

Hi Crafty Friends,

It’s challenge time with the “Crazies” over on the Crazy 4 Challenges blog. Nicky Foden our challenge hostess for the month continues to issue the challenges.

Being the third Saturday of the month it's time for a sketch challenge.


The sketch shows a square card, but as I love making Slimline cards I decided to convert it to a Slimline card. Sketch can be tweaked a little to suit what you want to do.

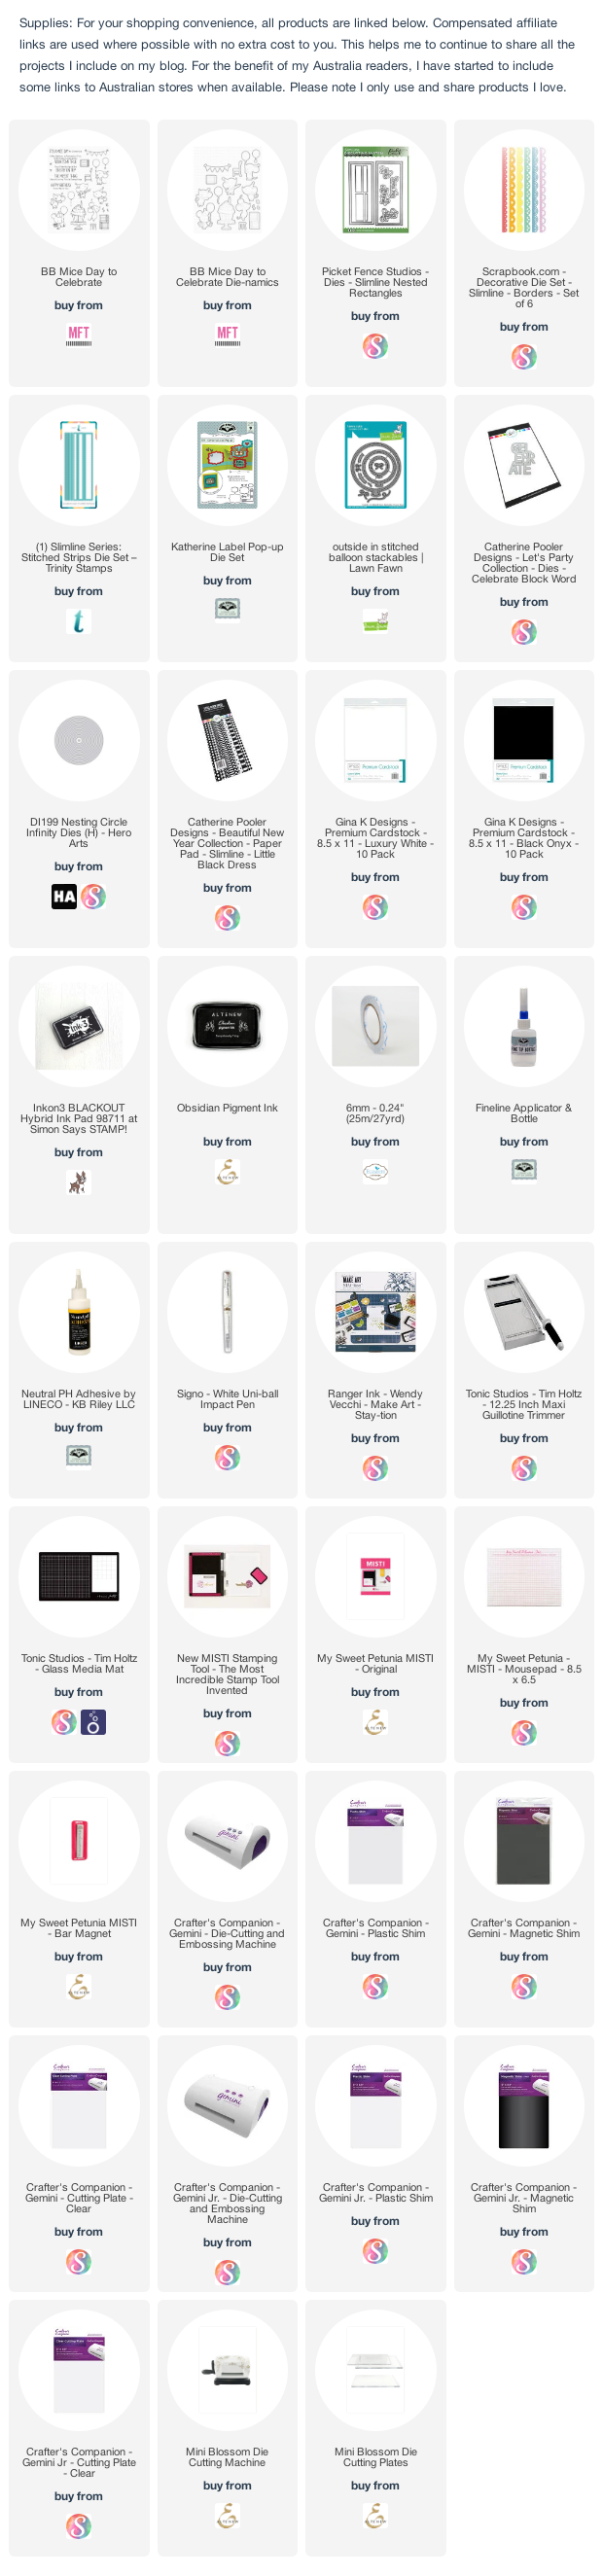
I recently received Catherine Pooler Designs Little Black Dress Slimline Paper Pack as a gift, so I decided to use a sheet from that for my card front. I die cut the paper using one of the slimline rectangles from Picket Fence Studios Slimline Nesting Rectangles die set. 

I used one of the borders from Scrapbook Dot Com's Slimline Borders die set. I used one of the borders from the set which I die cut from white & black cardstock, offsetting the white border over the black.  Next I used one of the strips from Trinity Stamps Stitched Strips die set white I die cut from black cardstock and layered over the top. 

I die cut two circles using white and black cardstock which I adhered to the lower left corner of the card.

I decorated the card using the cupcake from MFT Stamps Mice Day to Celebrate stamp set, paper piecing the cupcake wrapper with patterned paper.

For the two smaller circles indicated on the sketch I used balloons from Lawn Fawn's Outside In Stitched Balloon Stackables die set.

I added the "Celebrate" sentiment to the top right corner of the card using the Catherine Pooler Designs die. I die cut the sentiment from white cardstock three times layering together and then offset with a red diecut sentiment.


For the inside of the card, I used the Picket Fence Studios Slimline Nesting Rectangles to create the white rectangle panel. I added the black border which is one of the Scrapbook dot com Slimline borders die set. I layered a strip over the top of the black border using one of the dies from Trinity Stamps Stitched Strips die set.

I created a pop-up card using Karen Burniston's Katherine Label Pop-up die set. I used the Balloons from Lawn Fawn to add my sentiment and attached this to the pop-up panel.


Don't forget to check out the rest of the “Crazies” cards over on the Crazy 4 Challenges blog and also their individual blogs for more details.


Friday, April 16, 2021

Wishing You A


Hi Crafty Friends,

Today I am sharing another card using some of the new dies from Divinity Designs April Release.

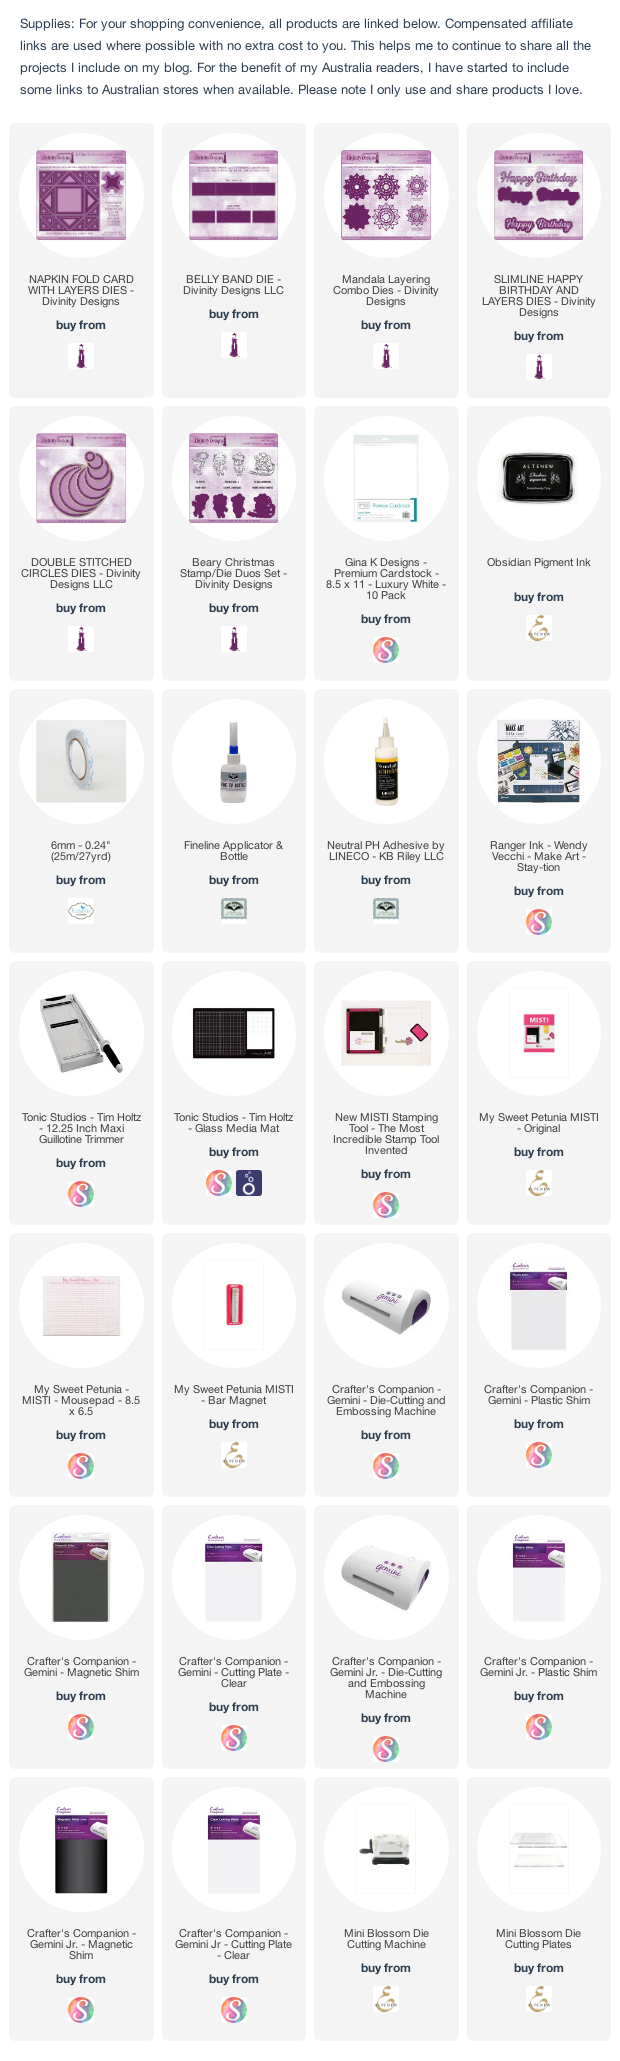
I have created another Napkin Fold Card using the new Napkin Fold Card with Layers die set, the card measures 4 inches square when closed. Please note the main base die from this die set measures 8 inches square, so you will need to have a larger die cutting machine to be able to die cut the card base.


I used patterned papers from the Star Shaker Kit - Brights Slimline size Paper Pad to decorate all the layers of my card. 

In the centre of the card I added a sentiment using the new Slimline Happy Birthday die set.


To hold my card closed I created a Belly Band using the Belly Band die set. I used the Mandala Layering Combo die set to create the mandala which I added to the centre of the belly band. I added a white circle to the centre of the mandala using one of the circle dies included in the Double Stitched Circles die set.

In the centre of this circle I added the "Wishing You A" sentiment which is from the Beary Christmas stamp set.


Thursday, April 15, 2021

Enjoy the Ride


Hi Crafty Friends,

It's challenge time with my friends over on the CCEE Stampers challenge blog.  As challenge hostess for the month, I continue to issue the challenges.

Yesterday was "Look up at the Sky Day", so our challenge this week is to include the sky in some way on your card.


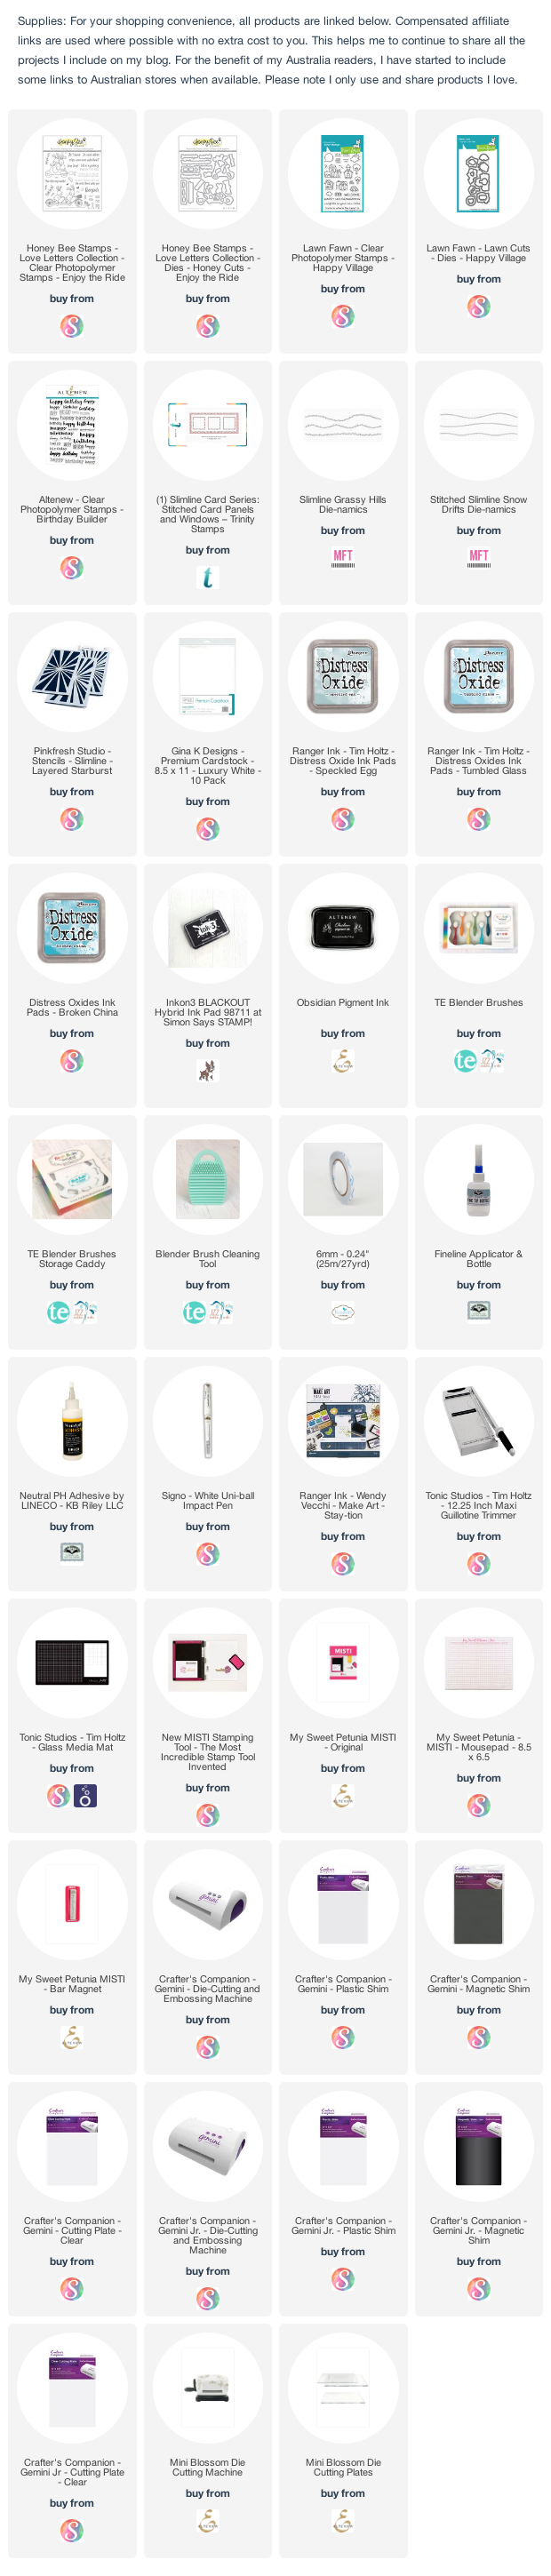
Recently I saw a card created by Sandra McDonald where she used the Pinkfresh Studio Slimline Layered Starburst stencil set to create a sky background using yellow inks for an Easter card. I loved the look and as I had that stencil set, I decided to pull it out to create my sky background for this weeks challenge. 

After I had creating the stencilled panel, I die cut the rectangle using Trinity Designs Slimline Stitched Card Panels & Windows die set. 

As the design creates a white space in the centre of the design, I decided to hide that by adding a circle for a sun.

I added two layers of grass using MFT Stamps Slimline Grassy Hills die set. I also added a road by die cutting the Trinity Stamps stitched rectangle that I used to die cut the sky and then I used one of the border dies from MFT Stamps Stitched Slimline Snow Drifts die set for the curvy edge.

To decorate my card I used the bunnies on the scooter from Honey Bee Stamps Enjoy the Ride stamp set. I added the houses and trees from Lawn Fawn's Happy Village stamp set.

To finish off the card I added the sentiment from the Honey Bee Stamps stamp set.


For the inside of the card I created a pop-up card. I created another stencilled panel that I used on the front of the card. I cut the panel down the centre vertically and added each half to the edges of my card.

I added the bunnies on the tandem bicycle to the pop up panel. Finally I added a birthday sentiment from Altenew's Birthday Builder stamp set.

Don't forget to check out the CCEE Stampers blog (goes live 12 AM EST) to see the rest of the creations the CCEE Stampers created this week. You can also see more details of their creations on their individual blogs:

Wednesday, April 14, 2021

Welcome To Your New Home


 Hi Crafty Friends, 

Today I am sharing another sneak peek of the new dies being release by Karen Burniston on 26th April. 

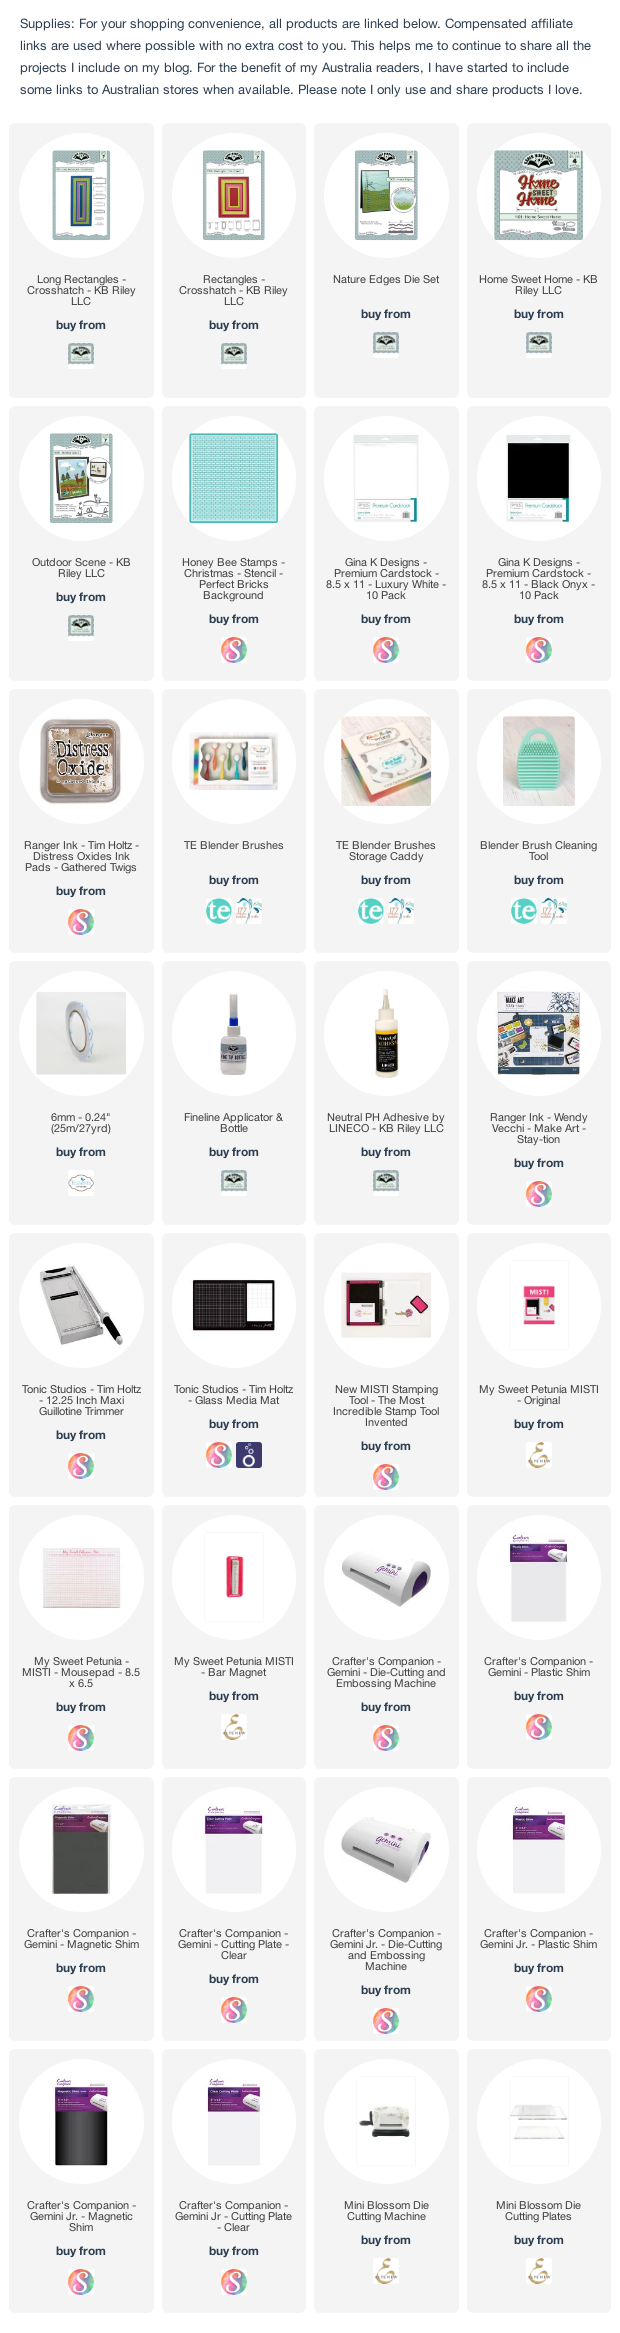
For my card today I used three of the new dies being released ... Tiny House Pop-up; Tiny Trees Pop-up  and Welcome sentiment die sets.


As I like making Slimline Cards these days, I decided to see how these die sets work on this sized card. As you can see they work well. If I made this particular card again, I would probably put the house in the centre of the card, with a tree either side and make the card landscape rather than portrait orientation. But I am still happy with how it came out.


I used the Crosshatch Long Rectangles die set to add the green pattern paper panel to both sides of the card. The path from the door of the house and the edge of the card is made using the nature edges die set.


For the greeting on the lower left hand side of the card uses the new Welcome die set which includes the sentiment and the layer. 

The other sentiment is computer generated and I used one of the Crosshatch - Rectangles die set.


I decorated the trees using the flower die included in the Tiny Trees Pop-up die set. I also added the flowers along side the path and the larger rectangle which is located on the top right of the card.


As the focus of this card is on the inside of the card, I kept the front of the card fairly simple. 

I added the tree to the bottom of the card, by cutting the lower part of the solid tree.

In the centre, I added a sentiment ... "Home Sweet Home".

At the top I added three clouds which are from the Outdoor Scenes die set.


Tuesday, April 13, 2021

Hello Sunshine 4 Flap Slimline


Hi Crafty Friends,

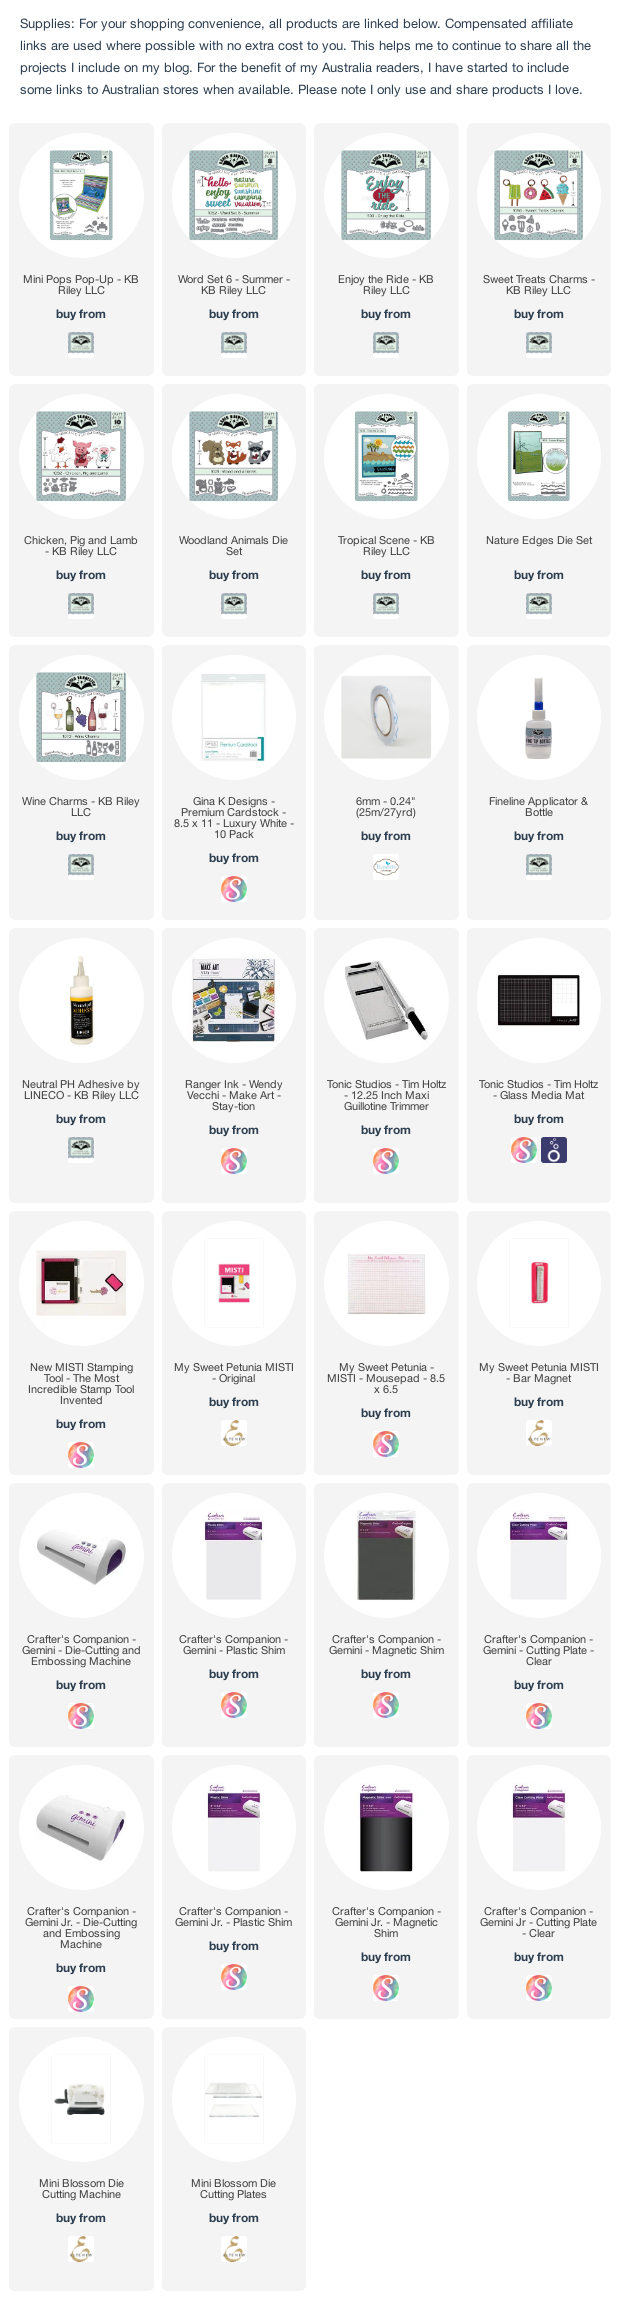
Today begins the sneak peeks of the new dies being released by Karen Burniston later this month. For my card today I am sharing a card that uses three of the new dies that are being released. The new dies I used on this are Slim Flaps and Frames; Tiny Trees Pop-up and Picnic Elements die sets.

A few months ago Karen Burniston shared a Slimline card she created which incorporated 4 flaps/doors which revealed pop ups on the inside of the card. This card was so popular that in this April release Karen has come up with a die set to create this style of card and others which is called Slimline Flap & Frames.


Here is a quick video to show my card in action.


As I had already created this style of card, I was excited to see this die set and of course couldn't wait to create another one.

This slimline card is 4 inches x 9 inches. I die cut the flaps from green cardstock and then used some of the layering dies included in the die set to decorate the flaps.

I used dies from the Sweet Treats Charms (watermelon), Wine Charms (wine bottle) Tropical Scenes (sun), Tiny Trees Pop-up (tree) to decorate the flaps. The sentiments used on the front are all from the Word Set 6 - Summer die set.


As mentioned above, this card incorporates 4 flaps/doors. The first flap lifts up, while the other three alternate either left or right.

When you open the first flap it reveals a pop-up using the pop-up included in the Mini Pops Pop-up die set. I added a watermelon from the Sweet Treats Charm set and the picnic basket, ant and bread from the Picnic Elements die set.


The second flap opens up towards the left side to reveal a pop up tree and picnic scene. The tree is from the new Tiny Tree Pop Up die set, this die set is going to be so much fun to use in future cards.

The picnic items are all from the Picnic Elements die set and I also added the Enjoy sentiment from the Enjoy the Ride die set.


Opening up the third flap reveals another tree and a raccoon holding a fork ... this was made using the Woodland Animals and Chicken, Pig and Lamb die sets.


Opening up the final flap reveals a third pop-up tree, a panel to write a personal message, some grass & ants.

The grass uses the grass die from the Nature Edges die set and the ants are also included in the Picnic Elements die set.


Each of the flaps are held closed by placing magnets under the patterned papers on the inside of the card. I found the magnets didn't work on the pop-up flap at the top of the card, so for this I used a fancy paper clip type element to close. I think the next card of this style I make, I will use 2 of those clips to close the flaps.





Monday, April 12, 2021

Thank You Half Shutter Card

Hi Crafty Friends,

Today I am sharing another card I created using a few of the new products from Divinity Designs April Release.

For my card today I created a Half Shutter Card using Divinity Designs Half Shutter Card with Layers die set.

One of the new die sets this release is the Gift Card Pockets with Layers die set, this contains 3 different styles of gift card pockets and layering dies for each pocket. For my card today I used one of the gift card pockets to add to the back full panel of my card.

I added the Thank You with Layers die set, also new for the centre panel of the card. This was layered using the Doubled Stitched Ovals and Ovals die sets.

Here is a look at my card when it is closed. I used the patterned papers from the new Bold Blooms Slimline Sized Paper Pad. 


I added the cup, saucer and spoon from the Cups & Mugs die set. This was layered using oval dies from the Double Stitched Ovals and Ovals die sets.


Sunday, April 11, 2021

Heart Balloons Napkin Fold Card

Hi Crafty Friends,

I am very pleased to finally be able to share a couple of the dies from Divinity Designs April Release. My Design Team April parcel decided to tour the USA and then Japan before finally heading down to where it was supposed to go down here in Australia, so it was delayed by 2 weeks.

Today I am sharing a Napkin Fold Card using Divinity Designs new Napkin Fold Card with Layers die set. This die set creates a Napkin Fold Card that is 4 inches square when closed, the main die in the set measures 8 inches square so you will need a larger die cutting machine to use it. I made a few of these cards a number of years ago, but having a  die set definitely makes it easier.


I used papers from the Sweet Hearts 6 x 6 Paper Pad for the layers on each of the triangle panels and the squares in the centre of the card. 

I added circles to the centre of the card using the circle dies I used on the front of the card. In the centre of the circles I added the new birthday sentiment ... Happy Birthday and Layers die set.


To hold my card closed I created a Belly Band using the Belly Band die set. To decorate the Belly Band I added circles from the Double Stitched Circles & Circles die sets. I added two heart balloons from the Pierced Balloon Shakers die set which was one of the sets included in the July 2020 Blessings Box.


Saturday, April 10, 2021

Celebrate


Hi Crafty Friends,

It’s challenge time with the “Crazies” over on the Crazy 4 Challenges blog. Nicky Foden our challenge hostess for the month continues to issue the challenges.

Apparently today is Sibling Day, make a card that shows a sibling how special they are, if you don't have a sibling make a card for a friend you love like a sibling.

For my card today I pulled out an older stamp set from Paper Pretties called Best Friends, I thought they might look a little like sisters.

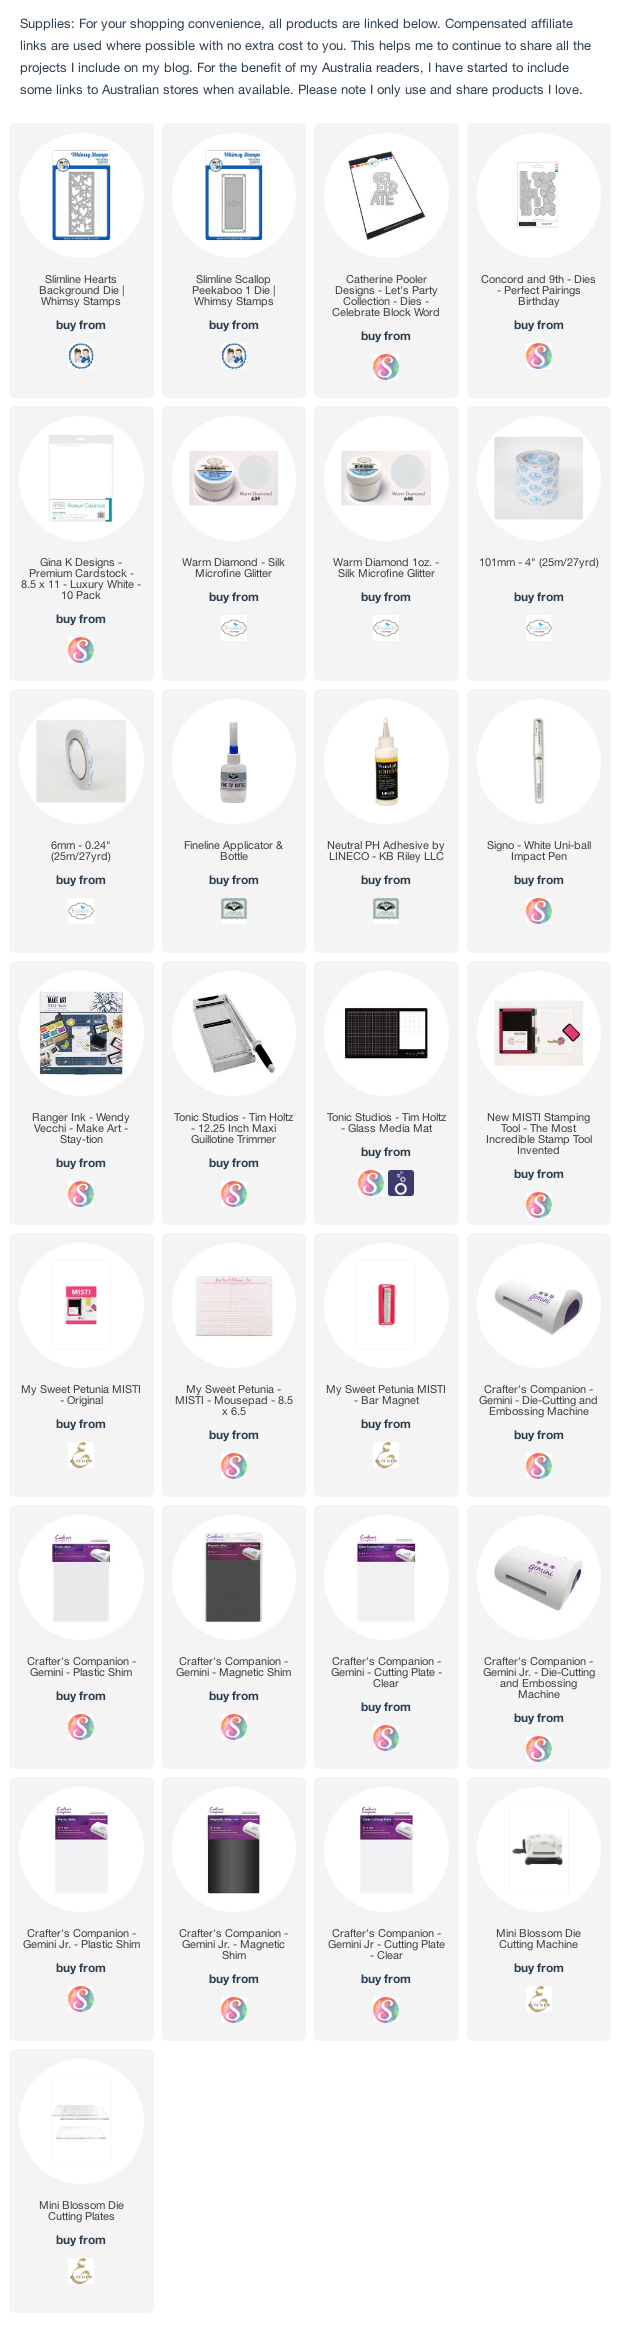
I created a Slimline Card using Whimsy Stamps Slimline Hearts Background die. I die cut the background panel from white cardstock, I then adhered the background to bright pink cardstock that has Clear Double Sided Adhesive Tape on the front. I adhered the background to the pink rectangle and then covered the exposed adhesive with Warm Diamond Silk Microfine Glitter. I layered the panel to a scalloped rectangle which I die cut using Whimsy Stamps Slimline Scallop Peekaboo die set. My card was then adhered to a side folding Slimline Card that measures 3 3/4 inches x 8 3/4 inches.

I added the Catherine Pooler "Celebrate" die to the top portion of my card.


For the inside of my card I created a pop-up card by using a simple box pop-up which is 1/2 inches square.

I added the birthday sentiment from Concord & 9th's Perfect Pairings Birthday die set.

Don't forget to check out the rest of the “Crazies” cards over on the Crazy 4 Challenges blog and also their individual blogs for more details.