Monday, March 14, 2022

Gnome Way Birthday


Hi Crafty Friends,

I have a fun gnome themed Slimline card to share with you today, using dies from Elizabeth Craft Designs.

My Slimline card measures 4 inches x 8 1/2 inches card to allow for the height of the gnomes.

To create the sky and grass, I used papers from Lawn Fawn's Watercolor Wishes 12 x 12 Paper. 

I used Elizabeth Craft Designs Gnomes and Forest Accessories die sets to create my scene.

For the sentiment I used a gnome themed sentiment using an older Hunkydory stamp set.


For the inside of my card, I added another gnome using the Gnomes die set from Elizabeth Craft Designs. I also added two sentiments using a stamp set from MFT Stamps.


Other Supplies:

Gnome Way Stamp Set - Hunkydory (discontinued)


Saturday, March 12, 2022

Red Deepest Sympathy


Hi Crafty Friends,

Today I am sharing another sympathy card, using stamps, dies and papers from Divinity Designs January 2022 Blessings Box.

For my card today I created an A2 card using the A2 Landscape Card Base with Layer die set, I had intended to create a Landscape card, but as I needed the room for the stamped sentiment under the label, I rotated the card to make an A2 side folding portrait card.

For the background of this card, I used the Mandala Petal Background die which I layered over one of the patterned papers from the Beauty in Blooms 6 x 6 patterned papers. I die cut the label included in the Mandala Petal Background die from white cardstock and adhered it over the blank label on the background to give the card some dimension. I then added the "With Deepest Sympathy" sentiment using the die set called With Deepest Sympathy and Layers die set.

The stamped sentiment under the die cut one is from the Sympathy Sentiments stamp set. I used one of the rectangle dies from the Mini Slimline Layering Rectangles to die cut the sentiment.

To finish off the card, I added some red pearls around the background surrounding the label.


For the inside of the card, I added a strip of the leftover paper that I used on the front of the card. I adhered this to the left side of my card.

I added another of the sentiments included in the Sympathy Sentiments stamp set.


Friday, March 11, 2022

Easter Greetings

Hi Crafty Friends,

I have an Easter card to share with your today using stamps, dies and papers from Divinity Designs.

To create my card base I used the A2 Landscape Card Base with Layer die set. To die cut the pink patterned paper I used the Matting Rectangle die and one of the papers from the Slimline Heavenly Skies Paper pad.

I gold embossed the Easter sentiment using one of the sentiments from the Easter Greetings Stamp set.

For the cross I used the new Layering Crosses die set using light pink, bright pink and gold cardstocks.

I added the A2 Thin Pierced Frame die cut to the card which I die cut from gold pearlescent cardstock.

To finish off the cards I added five pink jewels.


For the inside of the card, I added a strip of the paper I used on the front of the card along the bottom edge.

I added the larger of the three crosses to the left side of my card. And finally another of the sentiments included in the Easter Greetings Stamp set.


Thursday, March 10, 2022

Birthday Rose


Hi Crafty Friends,

It's challenge time with my friends over on the CCEE Stampers challenge blog. As challenge hostess for the month, I continue to issue the challenges.

Die Cuts Only - create a card that is created using dies only, no stamps. If you must, you can use a stamp for the sentiment, but bonus points if you use dies.


Over the past few months I have really been enjoying creating cards using Creative Expressions Edger dies ... I got a few late last year and recently I added a few more to my collection. For my card today I decided to use the Specimen Rose Edger die. This die is a lot larger than most of the others I have used today, that it is best suited for a 5 inch x 7 inch sized card.

I cut a panel of patterned paper using the Craft Consortium patterned paper. I layered this paper to a panel of white cardstock for extra strength and then used the rose to die cut the panel. I spattered a little gold paint to the left side of the die cut panel and let it dry. Next I die cut another rose from green cardstock. I added foam adhesive tape to the back of the pink rose panel and then added the green leaves and stems to my panel. 

I used an bossing folder from Whimsy Stamps to add texture to a piece of cardstock that would be the background of my card which I adhered to a 5 x 7 side folding card. I then adhered the pink panel to the card base.

I die cut a birthday sentiment using Yana's Layered Script Sentiments die set and added it to the lower left side of my card.

I foiled the "Happy" using a Spellbinders Glimmer sentiment set and then die cut the word into a rectangle. Yes this is a die cut only challenge, but the foil plates look more like dies then stamps and the word was die cut out.

To finish the card, I added a butterfly ... this isn't a stamp, but a foil plate again. This time I foiled the image using black foil.


For the inside of the card, I created a pop-up card using Karen Burniston's Katherine Label Pop-up die set. I added a die cut sentiment from Simon Says Stamp to the pop up arm.

I added another of the foiled butterflies to the lower right hand corner of my card.


Don't forget to check out the CCEE Stampers blog (goes live 12 AM EST) to see the rest of the creations the CCEE Stampers created this week. You can also see more details of their creations on their individual blogs:


Wednesday, March 9, 2022

Layered Rose Sympathy


Hi Crafty Friends,

I love making cards, but the occasion I dislike having to make are sympathy cards. However from time to time we need them. I normally like to have a few in reserve for the times I need them, but as I used all I had last year I need to create some new ones. I plan to make at least one a month and hopefully I won't need to use them.

For my card today I used some new products from Honey Bee Stamps. For the background I used the Lace A2 Cover Plate with coordinating Layered Lace Layering Stencil Set. I don't make a lot of A2 sized cards lately as I prefer Slimline more, however as soon as I saw this set I knew I needed it!

The rose also uses a Honey Bee Stamps die set using the Lovely Layers:Roses die set.

For the sympathy sentiment I used Spellbinders Glimmer Hot Foil stamp set ... Mini Everyday Sentiments, as I wanted the solid black panel with a white sentiment I also used Pinkfresh Studios Solid Hot Foil Plate.


For the inside of the card, I added a border using the Lace A2 Cover Plate with coordinating Layered Lace Layering Stencil Set. 

I added two sympathy sentiments using Altenew's In My Thoughts stamp set.


Tuesday, March 8, 2022

You Are The Best


Hi Crafty Friends,

I have an A2 Birthday themed card to share with you all today using stamps, dies, hot foil stamps and stencils from Pinkfresh Studio.

For the background of my card I used the new Geo Blocks Hot Foil Plate, which I foiled using gold foil. I then used the coordinating stencils to add color to the panel. This was cut down and then layer onto a gold panel and then onto a side folding A2 card.

To decorate my card I used the "Y O U" letters from the Inna's Alphabet Hot Foil Stamp which I was foiled using gold foil. I used the coordinating stencils to add color to the letters and then die cut the letters using the coordinating dies. I die cut three more layers for each letter to add behind the letters and added the "You" word to the top of the card.

For the other portion of the sentiment, I used the Fancy Script Words Hot Foil Stamps, again foiling with gold foil and die cutting using the coordinating dies. I trimmed off the word "you" from the sentiment and adhered it underneath, the large YOU word.

 I stamped one of the flowers from the Beautiful Blooms stamp set, I used the coordinating stencils and dies to add color and cut out the image. This was then added to the bottom of the card.

Finally I added a few gems randomly around the card.


For the inside of the card I added another sentiment from the Fancy Script Word set and also added another of the flowers that I used on the front, cutting the flower in half so I could add part at the top and the other half to the bottom of my card.


Monday, March 7, 2022

Cards for Ukraine


Hi Crafty Friends,

The Cardmaking community world wide have been showering social media with yellow and blue cards as a way to show our support for what is happening in Ukraine. My thoughts are especially with Yana Smakula and her family at this time and I hope they will all be safe along with everyone else in that country.

Many paper crafters are using the sunflower which is Ukraine's national flower, however I decided to use one of the die sets decided by Yana Smakula for Spellbinders for my card. I used the Magnolia Blooms die set which is a set Yana released earlier this year. I die cut the outline from gold mirror cardstock and the solid portion of the die from white and used blue inks to add colour to the flower.

For the background of my card I die cut Concord and 9th's Quilted Card Front die from white cardstock. I then blended various shaded of yellow inks to create an ombre effect. I die cut the panel using Heffy Doodles Metric Stitched Rectangles die set and adhered it to a top folding card.

For the sentiment I used a Hot Glimmer Plate/Die set also designed by Yana Smakula. I used gold foil on the sentiment and then used the Solid foil plate from Pinkfresh Studio to create the negative version using the leftover gold foil. This is the one I used for my card.

To finish off the front of my card, I added Gold Metallic Pearls also from Pinkfresh Studio.


For the inside of my card, I die cut the magnolia again using the same colours I used for the front. I trimmed off one of the flowers and then adhered the flowers to the lower portion of my card.

I used Pinkfresh Studio's Brushed Sentiments Hot Foil Stamp/Die sets for the sentiment, using the Solid Foil Plate to get the negative image.


Friday, March 4, 2022

Easter Half Shutter Card

Hi Crafty Friends,

I have an Easter themed Half Shutter Card to share with you today using stamps, dies and papers from Divinity Designs February/March release.

To create the Half Shutter Card using Divinity Designs Half Shutter Card with Layers die set. For the layers I used papers from the Slimline Spring Flowers 2 Paper Pad.

All the sentiments are from the new Easter Words Stamp/Die Duo set. 


The Easter Egg on the front of the card uses the Egg Layering Combo die set. To create the layers I was inspired by the colours included in the patterned paper. I then used the Double Stitched Ovals and Ovals die sets to layer the egg to the card.


My card folds flat so it can be placed in a standard sized envelope.


Thursday, March 3, 2022

Super Birthday

Hi Crafty Friends,

It's challenge time with my friends over on the CCEE Stampers challenge blog. Being a brand new month, it's time to introduce a new challenge hostess, which is ME!

Just like Slimline & Mini Slimline cards, the  5 x 7 inch card size is becoming more and more popular. For this week’s challenge create a 5 x 7 inch card.

I have been looking forward to be able to play with the male version of the Missees range of dies ... these sets are called Missees Man. There are two different die sets right now, Andrew and Brian. For my card today I used mostly dies and stamps from the Andrew set, however the mouth is from the Brian set.

Most of the cards I have made using the Missees die sets to date have either been Slimline or Mini Slimline sized, so making this for today's challenge it was fun to be able to make a 5 inch x 7 inch card size.

For the boy, I used my grandson for inspiration. I am not sure it really looks like him, but it does have red hair just like him. For his t-shirt I decorated the front using the batman logo using a die from Frantic Stamper.

I used Lawn Fawn's Window Frame die which I added to the background of my card. I adhered a scene from a piece of patterned paper behind the window.

For the sentiment I used a die from Whimsy Stamps' Comic Speech Bubble die set and a sentiment from Frantic Stamper's Superheroes stamp set.


For the inside of my card, I added the layers using Waffle Flower's A7 Layers die set. 

The sentiment uses the Happy Birthday To You die from Lawn Fawn.

I added two more of the Batman logos to the card.

Don't forget to check out the CCEE Stampers blog (goes live 12 AM EST) to see the rest of the creations the CCEE Stampers created this week. You can also see more details of their creations on their individual blogs:


Wednesday, March 2, 2022

From My Barn To Yours


Hi Crafty Friends,

Today I am sharing a Reveal Wheel Card using stamps and dies from Lawn Fawn's February release. I just couldn't resist purchasing the Build A Barn die set and the Tiny Farm Friends stamp set which work perfectly to create a Reveal Wheel card.

Here is a quick video to see my card in action.


To create my card, I used some patterned paper for the sky area which I die cut using the Lawn Fawn Reveal Wheel die set, I added the Reveal Wheel - Build A Barn Add-on die set to die cut the window for the barn window.

I die cut some green cardstock using the Reveal Wheel die set and then used one of the grass borders from the Grassy Hillside Borders die set. I also die cut a fence and tucked it in behind the top of the grass.

I die cut the Build A Barn using the Build A Barn die set and adhered it to the card so the window of the barn is lined up with the window in the reveal wheel rectangle panel. 

I die cut the sun from Karen Burniston's Tropical Scene die set and added it to the top left corner of my card.

I stamped the animals included in the Tiny Farm stamp set onto the reveal wheel and assembled the mechanism of the card.


I added the cute little farmer to the barn door, so that part of his arm is inside the barn.

I didn't buy any of the other new farm themed stamp sets from Lawn Fawn as I figured I already had sets that would work with the Build A Barn die set and I was right! For the tractor I used the SugarPea Designs Barn to be Wild Stamp set. The sentiment is from MFT Stamps BB The Whole Herd stamp set.


Here is a look at each of the 3 scenes inside of the barn which are revealed when you turn the wheel at the side of the card.


For the inside of the card, I added some more grass using the Grassy Hillside Borders die set. I stamped and adhered the pig and cow to the grass, both are from the SugarPea Designs Barn to be Wild stamp set.

I added the birthday sentiment using the BB The Whole Herd stamp set from MFT Stamps.
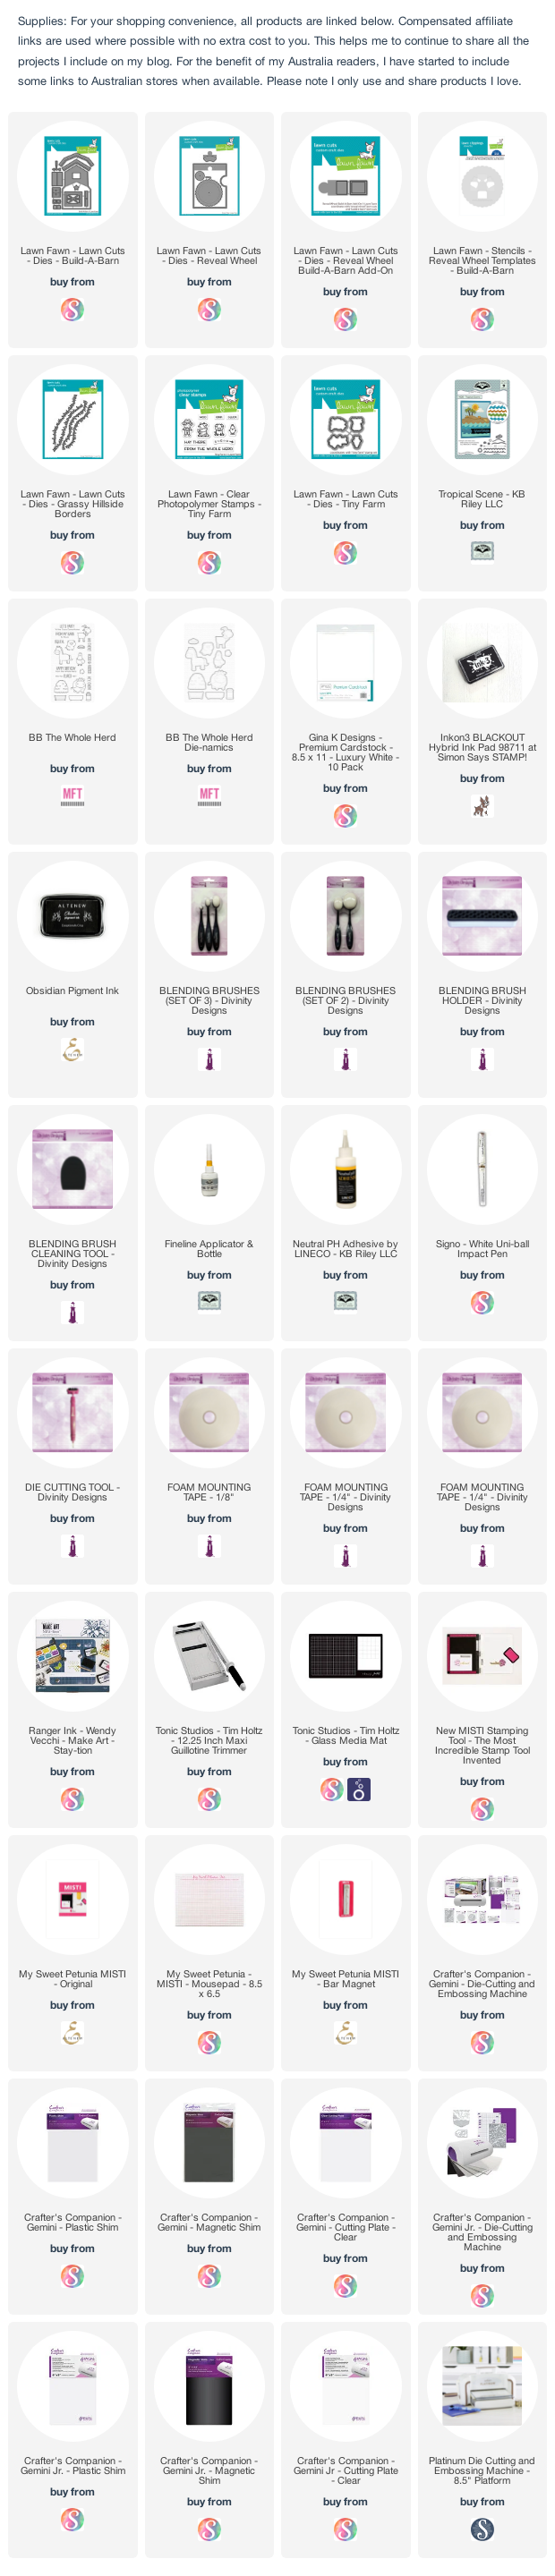

Other Supplies:
Barn to be Wild Stamp Set - SugarPea Designs (discontinued)


Tuesday, March 1, 2022

March 2022 Karen Burniston Designer Challenge


Hi Crafty Friends, 

Welcome to our March Karen Burniston Designer Challenge.

Check out Karen Burniston's blog on Wednesday (US Time) when you will be able to see what all the designers created for the challenge this month, plus Karen will have an amazing video tutorial to share with us all.

Our challenge theme this month is ... "SHAKER CARDS" - incorporate a shaker element into a card of any theme.

Here is a quick video to see my card in action. 


Full front shaker cards have become very popular in recent times, so I decided to create one for this challenge. 

I die cut the patterned paper and a piece of white cardstock using the largest rectangle from the Long Rectangles - Crosshatch die set. I then adhered the two together to add extra strength. I covered the rectangle panel using some packaging from a previous stamp or die set I have purchased recently. I then added the different coloured sequins into the the panel before securing the last side shut.

I adhered this shaker panel onto an aqua rectangle and then onto a top folding slimline base which measures 3 3/4 inches x 8 3/4 inches.

To finish off the front of the card, I added the birthday sentiment which used Karen Burniston's Happy Birthday and Happy Birthday Shadow die sets.


For the inside of the card, I created a pop-up card using the Little Labels Pop-up die set. I added more of the patterned paper I used on the front of the card, adhering the paper to the edges of the card.

I die cut the Little Labels Pop-up from light aqua cardstock and added it to the centre of the card. I used the ribbon dies included in the set to added the pink spotted paper along the bottom of the pop-up.


To decorate the labels, I used the Big Birthday Charms die set. I used the present and bow charms and die cut the presents to make them look similar to the patterned paper. I then added two presents to the two outer labels.

I added a stamp sentiment to the centre label.

Along the front edge of the card, I added the "Celebrate" sentiment using the die set of the same name. I layered this onto a rectangle panel that I die cut from one of the rectangles from the Long Rectangles - Crosshatch die set. The rectangle was longer than I needed, so after die cutting the rectangle, I placed it back into the die so I could make it a little shorter.


Here is one last look at my card when it is lying on my desk, so you can see the shaker pieces all over the background.