Showing posts with label Z Fold. Show all posts

Wednesday, August 13, 2025

Santa Mug Double Z Fold Card


Hi Crafty Friends,

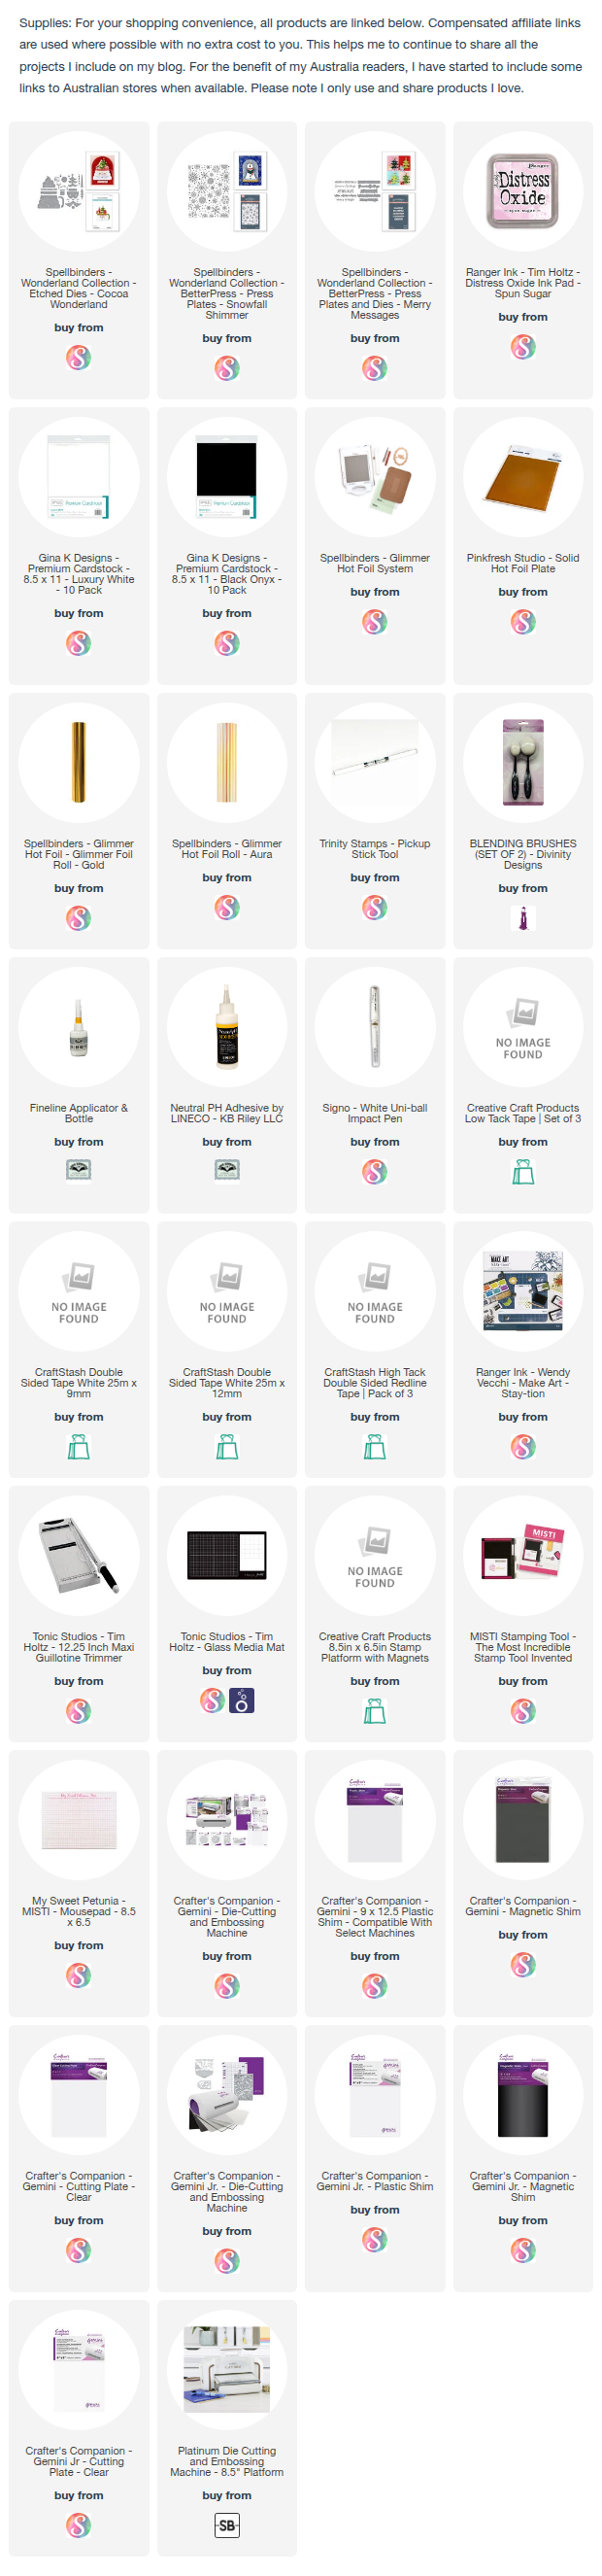
Welcome to my blog! Today I am sharing a Christmas card using a few products from Spellbinders. The Santa Mug is from the Cocoa Wonderland die set.

 This card is a Double Z Fold Card, for the pink background I started with a panel of white cardstock and then used the Snowfall Shimmer Glitter Plate and Aura Glimmer Foil to create the foiled background. I then coloured the panel pink using Spun Sugar Distress Oxide Ink.

On the far right panel I added the "Santa" word which is from an old Crafters Companion Edgeable Word die set. 

I added the Merry Christmas to the centre panel using one of the sentiments included in the Merry Messages Betterpress Plate. This I gold glimmered onto red cardstock.


The red card base measures 5 1/2 inches x 8 1/2 inches and is scored at 4 1/4 inches & 2 1/8 inch.
The decorative pink panel at the top is 4 1/2 inches x 7 1/2 inches and scored at 3 1/4 inches & 5 3/8 inches.


Here is a look at my card when it is closed ready to be placed in an envelope. The finished card measures 4 1/2 x 5 1/2 inches.


I added a panel to the back of the card which I decorated using the tree from the Cocoa Wonderland die set. The sentiment is another sentiment from the Merry Messages Betterpress Set.


Tuesday, February 15, 2022

Sympathy Z Fold


Hi Crafty Friends,

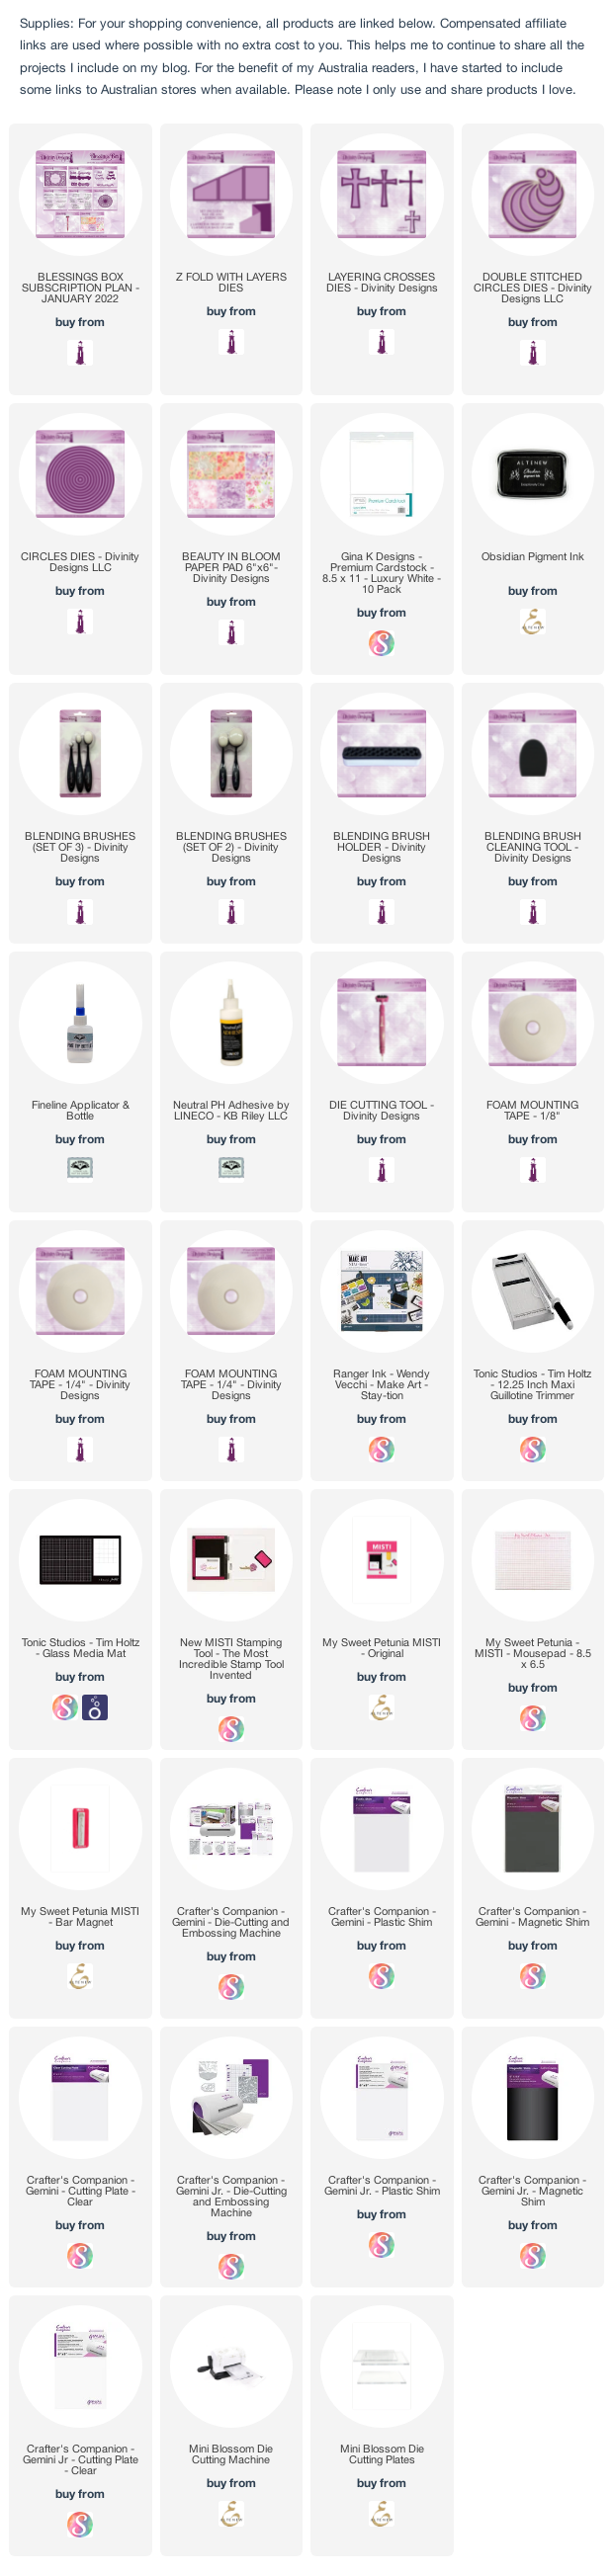
Today I am sharing a Z Fold Card using stamps, dies and papers from the Divinity Designs January 2022 Blessings Box.

Some of the products included in the Blessings Box this time around have a sympathy theme, there are two sympathy themed stamp sets and 2 word die sets. 


I have created a Z Fold Card using Divinity Designs Z Fold with Layers die set. For each of the layers on this card I added papers from the Beauty in Blooms 6 x 6 Patterned Paper Pad.

I used the Slimline With Sympathy and Layers die set which I added to the front of the card. I die cut the letters from bright pink cardstock and then die cut the shadow dies from vellum.

On the centre panel I added a cross using the Layering Crosses die set which is one of the die sets from the February/March Release.

On the far right panel I added a sentiment from the 'Sorry for your Loss" stamp set. I layered this using the Double Stitched Circles and Circles die set. I then used the Spiral Sphere die for the bottom layer, this is another die included in the Blessings Box.


I added the cross again on the centre panel on the back of my card, placing it a little higher on my card, so it could be seen when the card is closed.

On the back of the front panel, I added another sentiment from the "Sorry for your Loss" stamp set, using the Double Stitched Circles and Circles die sets for layering.


Monday, March 1, 2021

Divinity Designs March 2021 Release

Hi Crafty Friends,

Today I am sharing three cards I created using new stamps and dies from Divinity Designs March 2021 Release. This month Divinity Designs are releasing 1 stamp set and 5 die sets, three of these sets have an Easter theme, two of the die sets are slimline related ... the Quatrefoil Background (comes in both A2 & Slimline Size) and the Slimline Z Fold Card with Layers die set.

For more inspiration using products from the new release visit the Divinity Designs blog.

The first card I am sharing here today uses the new Slimline Z Fold Card with Layers die set. Loving Slimline cards as I do I was excited to see this die set in the release. Divinity Designs already has an A2 version, so it is great to see Slimline cards are also going to be featured in the Card dies.


This die set includes 6 dies, the base dies to create the Slimline Z Fold Card Card Base and then 3 dies to cut the layers. If you are decorating every side of the card like I did, you will need to die cut 2 of your diagonal layers from the back to allow for the direction of the diagonal  edge ... but that is easy to do!

I used the Festive Fall - Slimline Size Paper Pad for all the layers of my card.

To decorate the card I used the Who Loves You Stamp/Die Duos set to add all the owls and branches which are on all of the panels.

On the first panel from the left side seen in the photo above, I also used the Double Stitched Pennants die set to add the "Woo-Hoo!!" sentiment.

When you open the card to reveal the centre panel I have a birthday sentiment also included in the stamp/die set using the Double Stitched Ovals and Ovals die sets for the layering.

On the panel on the far right hand side I added the "Hoot Hoot Hooray" sentiment using the Alphabet Flags die set.


Here is a look at the card from the other side of the card. The top portion of the orange panel can be seen from the front when the card is closed. I repeated some of the elements I used on the front of the card.


My next card today is a Slimline Card using the new Slimline Quatrefoil Background die, there is also a Quatrefoil Background available for those who prefer to create A2 Cards. To create the Slimline portion of my card I also used the Slimline Card Base and Slimline Rectangles die sets.

To decorate my card I used the new Cross Layering Combo die set, this is a 4 layer die set which you use to create this beautiful layered Cross. I die cut mine from white and different shades of purple. I layered the cross to a white oval from the Ovals die set to help define the cross a little more.

At the bottom of the card I used one of the sentiments from the Be Still Stamp set. 


For my final card today I created a A2 size card. I used another sentiment from the Be Still stamp set. The solid cross included in the Cross Layering Combo die set that I used for my second card in this post was used to die cut the sentiment. I also die cut another cross from black cardstock and offset it slightly to give the cross a shadow. 

To create the A2 Card I used the A2 Portrait Card Base with Layers and Matting Rectangles die sets. The patterned paper used on the card base is from the Landscapes Paper Pad, there are a number of papers included in this paper pad that would work well with the cross.


Wednesday, May 10, 2017

All Aboard!


Hi everyone,

Welcome to our Paper Pros challenge for May. This time round our challenge is hosted by Caz.

For our challenge this month Caz has given us the theme .... "A few of my favorite things".

Everyone knows I love Pop it Ups dies, one of the most used of my dies would have to be the Katie Label Pivot Card, and one of my favorite ways to use it these days is to create a Z Fold Card. Another of my favorite things is my Grandson (and Granddaughter too of course). So for my card today I have created a birthday card for him.

To decorate my card I used the Kraftin Kimmie Stamps All Aboard stamp set. I also added train tracks from Taylored Expressions and also added the MFT Stamps Border It Numbers along the train track ... a little like carriages of a train.


Here is a closer look at the front of my card when it is folded. As my Grandson will be 7 this year, I added the number 7 to the front of the train. I also used the small clouds from All Seasons Tree for the smoke and added the All Aboard sentiment from the stamp set to the first two clouds of smoke.


Here is a closer look at the 'pivot' portion of my card.

You can see what the other "Paper Pros" created for this challenge on there blogs:


Stamps: All Aboard - Kraftin' Kimmie Stamps
Paper: White; Red; Thumb War DP - Basic Grey
Dies: Pop it Ups Katie Label Pivot Card; Pop it Ups All Seasons Tree - Elizabeth Craft Designs; Train Track Border - Taylored Expressions; LLD Border It Numbers - MFT Stamps
Other: Black Ink; Foam Tape; Copics


Thursday, April 27, 2017

A Little Bird Told Me


Hi everyone,

It's challenge time with my friends over on the CCEE Stampers challenge blog. Our challenge hostess Joanne Grzelak finishes off the month with one last challenge.

Joanne says ..... When she thinks of April she also thinks of flowers….spring is here and flowers are blooming. That is probably why April is National Garden Month. Make a card that includes floral or garden images.


My card today uses some new stamps I just received which I have been trying to get my hands on for a few months now ... I finally found a shop who had them in stock. This uses the Spring Tweets stamp set from Stampendous. 

I decided to create a Z Fold Card using the Katie Label Pivot Card die set for the last to pages of the card. 


When the card is folded this is the front of the card.


And a close up look at the two pages that have the Katie Label Pivot Card. I also made use of a freebie set I got recently from a magazine for the sentiments which turned out to be perfect for these images.

Don't forget to check out the CCEE Stampers blog (goes live 12 AM EST) to see the rest of the creations the CCEE Stampers created this week. You can also see more details of their creations on their individual blogs:


Stamps: Spring Tweets - Stampendous; Hummingbird Collection - Apple Blosssom
Paper: White; Blue; Carefree Flowering Vine DP - Heidi Swapp
Dies: Pop it Ups Katie Label Pivot Card; ModaScrap Stitched Fishtail Banners - Elizabeth Craft Designs
Other: Black Ink; Tumbled Glass Distress Ink; Orange Candy Dots; Foam Tape; Copics


Thursday, February 2, 2017

Mother Goose


Hi everyone,

It's challenge time with my friends over on the CCEE Stampers challenge blog. Being a brand new month it is time to introduce our new challenge hostess which is Liz Williams.


In honor of Library Lovers month, use a reading or book theme for your card this week. 

Most kids at one time or another have some sort of copy of Mother Goose's Nursery Rhymes so I went with that for my card today.

I create a Z Fold Card that also included a Pivot Card using the Pop It Ups Tag Pivot Card die set designed by Karen Burniston for Elizabeth Craft Designs.


Recently when I was looking for something I came across an old card I had created about 10 to 15 years ago which used the Darcie Rubber Stamps Book stamp. Back then I had also made it a Nursery Rhyme theme, but at that stage I didn't really have any Nursery Rhyme themed stamp sets like I do now so made do with what I had. For my card today I kind of CASEd my card substituting new stamp sets I had purchased that were a Nursery Rhyme theme.


Here is a look at my card when it is closed. For the front cover I used Mother Goose from Kraftin' Kimmie Stamps. I also used some older stamps to create the grass and sky. The title of the book was computer generated.


As you can see my book opens to reveal two more Nursery Rhymes. Mary, Mary Quite Contrary and Little Miss Muffet. Both of these stamp sets are also from Kraftin Kimmie Stamps. I placed tiny magnets at the back of the book and between the front panel so that the book would stay closed until you wanted to open it.

Don't forget to check out the CCEE Stampers blog (goes live 12 AM EST) to see the rest of the creations the CCEE Stampers created this week. You can also see more details of their creations on their individual blogs:


Vicky Gould


Stamps: Book - Darcies Stamps; Mother Goose; Mary, Mary Quite Contrary; Little Miss Muffet - Kraftin' Kimmie Stamps; Grass - Rubber Baby Buggy Bumpers; Sun - Posh Impressions; Flowers - Peddlars Pack; Clouded Impression - Mostly Animals; Shell Border - PSX; Flower Patch - Stampendous; Chalkboard Memories - There She Goes; Simply Enchanting - Amy R Stamps
Paper: White; Red; Sunkissed DP - Doodlebug Design Inc.
Dies: Pop It Ups Tag Pivot Card - Elizabeth Craft Designs
Other: Black Ink; Yellow Ink; Brushed Corduroy Distress Ink; Shabby Shutters Distress Ink; Tumbled Glass Distress Ink; Festive Berries Distress Ink; Red Hemp Cord; English Brick Wall Stencil - MFT Stamps; Silver Kirarina Wink Marker; Magnets; Foam Tape; Copics


Saturday, January 14, 2017

What's Cooking?


Hi everyone,

It’s challenge time with the “Crazies” over on the Crazy 4 Challenges blog. This week our challenge hostess Caz Counsell continues to issue the challenges.

Apparently today is 'Organise your Home Day' - so for our challenge this week we are to create a card suitable for NEW HOME or something within the home. 

Well as I had received the stamp set that includes the oven for Christmas it wasn't hard to work out what I wanted to use for my card. I decided to create a Z Fold card using the Katie Label Pivot Card die set designed by Karen Burniston for Elizabeth Craft Designs.

As I was making the Z Fold card I figured I needed something cooking related that would work with the oven and after looking through my stash discovered this cute Penny Black cat set .


Here is a look at the front of my card when it is closed ready to be placed in an envelope.

Don't forget to check out the rest of the “Crazies” cards over on the Crazy 4 Challenges blog and also their individual blogs for more details.
Lynn Anderson (January Guest Designer)


Stamps: Sprinkled with Joy - Lawn Fawn; What's Cooking; Sprinkles & Smiles - Penny Black; Delicious Birthday - MFT Stamps;
Paper: White; Red; Blue; Made with Love DP - Imaginisce
Dies: Pop It Ups Katie Label Pivot Card; Moda Scrap Stitched Fishtail Banners - Elizabeth Craft Designs
Other: Black Ink; Foam Tape; Copics


Sunday, December 4, 2016

Merry Christmas Elf


Hi everyone,

Today I am sharing another Christmas Card I created recently. This card is a Z Fold Card which is kept shut using the Merry Christmas circle on the lower left hand side of the card.

I used an image from Penny Black to decorate my card.


Here is another view of my card when it is fully open. I have added a sentiment which hides behind the  large circle on the front when it is closed.


Stamps: Little Elf Finn - Penny Black; Merry Xmas Mini - Stamp It (Aust); Wishing You A Christmas - Printworks
Paper: White; Red; Retro Christmas DP - Authentique
Dies: Stitched Circles; Dotted Scallop Circles; Sprig with Berries - Elizabeth Craft Designs
Other: Black Ink; Festive Berries Distress Ink; Score Board; Foam Tape; Copics


Saturday, February 13, 2016

To My Main Squeeze!


Hi everyone,


It’s challenge time with the “Crazies” over on the Crazy 4 Challenges blog. Peggy our challenge hostess for February continues to issue the challenges.


Tomorrow is Valentine’s Day and I am sure we will be seeing a lot of pinks and reds. The challenge today is to make a monochromatic card using pinks and reds.

A few weeks ago I need to make a few Heart Pivot Card samples for a demo I was doing at my local store. This is one I made so that it would work for this challenge and my demo :)

This time round I adhered a piece of designer paper onto a piece of card 12 inches long and 6 inches high. I score the card at 4 inches and 8 inches and then die cut the  Heart Pivot Card die designed by Karen Burniston for Elizabeth Craft Designs on the 8 inch score line to create a Z Fold Card.


Here is a quick video to see my card in action.


This is the front of the card when the card is folded. This is another of Art Impressions Hugs stamp sets that uses the action wobbles to make the head and arms wobble ... check out the video above.


And finally a close up of the Heart Pivot portion of my card ... oops looks like I failed monochromatic as I notice I added gold keys ... sorry!


Don't forget to check out the rest of the “Crazies” cards over on the Crazy 4 Challenges blog and also their individual blogs for more details.


Anja de Regt
Barbara Anders
Jessie Rone
Joanne Grzelak
Karen Aicken
Maryann Einam
Vicki Burdick
Peggy McCurry
Raquel Mason
Rebecca Ednie
Jen Benner 

Vicki Dutcher - February Guest Designer


Stamps: Main Squeeze - Art Impressions
Paper: White; Pink;  Jack & Jill Mini Flowers - Echo Park
Dies: Heart Pivot Card - designed by Karen Burniston for Elizabeth Craft Designs
Other: Black Ink; Spun Sugar Distress Ink; Action Wobble; Foam Tape; Copics


Friday, December 5, 2014

Upright Z Fold Card


Hi everyone,

It's my turn to post a project on the Elizabeth Craft Designs Blog today. This time round I have another fun idea on how we can use the Stand Up Helper Dies. I love when there are other ways to use a die other than it was intended don't you! A few week's ago, one of my daughters gave my other daughter a card I had made sometime ago which was an Upright Z Fold Card, as I was looking at the card I started to think whether the Elizabeth Craft Designs Stand Up Helper dies would work for this style of card, so of course I had to give it a try.

The dies that will work for this technique are the dies from the Stand Up Helper sets 1 and 2 ... there are a few that won't work as the image is going to be upside down so things like the Christmas Tree in set 2 won't work ... but many of the others in both sets will work so given them a try.

Here is how I created my card:

1. Cut a piece of red card so it measures 4.25 inches x 11 inches. Score along the long side at 2.75 inches and 5.5 inches. Fold so that the middle score line is a valley fold and the score line closer to the edge is a mountain fold.

2. Cut a piece of designer paper 4 inches x 2.5 inches and attach to the front panel. Cut another piece of designer paper 4 inches x 5.25 inches and attach to the back panel.

3. Cut a piece of red card 3.25 inches x 4 inches and a piece of white card 3 inches x 3.75 inches. Layer these pieces together and attach to the card so half is attach to the front panel and half is not attached to anything.  (Mine is approx  0.75 inches from the bottom of my card.)

4. From the Christmas Ornaments 2 Peel-Off Stickers, place Snowman Ornament & Medium Holly peel-offs onto white card that has Elizabeth's Transparent Double Sided Tape Sheet on top. Remove release sheet, cover peel-offs with Warm Diamond Silk Microfine Glitter and polish glitter with your finger. You can see a video Els created using this technique here. Color your images as desired. Add Red/Gold Glitter Dots to the circles on the Snowman Ornament.

5. Cut out the Snowman Ornament and Holly created in step 4 and attach the ornament to the lower portion of the white card using foam tape. Add a small piece from the Line Dots Peel-Off Stickers that goes from the top of the ornament to the top of the card so it appears the Ornament is hanging from something.

6. Use the Merry Christmas Stand Up Helper die and die cut this 3 times from Red card. Trim along the bottom border on all three pieces and stack the three sentiments together. (Tip: Add Elizabeth's Transparent Double Sided Tape to the bottom of the red card prior to die cutting sentiment). Adhere the sentiment underneath the image panel on the front of the card (refer to photo for placement).

7. To work out where to die cut the Holly Stand Up Helper from the Stand Up Helper Set 2 die set. Fold your card so it is flat, the score line portion of the die needs to be positioned so it is just above the image panel when it is closed, so that the card will fold flat with the holly in position over the top of the image panel. On my card I positioned it 0.75 inches from the top of the card. Add some repositionable tape to the top of the die so it does not more and carefully, unfold the card so that the die is only on the back panel ... die cut. 

8. Die cut an additional Holly Leaves from the Stand Up Helper 2 die set and the Holly Berry Cluster from the Tags die set from white card that has been covered with Elizabeth's Transparent Double Sided Tape on the front.  Remove protective backing from the die cut pieces and cover with Warm Diamond Silk Microfine Glitter, polish die cuts with your finger and color die cuts. Adhere over the Holly die cut piece on back of the card.

9. Cut a piece of white card 3.5 inches x 2 inches and a piece of red card 3.75 inches x 2.25 inches and layer together. Add the Season's Greetings Peel-Off Sticker to the top portion of the card. (TIP: Use transfer sheet to remove each part of the sentiment from the Peel off Sticker sheet so you can get the correct placement on your card. You can see a video Els created using this technique here. ) Add the holly leaves we created in step 4 to the lower right hand side of this panel ... adhere panel to lower part of the back panel, so it cannot be seen when card is closed.


10. Refold card so that the white image panel is tucked under the Holly Stand Up Helper piece. (Tip: If your card isn't staying closed when standing, use a bone folder to reinforce the score lines on your card or fold your card completely and set aside for a while and it should then work fine.)


Thanks for stopping by today!

Supplies: 
Elizabeth Craft Designs
Stand Up Helpers Set 2 (930)
Tags (763)
Merry Christmas Stand Up Helper (939)
Christmas Ornaments 2 Peel-Off Stickers (SKU 2536)
Merry Christmas Large Peel-Off Stickers (SKU 2576)
Season's Greetings Peel-Off Stickers (SKU 2581)
Line Dots Peel-Off Stickers Black (SKU 1134)
Red / Gold Glitter Dots (SKU 7018)
Transfer Sheet (SKU 600)
Warm Diamond Silk Microfine Glitter (639)
Elizabeth’s Transparent Double Sided Tape Sheet (502)
 
Other
White Card
Red Card
Graphic 45 Twas the Night Before Christmas 6 x 6 Paper Pad
Foam Tape