Tuesday, February 14, 2023

Let's Celebrate


Hi Crafty Friends,

According to the Days of the Year website today (14th February) is National Ferris Wheel Day, apparently the first Ferris Wheel was invented by George Washington Gale Ferris in 1893.

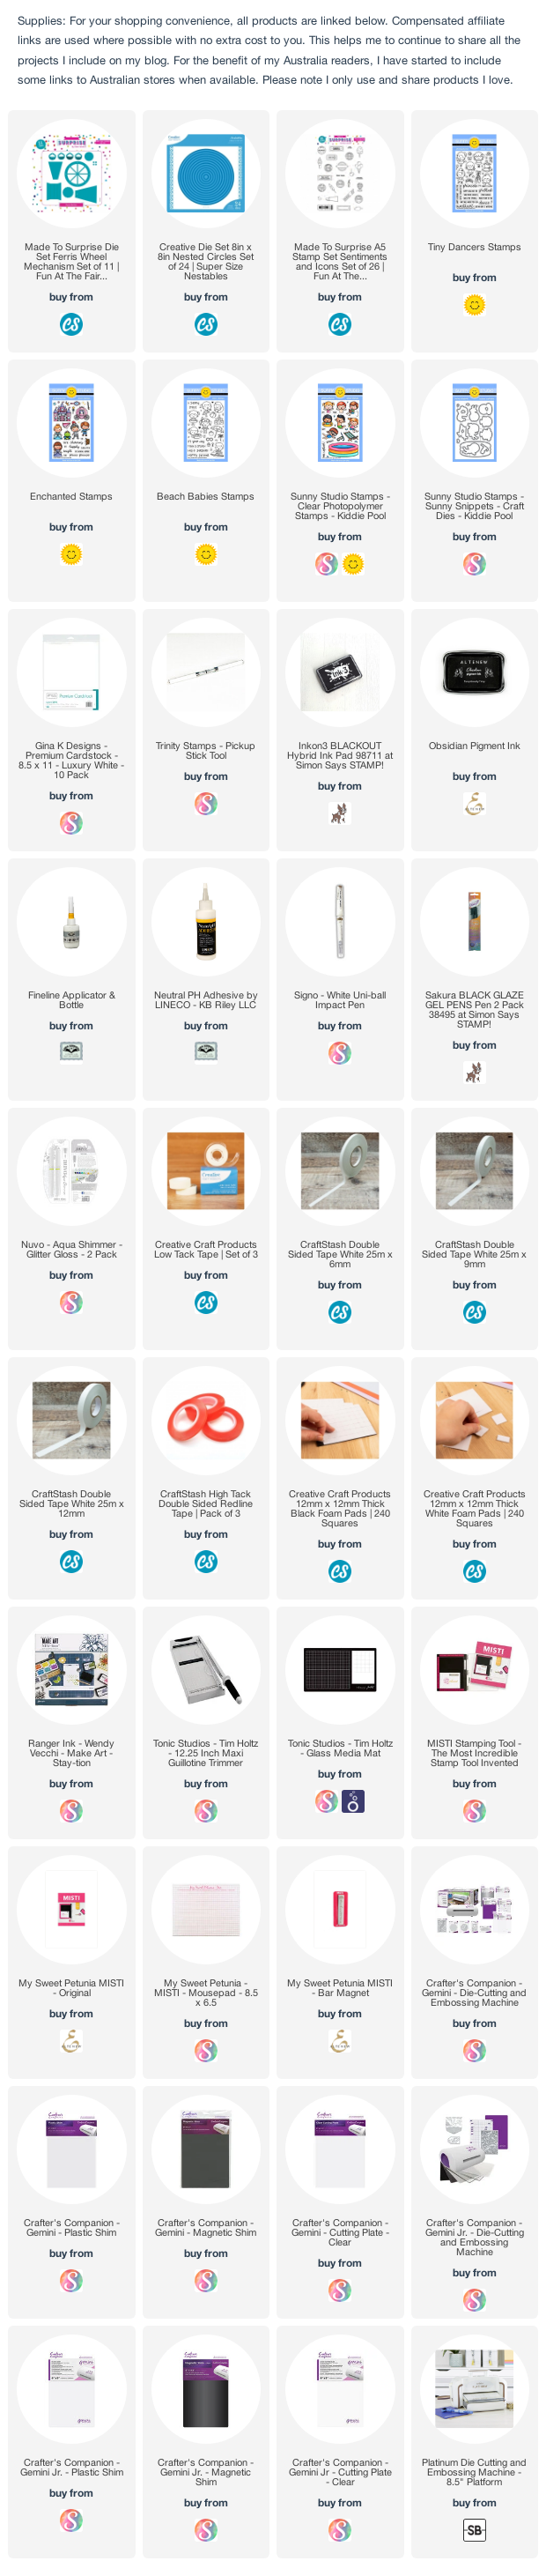
As I have the Ferris Wheel die set from Made To Surprise by Sam Calcott's Fun at the Fair Collection, it was a good excuse to play with it and make a card using it. I had ordered this die. along with a few other things back in September, but my parcel went missing so I had to reorder it. That parcel seemed to take longer than normal too, but it finally turned up the week before Christmas.

The wheel of the ferris wheel actually rotates.


There is an animal stamp set available that fits into the baskets, but I decided to pull out a few Sunny Studio Stamp sets to add kids to my ferris wheel instead. The sets I used are listed in the supply list.

The sentiment in the centre of the ferris wheel is from the Fun At The Fair stamp set.


Here is a look at the back of my ferris wheel card. I added a stamped sentiment using a sentiment from Avery Elle's Peek A Boo Fair stamp set. 

The Tickets are also included in the Fun At The Fair stamp set.

Other Supplies:

Peek A Boo Fair Stamp Set - Avery Elle (retired)


Monday, February 13, 2023

Hoot Hoot Hooray


Hi Crafty Friends,

Today I am sharing an owl themed birthday card I created recently.

I created a Shutter Card using Creative Craft Products Octagonal Shutter Card die set from their Step On Up Collection available from Craft Stash. 


I used the last of my Doodlebug Designs Rainbow Ribbons Patterned Paper ... I just love those balloons. Unfortunately I think it has been discontinued as it would be a few years old now.

To decorate my card I used Avery Elle's Hoot Hoot Hooray stamp set, this was one owl stamp set I couldn't resist.


This card folds down to approximately 3 1/2 inches x 7 1/4 inches, so would fit easily into a Slimline envelope.


I added the octagon layers, to one of the octagon panels at the back of the card, as a place to add a personal message. I also added another of the owls that I used on the front of my card.


Friday, February 10, 2023

Thinking of You


Hi Crafty Friends,

Thanks for visiting my blog! Today I am sharing a Slimline Card I created recently, this card measures 3 1/2 inches x 8 1/2 inches when folded.

For the background of my card I used Creative Craft Products Layering Edges & Borders - Leaf Die Set. This die set contains three different widths of leaf borders and the coordinating layering dies. I die cut each of the decorative leaf dies from green cardstock twice. I then die cut the layering dies in copper and rose gold metallic card and adhered the decorative leaf borders onto each of the metallic panels. I also die cut the larger of the layering dies in copper card and then used these pieces to create my background up my slimline card, alternating between the copper and the rose gold.

For the sentiment I used LDRS Creative's Big Words THINKING die set, die cutting the "THINKING" from rose gold metallic card and the "of you" from dark green cardstock. I adhered this sentiment to the upper portion of my card.

To finish off the front of my card, I added some Champagne Metallic Pearls randomly around the sentiment.


For the inside of the card, I used the single leaf borders layered onto both the copper and rose gold metallic card and adhered the borders to the top and bottom edge of my card.

I used sentiments from Honey Bee Stamps Miss You Big Time and Thinking of You Big Time stamp sets.


Thursday, February 9, 2023

Valentine Money Cards


Hi Crafty Friends,

Welcome to my blog, today I am sharing two Money Cards I created as Valentine gifts for my Grandchildren.

At the beginning of December, MFT Stamps released a Christmas Cash Card Kit which included stamps and dies to create money holders. The stamps and dies available allow you to make holders to use with either notes or gift cards. Of course just before Christmas there was a Christmas theme, but these can be used for so many occasions including birthday, tooth fairy, gas money, coffee etc. As I sometimes give money for birthday gifts it was definitely something I needed to add to my stash.


My first money holder is for my granddaughter. I used an older Penny Black stamp set to help decorate the money holder. The "I Heart You" sentiment was included in the Penny Black stamp set,  The other sentiment is from MFT Stamps Giftable Greetings stamp set.

The money is rolled up and fits into a lip balm holder.


For the money holder for my grandson, I pulled out Concord & 9th's Monster Love stamp set. I also added the "Love You" sentiment included in the stamp set.

The papers used on this money holder is from Whimsy Stamps' Rainbows Paper Pad.


For the back of the money holders I added a heart, using Creative Craft Products Torn Nested Hearts die set. I added two sentiments to the heart both of which are from Divinity Designs Fill My Heart Stamp set.


At the bottom of the back of the money holder, there is a slit so that the money can be removed without ruining the money holder.

Other Supplies:
I Heart You Stamp Set - Penny Black (retired)


Wednesday, February 8, 2023

Concertina Birthday


Hi Crafty Friends,

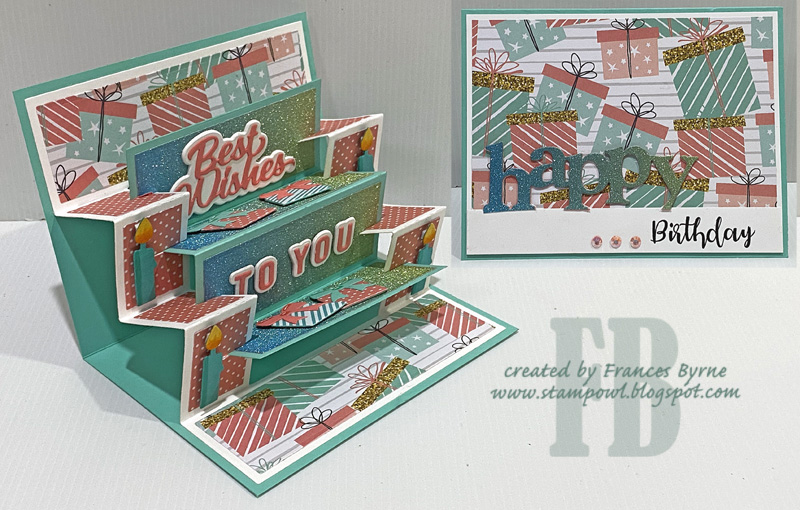
Today I am sharing a birthday themed pop-up card I created recently.


Recently when I was looking online I came across a card created by Sam Calcott a number of years ago. It was a 5 x 7 Concertina Pop-up card and one of the cards she made was done in landscape orientation rather than portrait. As I had Divinity Designs Concertina Pop-up Card with Layers die set which created an A2 version of this style of card, I decided to pull it out to make a landscape version of the card.


For the centre concertina layers, I added glitter card using the Ombre Glitter Pad I have.

To decorate the card I used dies from Karen Burniston, the Wedding Charms; Big Birthday Charms and Mini Alphabet & Numbers die sets.


For the front of my card, I used the same patterned paper that I used on the inside. I used Crafter's Companion's Happy Word Edge'ables die set. I used the birthday word from Made To Surprise's Showstopper Sentiments stamp set.

I added three jewels from Pinkfresh Studio's Glacier Jewels.


As there is not much room on the inside to write a personal greeting, I added a panel on the back of my card. I added a stamped sentiment and there is plenty of room for a hand written message.


Tuesday, February 7, 2023

February2023 Karen Burniston Designer Challenge


Hi Crafty Friends, 

Welcome to our February Karen Burniston Designer Challenge.

Check out Karen Burniston's blog on Wednesday (US Time) when you will be able to see what all the designers created for the challenge this month, plus Karen will have an amazing video tutorial to share with us all.

Our challenge theme this month is ... "WEDDING, ANNIVERSARY or VALENTINES" - Love is in the card!


As you can see, I created a wedding card for the challenge, I need them more than I do either of the other options. 

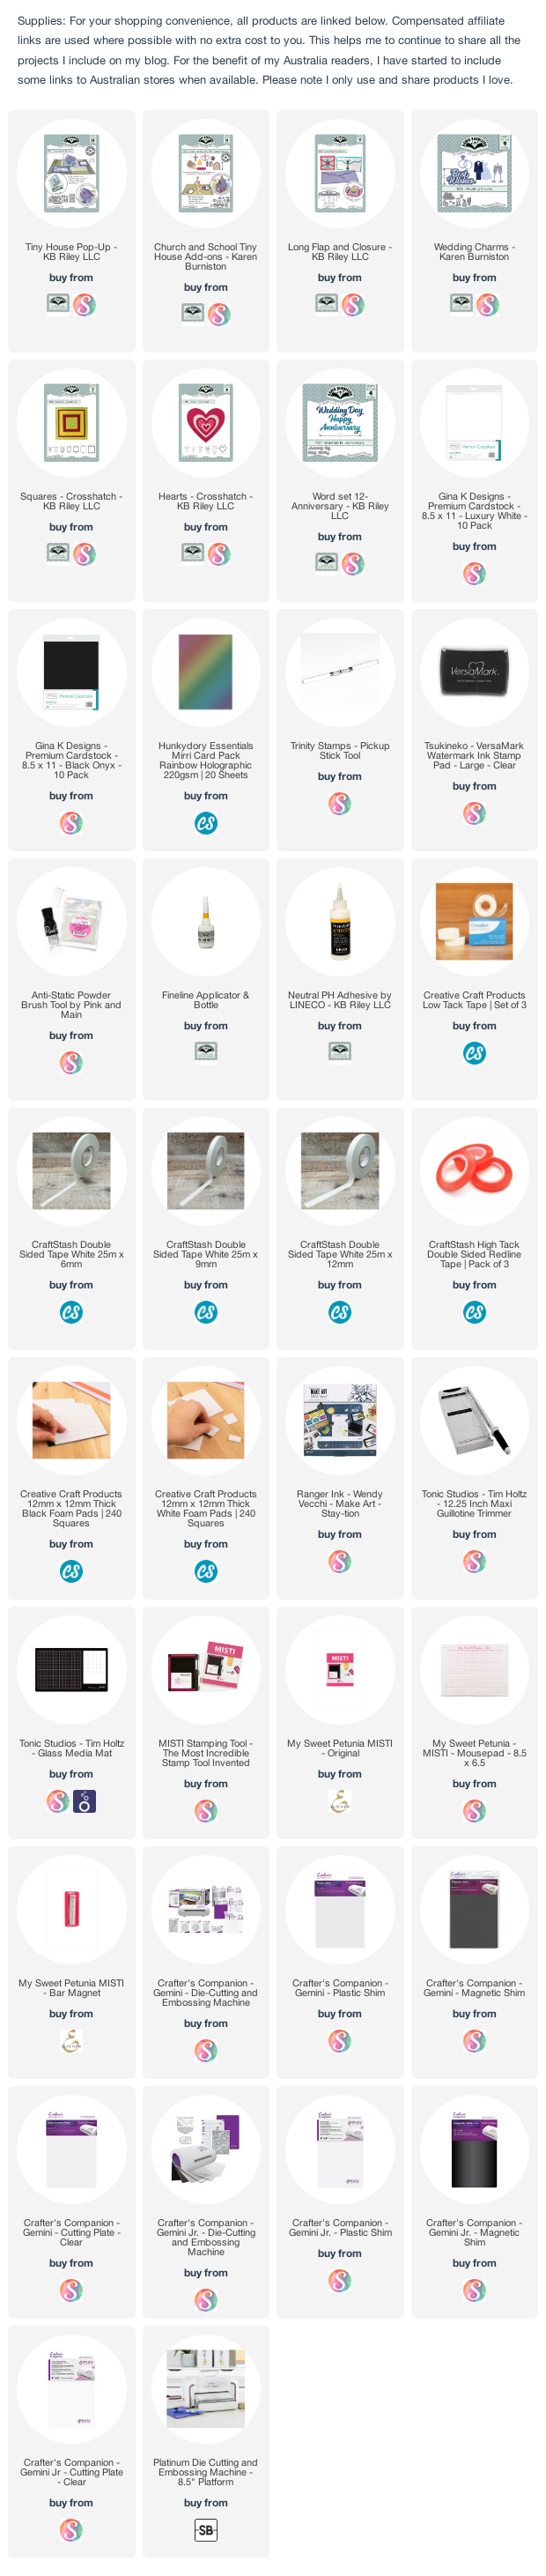
As I hadn't created a church yet using the Church and School Tiny House Add-ons die set, I pulled that out along with the Tiny House Pop-up die set to create my card. I created a square card which measures 5 1/2 inches square when closed.


I used the Long Flap and Closure die to create the border along the left and right edges of my card.


The Bride and Groom, rings and Best Wishes sentiment are all from the Wedding Charms die set. I die cut the. rings and sentiment from holographic cardstock. For the sentiment, I also die cut it from the dark pink card and layered them together offsetting slightly, this was then adhered to the shadow which was die cut from vellum. The two hearts on the top right hand side is included in the Church and School Tiny House Add-ons set and was also die cut from holographic cardstock.


I kept the front of the card simple as the focus is on the inside. I used the Squares - Crosshatch die set to die cut the hearts patterned paper, which is then layered to holographic card. 

The large heart is from the Hearts - Crosshatch die set.

Finally I created the sentiment "Happy Wedding Day" using the Word Set 12 - Anniversary die set. Again I die cut the words with holographic and dark pink cardstock and off set slightly when layering, to get a slight shadow.


I added a panel to the back of the card, to add a sentiment and have a place to write a personal message. Adding this panel, helps keep the card level when the card is opened.

Other Supplies:
Hitched Stamp Set - Craftin Desert Divas (no longer in business)


Monday, February 6, 2023

Just Ducky


Hi Crafty Friends,

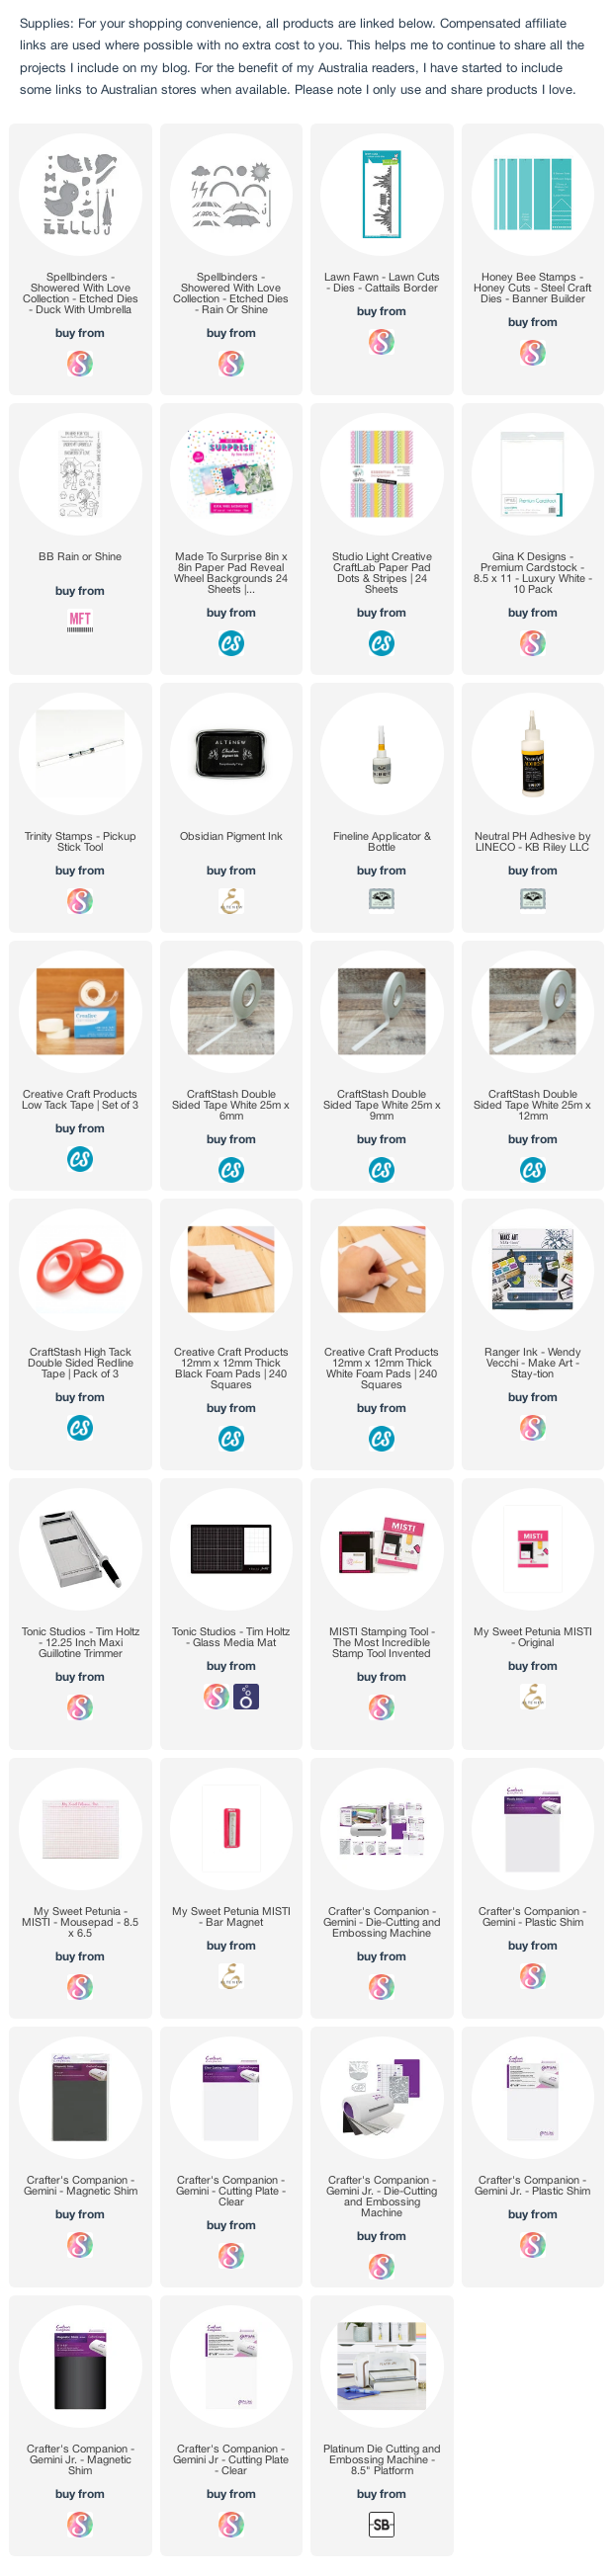
Today I am sharing a Mini Slimline card I created using a couple of the new dies from Spellbinders Showered with Love Collection designed byVicky Papaioannou. I just love this cute little duck and the fun outfits you can give it. The duck is from the Duck with Umbrella die set. 

When I was thinking about making my card, I remembered about a Memory Box die called Splashing Puddles which I have in my stash, so I pulled it out to use for the background of my card. This die is designed for an A2 sized card, but it was easy to cut down for a Mini Slimline size. I die cut the background using cloud paper from Made To Surprise's Reveal Wheel Background Paper Pad.

I added the sun and cloud to the top left corner of the card, using another of the die sets from the Showered with Love Collection ... Rain or Shine.

I added some Cattails to the bottom of the card, using the Cattails Border die set from Lawn Fawn.

To finish off the front of the card, I added the "Just Ducky" sentiment from an older CC Designs stamp set.


For the inside of the card, I again used the Splashing Puddles die set to create my panel. I added a sentiment from MFT Stamps Rain or Shine Stamp set.


Other Supplies:
  • Rainy Day Sentiments Stamp Set - CC Designs (discontinued)
  • Splashing Puddles Die - Memory Box (discontinued)


Friday, February 3, 2023

Heart Birthday


Hi Crafty Friends,

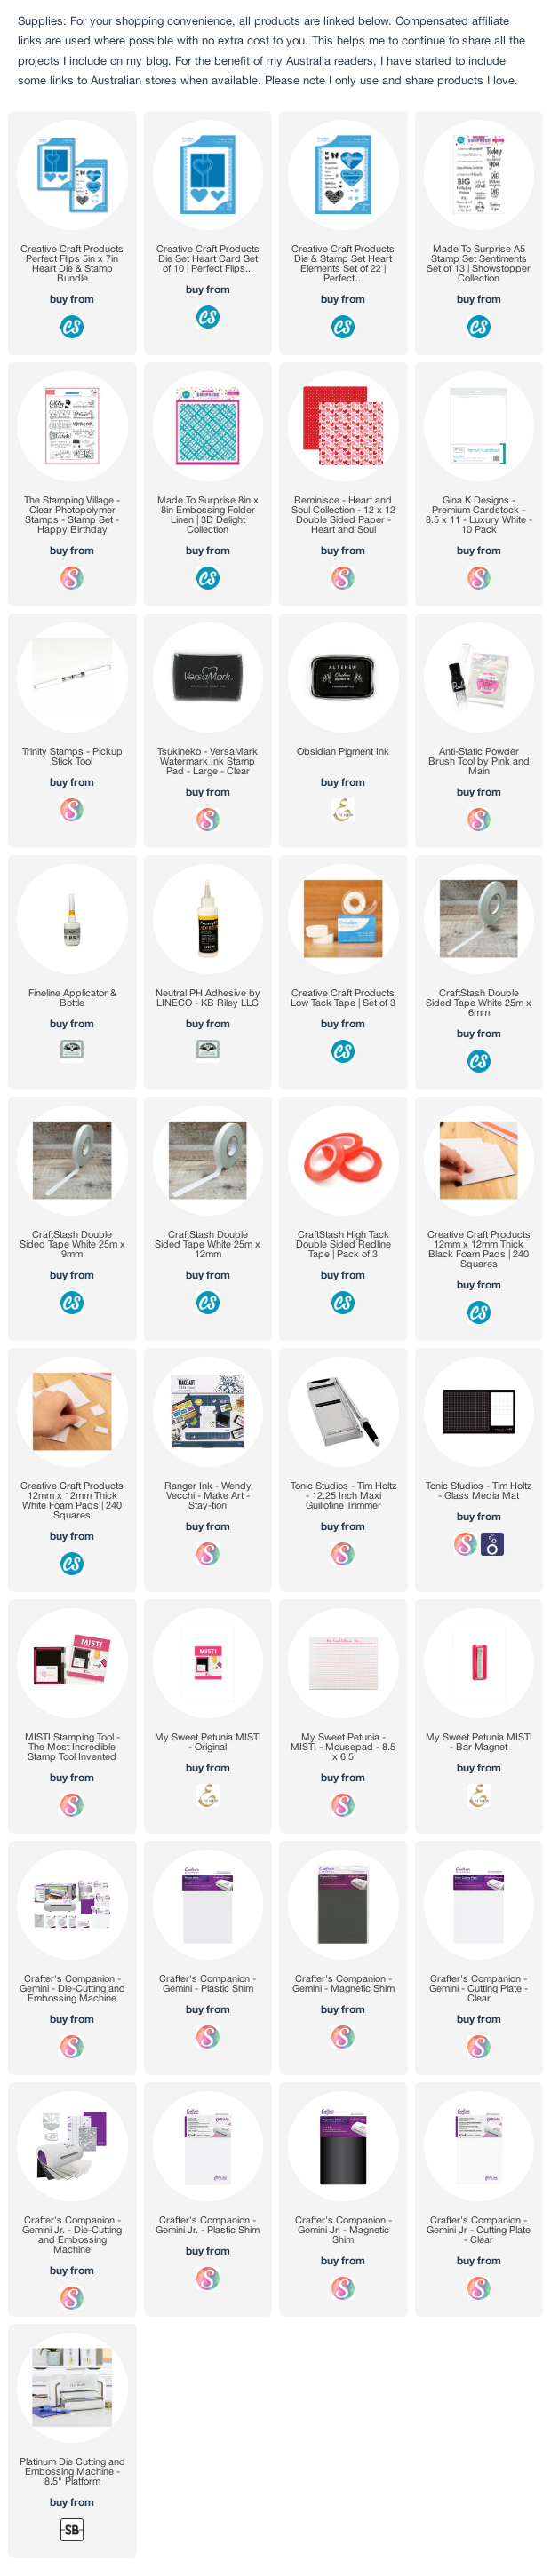
Thanks for visiting my blog. With Valentine's Day just over a week away I decided to pull out my Creative Craft Products Heart Perfect Flips die set, I got this when I ordered the other two die sets in the range but hadn't used it as yet. As I don't really need a Valentine's Card I turned mine into a birthday card, but it would be easy to just change the sentiments to use it for Valentine's Day.


There is also a coordinating stamp/die set called Heart Elements which I used to help decorate the card. That is what I used for the heart centres.

I white embossed the birthday sentiment to the right side of the bow. The pink heart is embossed using Made To Surprise's Linen Embossing Folder. 


When you pull the card open, the heart in the centre of the card, flips to show another decorative heart and sentiment on the other side of the heart.

On the lower right hand side of the card, I added the pink strip with three jewels. 


I don't usually decorate the back of this style of card, but as I had plenty of the patterned paper I decided I would. I added the white panel to the left side of the card for a place to write a personal message. On this white panel I added two sentiments using a sentiment stamp set from Made To Surprise. I also added another bow/ribbon to the lower portion of the card.


Thursday, February 2, 2023

It's A Boy


Hi Crafty Friends,

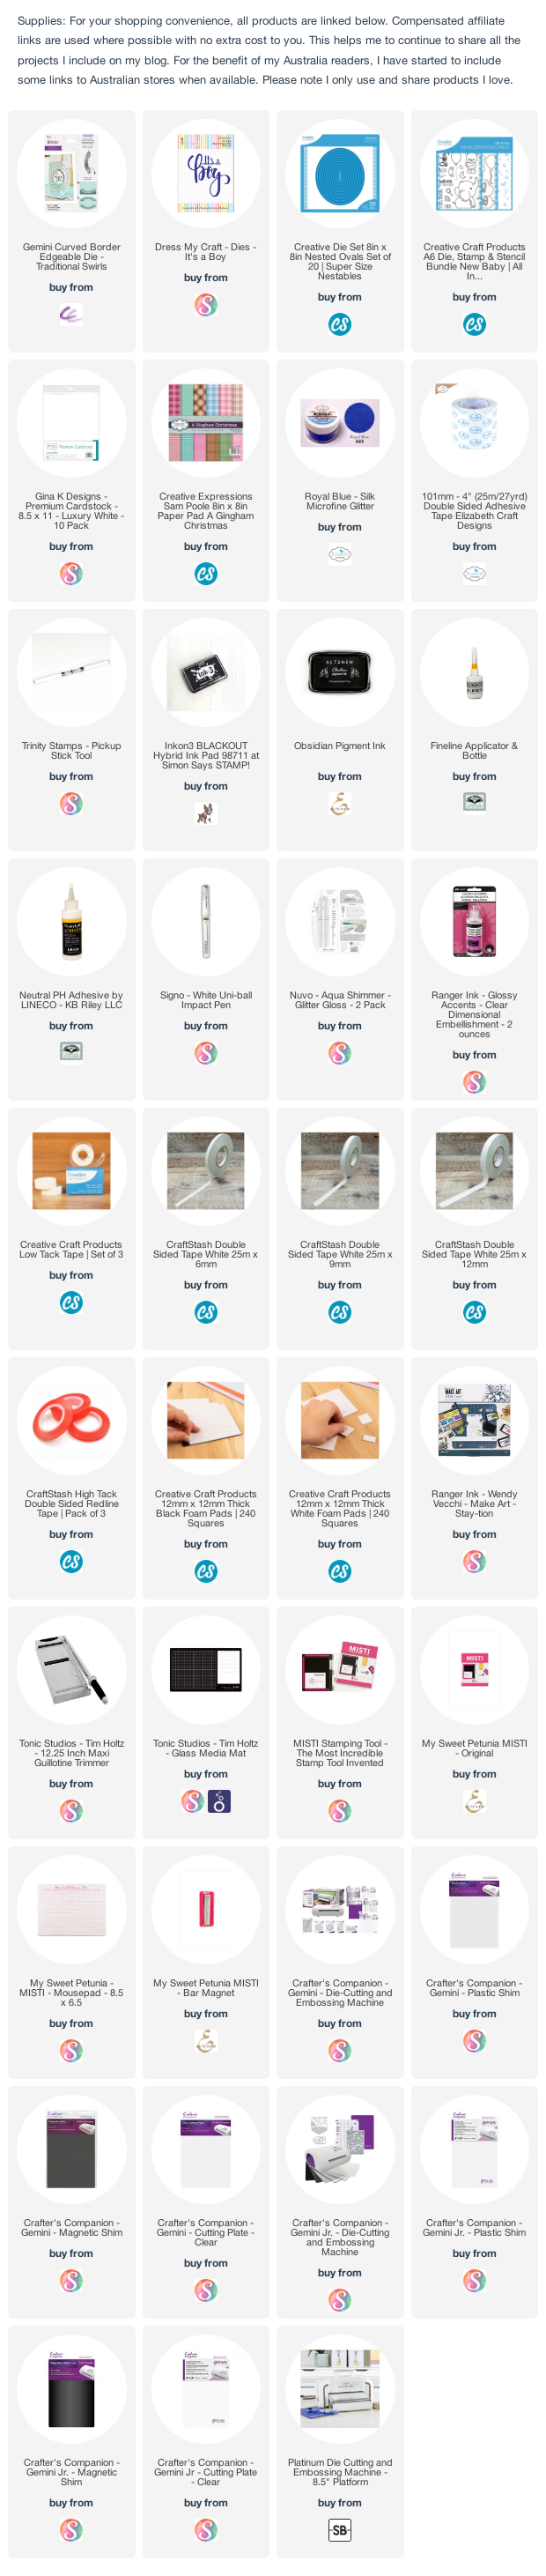
Yesterday I shared a card using one of Crafter's Companion's Curved Border Edge'ables dies. I loved the look it created that I decided to pull with another of the dies today to make an Easel Card. This one is the Traditional Swirls die. These dies are designed to cut through two layers of cardstock, which I did for the edge which stands up behind the easel stopper. After I had die cut all the borders, I adhered royal blue cardstock behind each of the panels so the blue shows through the design.

I had made a baby girl card a week or two ago, so I decided to make another baby card this time for a boy.


I used Dress My Craft's It's A Boy Sentiment for the main sentiment, adding Royal Blue Silk Microfine Glitter to the front of the die cut. 

The bear, balloon & stamped sentiment are all from Creative Craft Products New Baby stamp/die set. I layered the sentiment to two oval panels which help keep the front of the card standing up.


Here is a look at my card when it is closed, ready to be placed in an envelope.


I kept the base of the card simple, just adding the patterned paper and sentiment.


I added a panel to the back of the card so that I could add another sentiment and have a place to write a personal greeting. The sentiment is an older one from my stash by Printwork's.

Other Supplies:

A Baby Is Teddy Bears Stamp - Printworks (retired)