Monday, November 21, 2022

HB2U Slimline

 
Hi Crafty Friends,

I have a birthday themed Slimline Pop-up card to share with you today. 


To create the background for my card I used Picket Fence Studios' Slimline Plumeria Stencil using Catherine Pooler inks in the following colours: Samba; Mandarin Spice; Glitz; Lime Rickey and Aquatini. I then used the two larger dies from Spellbinders Hemstitch Slimline die set to die cut the panel before adding it to a side folding 3 1/2 inch x 8 1/2 inch card.

I used Picket Fence Studios' HB2U die which I die cut from black cardstock and added to the front of the card. Finally I added the "You're How Old?" sentiment which is from MFT Stamps Bitty Birthday Sentiments stamp set.


For the inside of my card, I used the Picket Fence Studios stencil once again to add the strips to the edges of my card.

For the pop up I used Karen Burniston's Katherine Label Pop-up die set to add the two pop up panels.

The sentiment at the top of the card is from a Spellbinders stamp set, the second one is from Honey Bee Stamps.





Saturday, November 19, 2022

Stacked Merry Christmas


Hi Crafty Friends,

I have a Christmas themed Slimline card to share with you today.

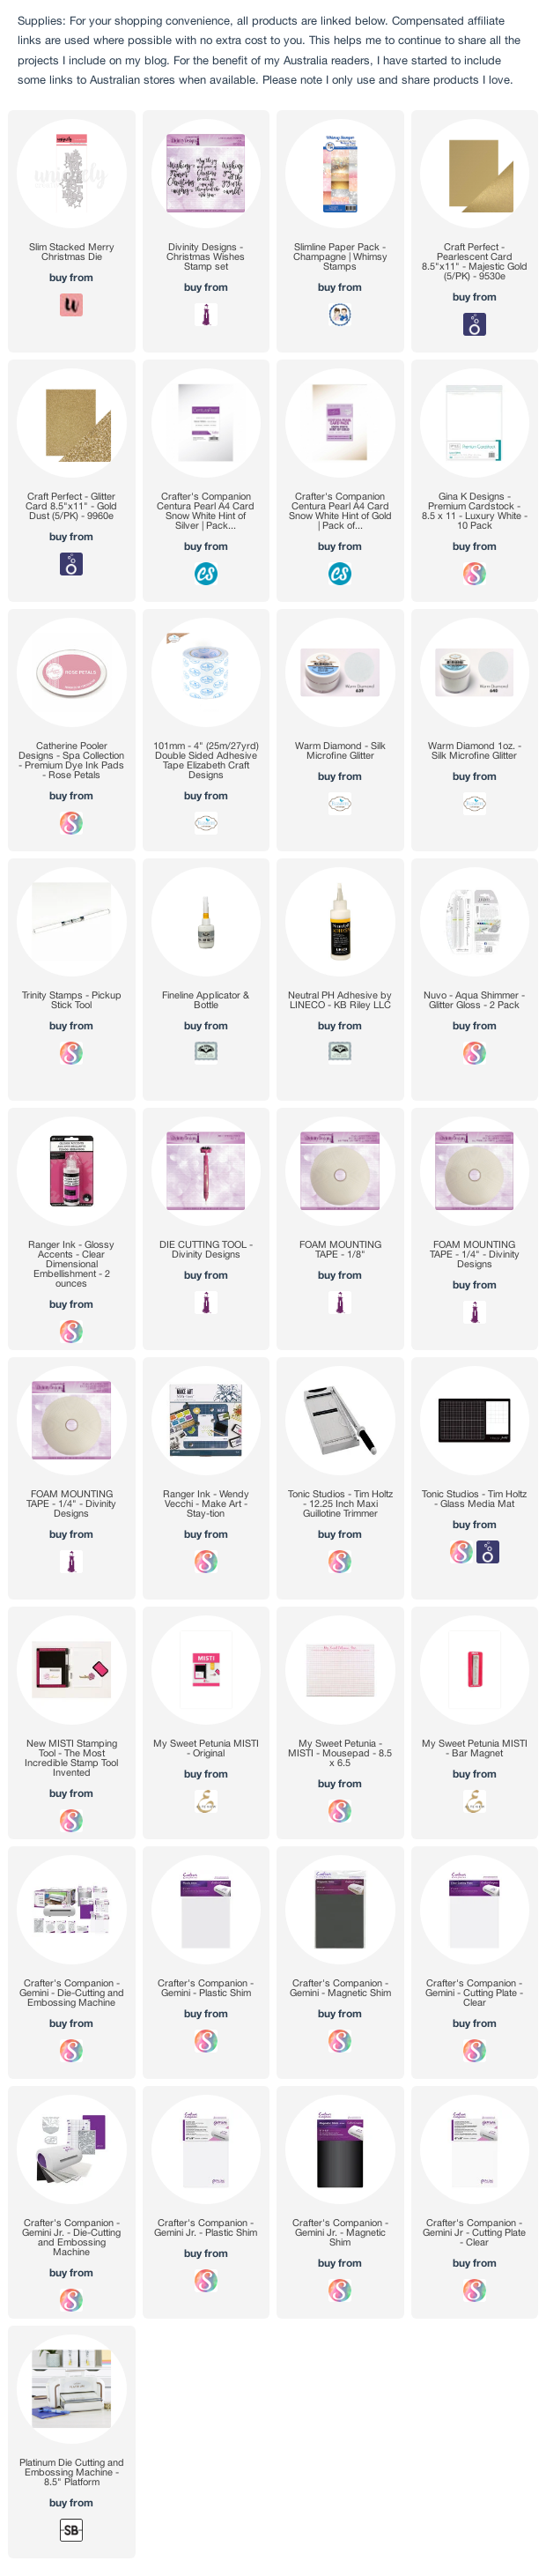
Recently Uniquely Creative released the Slim Stacked Merry Christmas die, as it was a Slimline sentiment and I haven't seen anything else like this around I just had to add it to my stash. This die makes it really easy to make Slimline Christmas cards, you don't need much else.

I die cut the sentiment from white Centura Pearl cardstock and also gold glitter cardstock. I layered the pearl card over the glitter card, offsetting slightly. I added the solid gold glitter stars over the empty stars on the card. I also die cut a few more stars from pink cardstock that I had covered with Warm Diamond Silk Microfine Glitter.


For the inside of my card, I added a strip of the patterned paper that I used on the front to the right edge of the card. I also added a sliver of gold cardstock.

I stamped a Divinity Designs Christmas sentiment to the centre of the card.


Friday, November 18, 2022

Merry Christmas Puddin'


Hi Crafty Friends,

A few years ago, Sam Calcott released a set that featured the mechanism for pull cards in both 5 x 7 and 6 x 6 format along with Christmas themed stamps/dies that featured images like an Elf, Santa, Christmas Pudding, Chimney etc. Unfortunately other than getting the stamps in digital format, the rest of the set are no longer available. I was able to purchase the pull card die set a few months back which was rereleased as a set called Everyday Pop-ups, but I couldn't find the dies to create the pudding etc and I so wanted to create those card. Well joy of joys in the Papercraft Essentials Magazine Issue 217, the kit included in this magazine were of these images. Of course I ordered it ... at the time of making this card mine is somewhere ... who knows where, I know the parcel arrived in Australia according to tracking but it hasn't arrived here yet. Fingers crossed it does, so I decided to buy the digital version of the magazine so I could at least print out the images and play.


As I have the Pull Card dies in the Everyday Pop-up die set, I decided not to use the template included in the kit for that portion of the card. The dies are slightly larger than the template, but it was easy enough to cut the square done once I had die cut the mechanism.

I used one of the papers included in the kit along with the pudding and elf images to create my card.


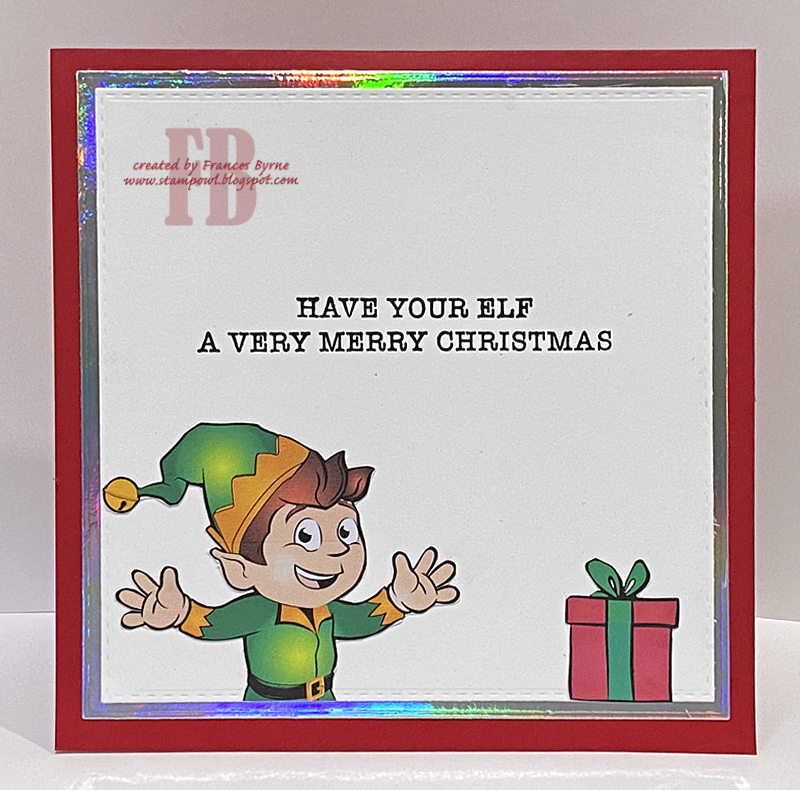
Here you can see my card, with the "Pull Tab" fully extended which reveals the cute elf. I used the Made to Surprise by Sam Calcott's Push Me Pull Me Stamp set to add the word "pull" to the top of the tab.


For the inside of my card, I added another of the elf images and also a gift image. I added the sentiment which is from the Christmas Fun stamp set.


Other Supplies:
Complete Pop-up Card Kit - Papercraft Essentials Magazine Issue 217
Everyday Pop-up Die Set - Made to Surprise by Sam Calcott.


Thursday, November 17, 2022

Big Birthday Wishes


 Hi Crafty Friends,

It's challenge time with my friends over on the CCEE Stampers challenge blog. Maryann Einam our challenge hostess for the month continues to issue the challenges.

For our challenge this week Maryann has requested that we create a card with more than a centre fold. Think easel, pop-up, centre step or shutter card, etc.


As my newest Made to Surprise by Sam Calcott dies arrived from her Showstopper Card collection, I decided to pull out one of the dies to use for my card for this challenge. As I have been wanting to use the Gina K Designs floral paper for a while, I went with the Tri-fold 6 x 6 Showstopper Card die set as this was the one that suited the size of paper pad.

These showstopper dies can either be used as a single tri-fold card or adhered together to make what Sam Calcott calls a "Showstopper" Card. Depending on which end you adhere together can give you a totally different looks.

For the sentiment I used the new Showstopper Sentiment set which I layered using circle dies included Creative Craft Products Nested Circles Filigree Frame die set.


My card folds flat (as you can see in the photo above), the size when folded is 6 inches x 10 inches. 

I added two butterflies using the Butterflies Galore Stamp/Die set also included in the Showstopper collections.


I added white panels to the back of the card, with a few more sentiments from the Showstopper Sentiments stamp set and two of the butterfly stamps from the Butterflies Galore Stamp/Die set.

This is also a great place to add a handwritten greeting.

Don't forget to check out the CCEE Stampers blog (goes live 12 AM EST) to see the rest of the creations the CCEE Stampers created this week. You can also see more details of their creations on their individual blogs:

Wednesday, November 16, 2022

Santa Mug


Hi Crafty Friends,

For the past two days, I shared a coffee themed cards for the 2022 Fall | Winter Coffee Lovers Blog Hop!  The hop started on Friday 11th November and goes until Friday 18th November. As I recently purchased the Trinity Stamps Santa Mug die set, I decided I would make another card to enter into the hop.


The Santa Mug and gingerbread men are all included in the Santa Mug die set from Trinity Stamps. I made a top folding 5 x 7 card.

I added a foiled sentiment using Waffle Flower Crafts Merry Christmas Foil Plate, foiling it using red glimmer foil and using the Solid Plate with the negative foil image.


For the inside of the card I created a pop-up card using Karen Burniston's Katherine Label Pop-up die set. I again used the mug from the Trinity Stamps Santa Mug die set, this time I added a gingerbread man to the front of the mug.

Along the bottom edge of the card I added Picket Fence Studios' Slim Line Have Yourself A Merry Little Christmas Word Topper die, which I die cut from red cardstock.

I added two more gingerbread men to either side of the sentiment.


Here is a side view of the inside of my card, so you can see the pop up portion of the card a little better.


Other Supplies:
Holly Jolly 12 x 12 Paper Pad - Simply Made Crafts/Craftstash


Tuesday, November 15, 2022

Coffee Shop


Hi Crafty Friends,

Yesterday I shared a coffee themed card for the 2022 Fall | Winter Coffee Lovers Blog Hop!  The hop started on Friday 11th November and goes until Friday 18th November. As I have other coffee themed stamps and dies I recently acquired, I decided I needed to get some more cards made.


As I recently received MFT Stamps September Card kit that was coffee themed ... the Coffee Shop Card Kit, It was a no brainer that I would use that for my card today. I believe the kit has sold out, however all the dies, stamps and papers from this kit are all available individually and I have included the links in my supply list below.

As there are so many elements included in this kit, I decided to create a Slimline card. I made my card 8.5 inches x 4 inches to give me that extra height to allow for what I wanted to add to my card.

The paper pad is only 6 x 6, but by selecting paper that had lines, it was easy enough to join it and most of the joins are hidden by some of the die cuts.

I used elements from all of the die and stamp sets to create my card.


For the inside of my card I added the floor again and repeated the table & chairs on the lower left hand side.

I added a birthday sentiment using the Coffee Order stamp set, also included in the kit. I layered my sentiment using rectangle dies.


Monday, November 14, 2022

Coffee and Friends


Hi Crafty Friend,

Today I am sharing a card I created for the 2022 Fall | Winter Coffee Lovers Blog Hop!  The hop started on Friday 11th November and goes until Friday 18th November.


I recently purchased the Made to Surprise by Sam Calcott's 3D Delights Collection which was released in October. As my parcel arrived a couple of days ago, I decided to try my hand at making a 3D coffee cup using various stamps and dies from the collection.

My coffee cup isn't perfect, but for a first attempt, I am happy with it. A good excuse to play with this collection a little more in the future. As well as making the cup and saucer this collection also allows you to make a hat, basket and a cake which can be either a single tier cake or  two or three tiers.

For this card, I kept it fairly simple and went with a fall theme by selecting a fall colour theme of orange/rust and green.  I used patterned papers also included in the collection to decorate the cup.
For the sentiment I used the Special Sentiments A5 Stamp set and coordinating Sentiment circles sets for the sentiment. I also added leaves using the Love & Cake Stamp/Die set and Floral Stamp/Die set.


The base of the card folds up so that the card can fold flat, ready to be placed in a 6 x 6 envelope. This is also a good place to write a personal greeting to the recipient.

I have a couple more coffee themed cards to share with you, over the next two days.


Sunday, November 13, 2022

Frosty Wishes


Hi Craft Friends,

Thank you for visiting my blog. Today I have another card I created using some of the images and papers from the November 2022 Papercraft Society Box designed by Daisy Mae.

I have again opted to use the precoloured images that are available to download, as this saves a lot of time having to colour. I love that the dies included in the box can be used to die cut the recoloured images as well as the stamps included in the box.


For my card today I created a Flip card using Creative Craft Products Circle Perfect Flips die set which creates a flip card that is 5 x 7.

As well as adding two of the images from the box, I added some die cut snowflakes and the "Frosty" word using dies included in the box.


When you pull the card open the circle in the centre 'flips" to reveal the other side which in this case has a sentiment. I added the "frosty" again using the die from the box. The "Christmas Wishes" is from Crafter's Companion's Crafter's Inspiration Magazine Issue 5.


Saturday, November 12, 2022

Christmas Wishes Shaker

Hi Crafty Friends,

I have a super cute Christmas themed 5 x 7 Shaker card to share with you today. 

I haven't been sharing cards much this year on weekends, but I have so much I still want to share with every before Christmas that I will probably post a little more often between now and Christmas. It may not be every weekend, but there will be a few times I will for sure.

For my card today I used products from the Papercraft Society's November Box which was designed by Daisy Mae. I just love the cute little polar bear images, and even though Christmas is in summer down here, I can't resist using these images to create a few Christmas cards.


Part of the kit, includes papers and coloured images to download so even though there are a few papers in the kit as well as a stamp set, I downloaded the images. The advantage of downloading the images is, that they are already coloured and I can adjust the size to whatever I want. I did make the image for the front of my card larger so it was be the focus of my card.

To create the shaker card, I used the full front shaker card technique, using some stamp packaging for the shaker cover. I added white sequins inside the shaker which were also included in the Papercraft Society kit.

To finish off the front of the card, I added some red snowflakes using dies from the kit.

For the sentiment I used stamps from Crafter's Companion's Crafter's Inspiration Magazine Issue 5.


For the inside of the card, I used the same image I used on the front of the card, but this time at the original size. I used the coordinating dies to die cut the image.

I used the Oh So Merry Sentiment from Mama Elephant's The Penguin's Waddle set to the main part of the sentiment. I then used the Crafter's Companion stamp set again to add the rest of the sentiment. I had to piece the "We Wish You An" part of the sentiment using parts of two sentiments in the set.


Friday, November 11, 2022

Teacher's Bookshelf


Hi Crafty Friends,

It's only about 4 to 6 weeks before the grandchildren finish school for the year, so today I am sharing another teacher thank you card I created.

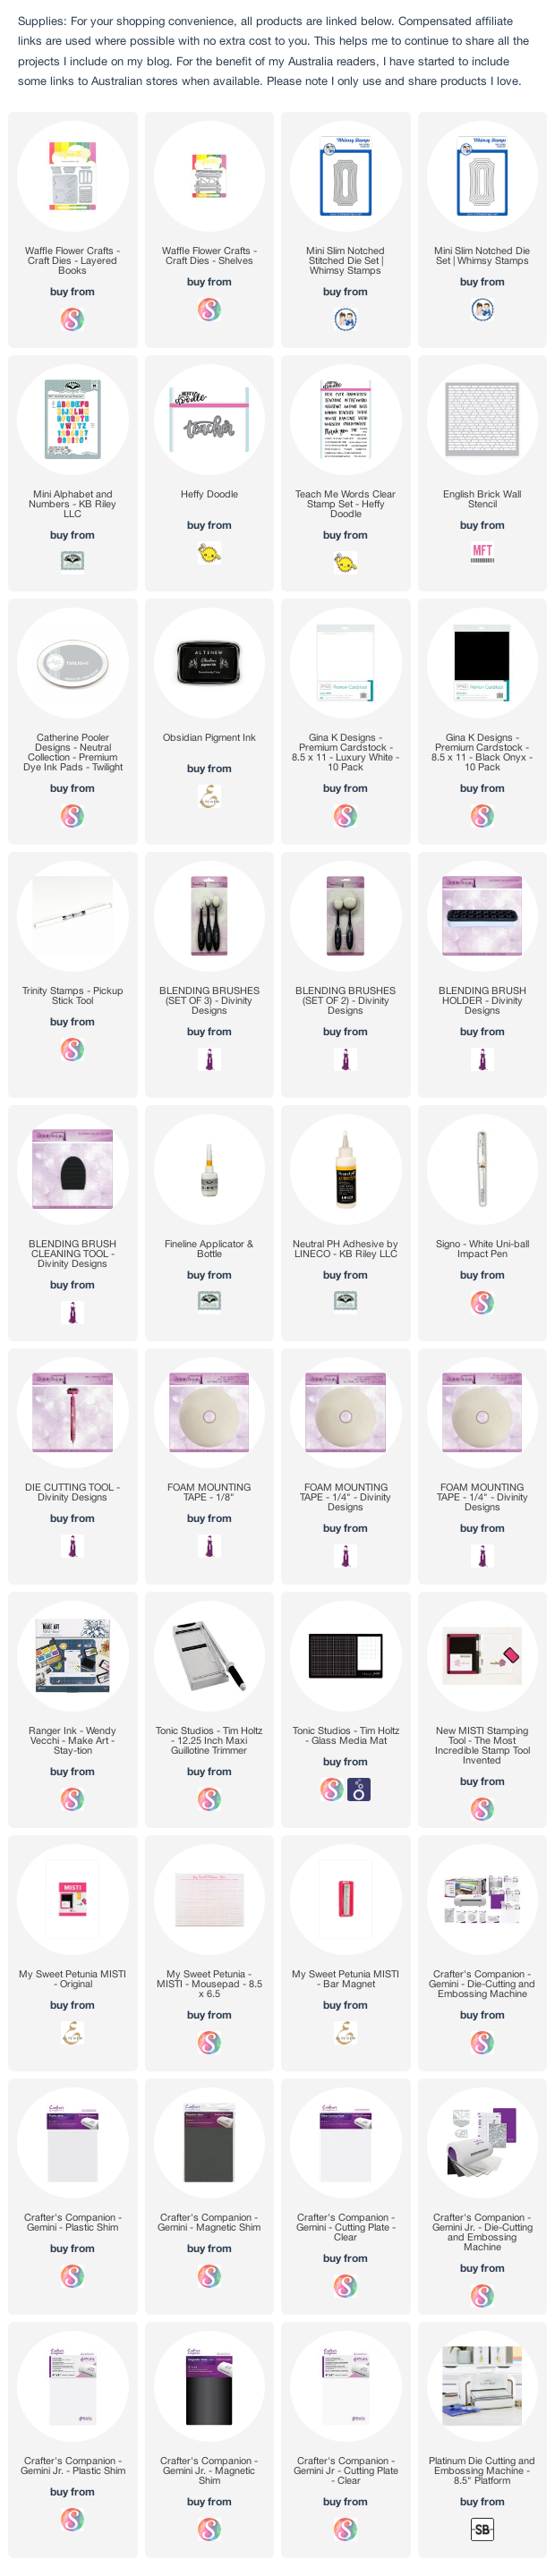
I have created a Mini Slimline Card using Whimsy Stamps Mini Slim Notched Stitched and Mini Slim Notched Die Sets. I stencilled bricks over the white panel before adding to a side folding 3 1/2 inch x 6 1/2 inch Mini Slimline Card.

To decorate my card I used Waffle Flower Crafts Layered Books and Shelves die sets. I die cut and assembled so many books, that I have enough to make a few more cards yet. I did go a little overboard, but it will save me time next time I need them for a card.

I used the teacher die from Heffy Doodle for the word and added the "#1" using Karen Burniston's Mini Alphabet and Numbers die set.


For the  inside of the card I stamped a sentiment using Heffy Doodles Teach Me Words stamp set. I also added two more books from the Layered Books die set.