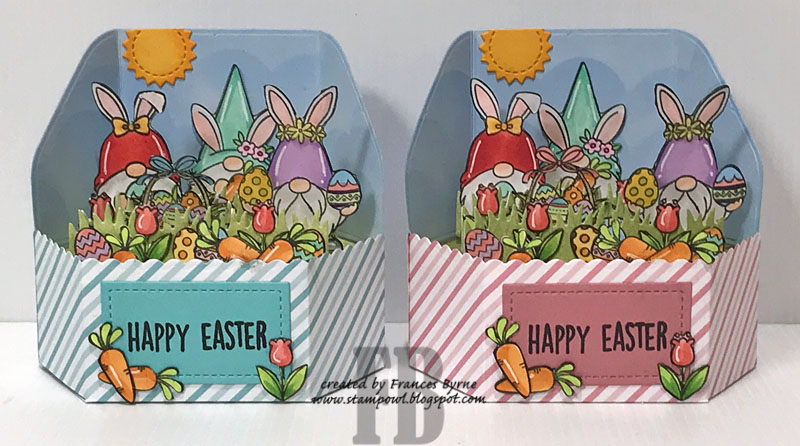
Here is the back view of my Platform Pop-up card. You could decorate it, but I kept my plan and will write my hand written message to each of my grandchildren.

Wednesday, April 13, 2022
Easter Gnomes Platform Pop-up
Here is the back view of my Platform Pop-up card. You could decorate it, but I kept my plan and will write my hand written message to each of my grandchildren.
Tuesday, April 12, 2022
Happy Bear Day To You
Hi Crafty Friends,
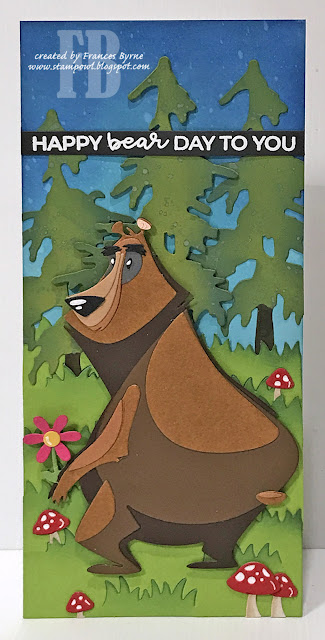
Today I have a "beary" fun Slimline card to share with you today.
I recently got my hands on Tim Holtz/Sizzix Theodore Colorize Thinlits die set, I love all the different layers of browns on this cute bear.
As the bear is rather large, I opted for a 4 inch x 9 inch side folding Slimline card. The base of my card is blue which I added more colour to using Tumbled Glass, Broken China and Prize Ribbon Distress Oxide inks. I die cut three of the MFT Stamps Tucked in Turf Vertical Die-namics flipping the middle one to the other side to build up the grass at the bottom of the card.
I used Tim Holtz Pine Trees Bigz die, which is a fairly old die I have had in my stash for years. I adhered the two outer trees direct to the card. For the centre one I die cut two more trees, stacking the three together before adhering to the card.
I die cut the bear using various shades of brown cardstocks, along with black, white, grey and pink.
I also used Lawn Fawn's Mushroom Border die to add mushrooms around the grass area. The bear is holding a flower which is also a Lawn Fawn die.
For the sentiment I used a stamp from Trinity Stamps' Bearly Special Slimline stamp set.
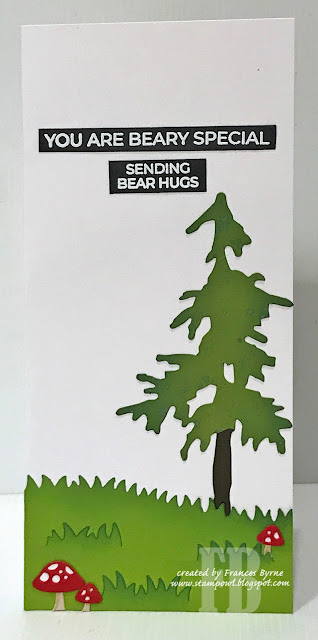
For the inside of my card, I added some more of the grass, tree and mushrooms that I used on the front of my card.
I also added two more sentiments using the "Beary Special Slimline" stamp set from Trinity Stamps.
Other Supplies:
Pine Trees Bigz Die - Tim Holtz/Sizzix (discontinued)
Monday, April 11, 2022
Beautiful Friend
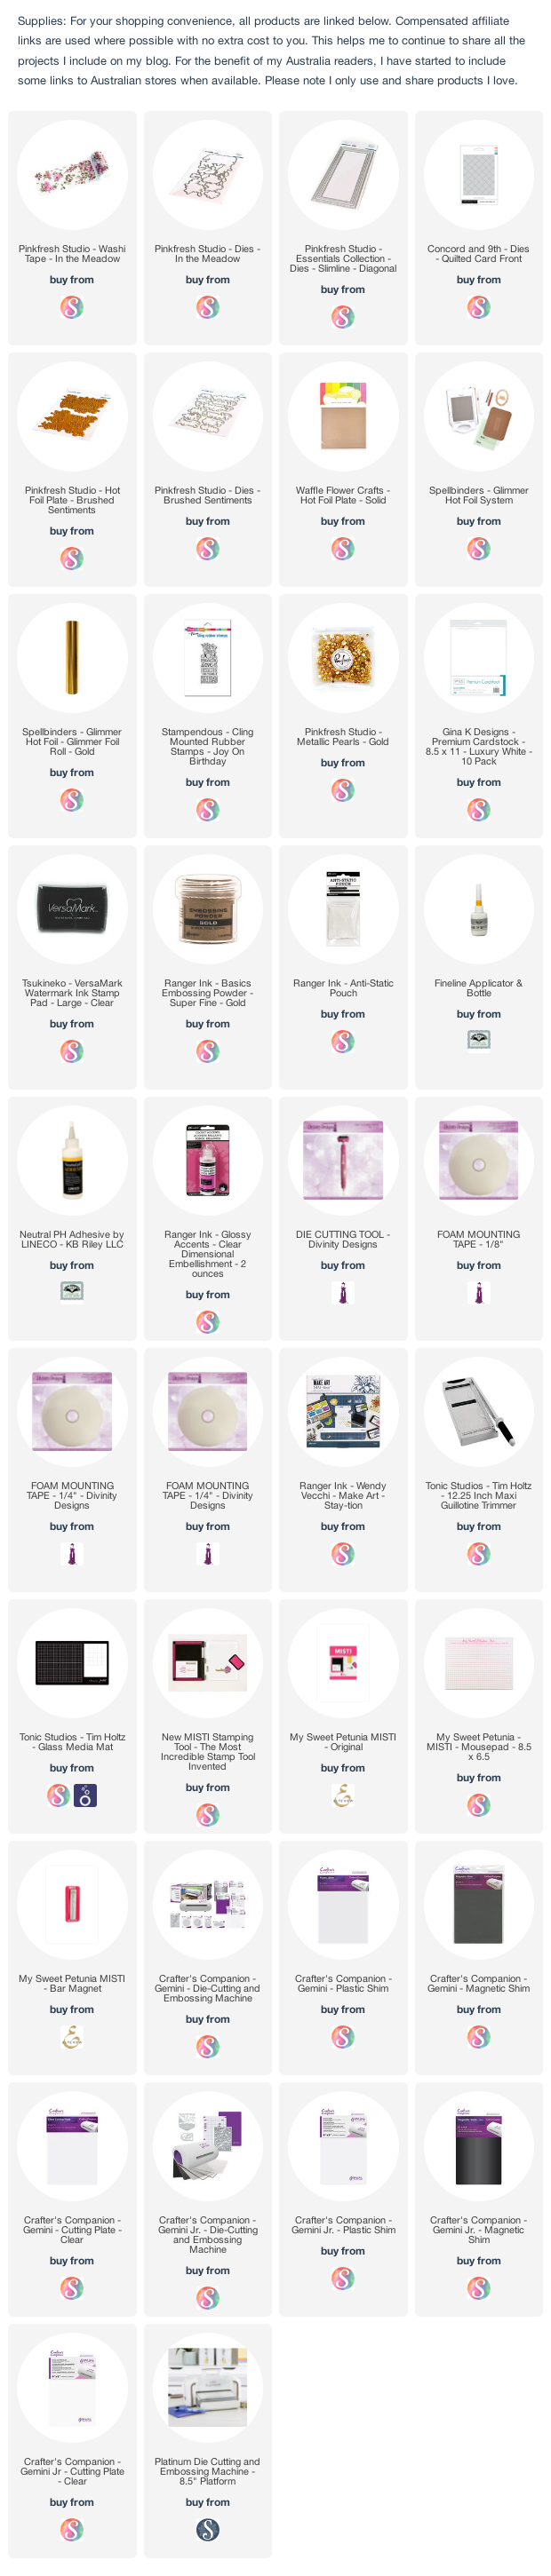
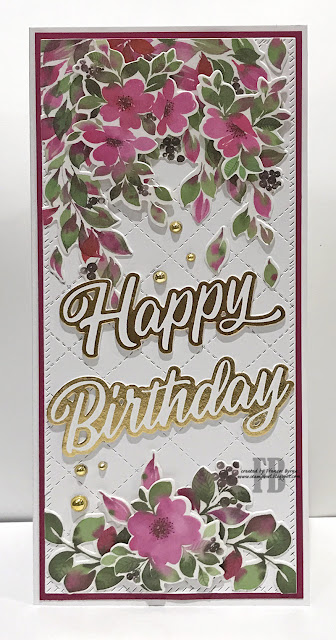
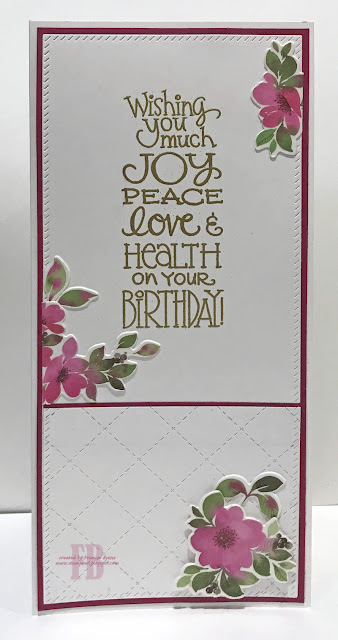
I used the "Best Wishes" sentiment using Pinkfresh Studio Brushed Sentiments Hot Foil Plate which I foiled using gold foil. The "Sending Birthday Wishes" is from Spellbinders Mini Everyday Sentiments Glimmer Plate.
Friday, April 8, 2022
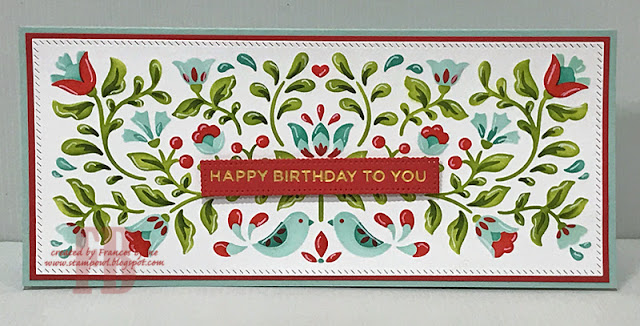
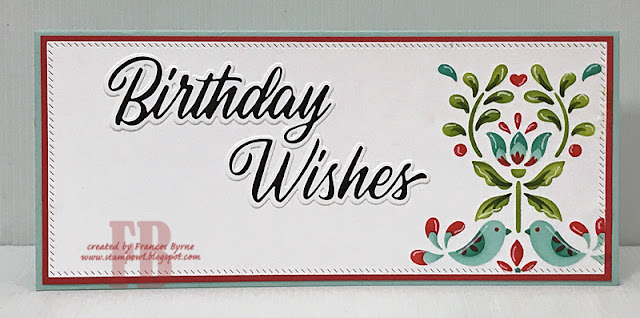
Folk Art Slimline
Thursday, April 7, 2022
I Sea it's your Birthday
I recently purchased Sam Calcott's Made to Surprise Slide N Reveal Collection. This collection consists of two die sets to create the Slide N Reveal base card in both 5 x 7 or 6 x 6 sizes; a die set with an underwater theme; two underwater themed stamped sets; a sentiment set; ocean themed paper pad and two stencils. I remember making this style of card not long after I started stamping about 30 years ago, having dies to make the card base makes it so much easier. I did purchase another die set last year to create this style of card, but I found it fairly flimsy, I am very happy with how these die sets work.
As I wasn't sure what stamps or dies I wanted to use to create this card when I began, I decided to die cut all the accessories included in the Treasure Trove die set and all the animals in both stamp sets ...Under the Sea and Riding the Waves. I spent a very happy day just die cutting, stamping, colouring and assembling. The next day I worked on die cutting and assembling the card base and decorating my card. I still have plenty of images left from making this card, that I will be able to make at least 2 or 3 more cards. It didn't have to take as long as it did, I just wanted to spend that time to make it.
I used two of the pattern papers from the Under the Sea Paper Pad to decorate the very back panel of my card and the two side panels which are featured on the front when the card is closed.
There are a lot of things to see on this card, on the front frame I included the fishing net with the anchor and star fish; a crab and seaweed on the left hand side. On the right side I included the seal, rocks and more seaweed. I also stamped a sentiment along the top of the frame using one of the stamps from the Under the Sea sentiments set.
If you look into the card when the side panels are pulled open, you can see a puffer fish, a small octopus and dolphin. These images are all attached to acetate strips to give them the look of floating in the water.
At the very back of the card I you can see a shipwreck in the rocks which is also from the die set. I have also adhered a few stamped fish to the left side of the background above the shipwreck.
Here is one more photo of the front of my card, this time taken at a different angle so you can see the 3D effect this card has. You can also see the diver on the top right hand corner, another of the dies included in the accessory die set.
Here is a look at the back of my card. I cut a piece of white cardstock slightly smaller than the size of my card. I added some rocks and seaweed to the lower right hand corner, and the sting ray to the top left corner.
In the centre of my card I added the "Hugs and Fishes" sentiment from the Under the Sea Sentiments stamp set.
Wednesday, April 6, 2022
Mr & Mr Wedding Accordion Card
Hi Crafty Friends,
I was recently asked if I would make a Mr & Mr Wedding Card, which I was happy to do.
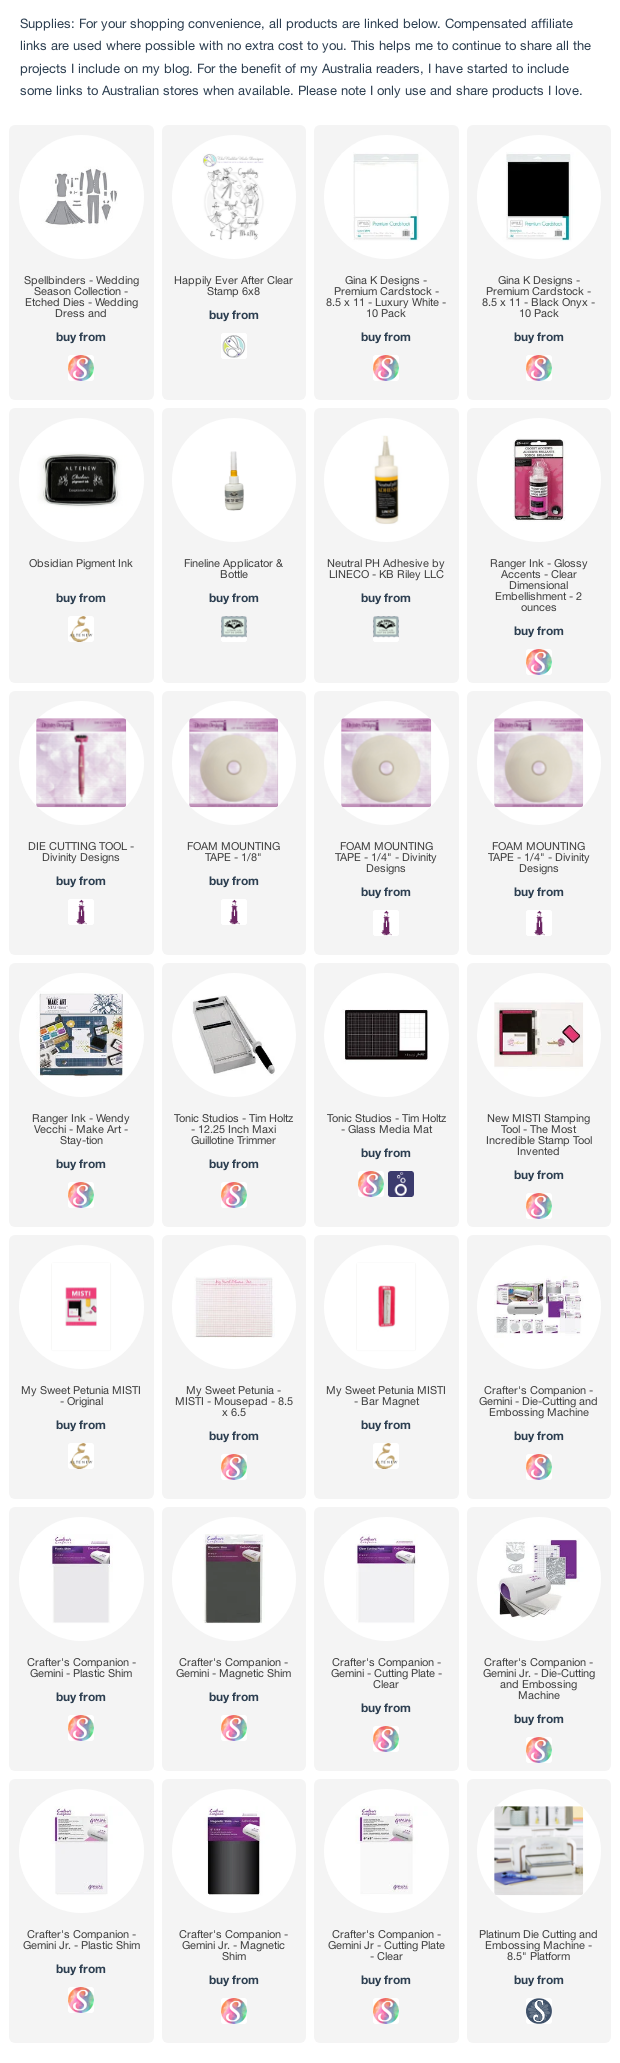
One of my favourite styles of cards for weddings is Accordion Cards, and as I wanted to fit the long sentiment and the two Tuxedo Jackets onto my card, I opted to pull out an older Accordion Card die set designed by Karen Burniston for Elizabeth Craft Designs. This die set has long been discontinued, but it is still a favourite of mine. I used the Oval Accordion and Oval Flourish Frame Edges die sets to create the base for this card.
If in doubt of what colours to use on my wedding card, you can never go wrong with black & white and I thought it would work very well for this card.
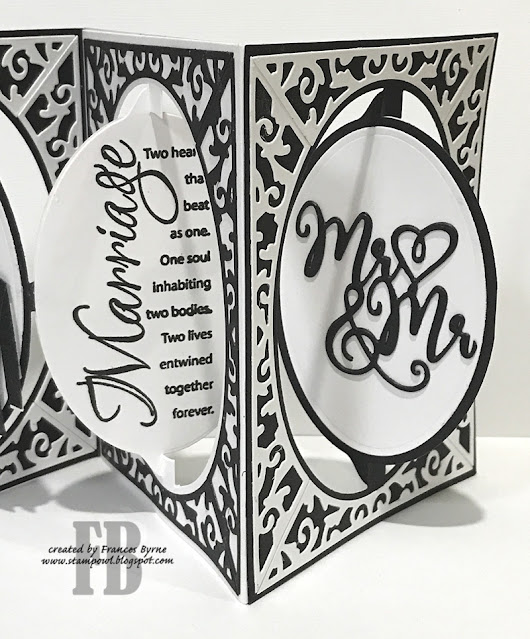
The first oval panel of my card can be view from the front and also when the card was opened. I used Spellbinders Paper Arts Wedding Dress & Tux die set to create the Tuxedo jackets.
The sentiment on the centre oval is an older sentiment which I love and is from Paper Inspirations, called Marriage Calligraphy.
For the last oval I added the "Mr & Mr" die cut sentiment which is from another Spellbinders die set called Mr. & Mrs. Wedding Cake, this set seems to be discontinued even though it was only released a few years ago.
I don't normally decorate the back of an accordion card, as there is enough happening on the front of the card, however for weddings I often do.
On the far left oval I added the "Congratulations" sentiment from The Rabbit Hole Designs Happily Ever After stamp set.
The "love" die cut on the centre oval is from the True Love die set designed by ModaScrap for Elizabeth Craft Designs, this is also another older die set from my stash.
Finally I used the "Wishing You A Lifetime" sentiment from Craft Desert Divas' Hitched stamped set, this company closed a few years ago.
Here is the front of my card when it is closed ready to be placed in an envelope.
Other Supplies:
- Oval Accordion Card Die Set - Karen Burniston for Elizabeth Craft Designs (discontinued)
- Oval Flourish Frame Edges Die Set - Karen Burniston for Elizabeth Craft Designs (discontinued)
- True Love Die Set - ModaScrap for Elizabeth Craft Designs (discontinued)
- Mr. & Mrs. Wedding Cake Die Set - Spellbinders Paper Arts (discontinued)
- Marriage Calligraphy Stamp - Paper Inspiration (discontinued)
- Hitched Stamp Set - Crafty Desert Divas (discontinued)
Tuesday, April 5, 2022
April 2022 Karen Burniston Designer Challenge
card of any theme.
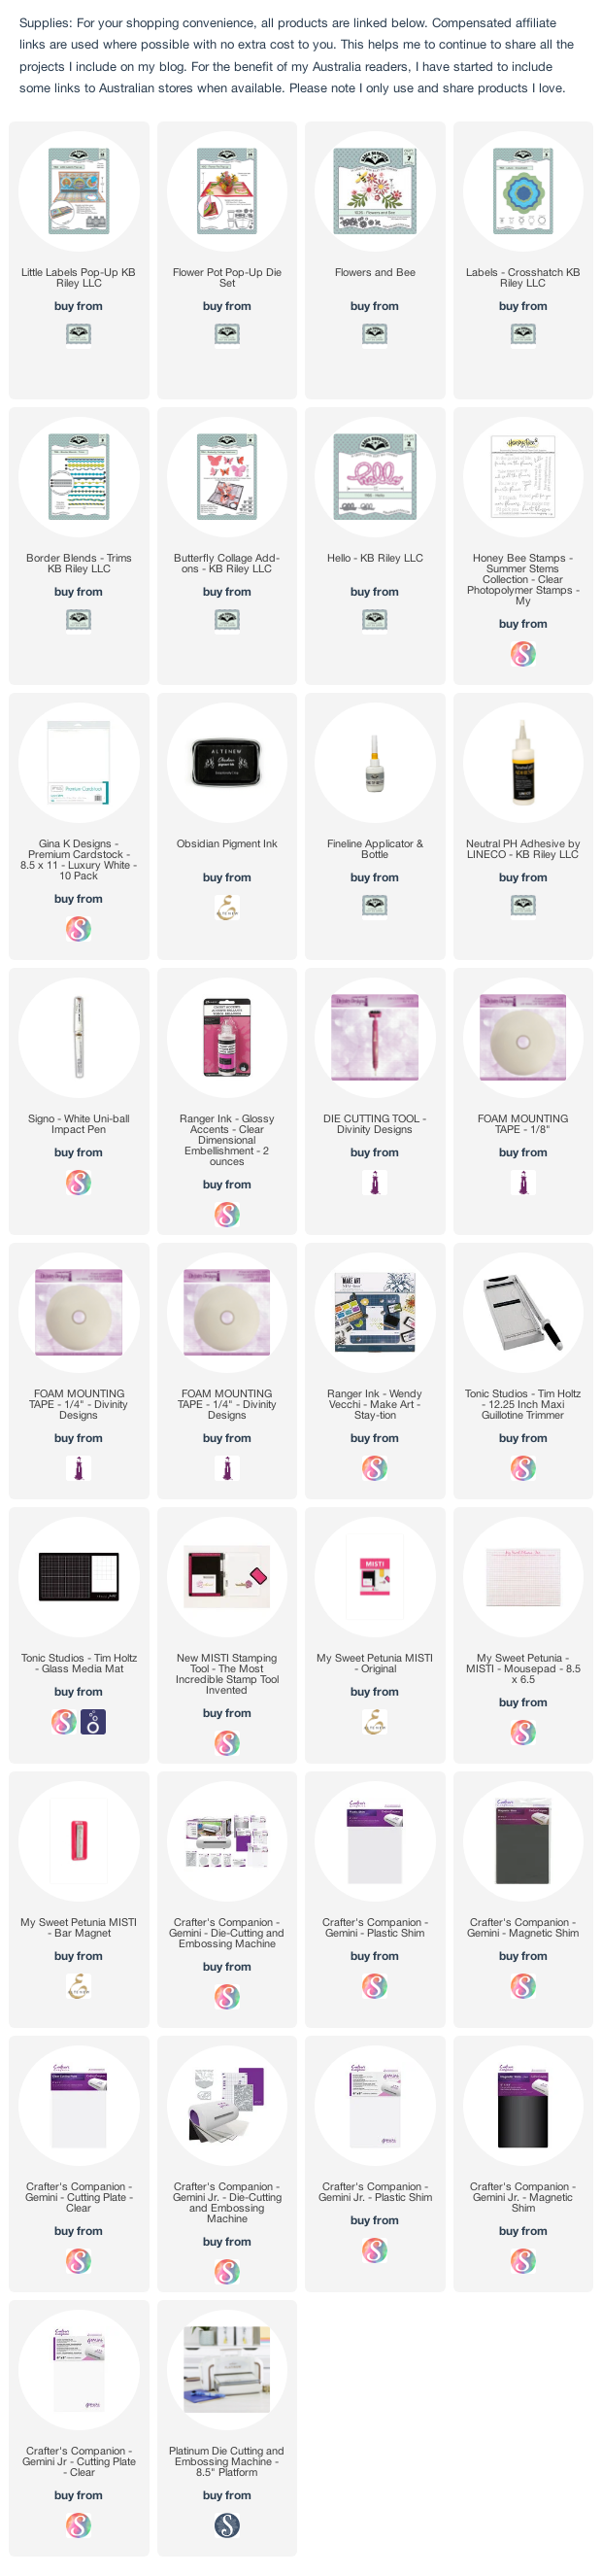
The first thing I did when I was planning my card for this challenge, was to pull out all the flower themed die sets designed by Karen Burniston. Two of the sets were the Flower Pot Pop-up and the Flowers and Bee die sets. The dies included in the later die set are basically the same flowers included in the Flower Pot Pop-up die set, the only difference is that the Flower and Bee die set contains two sets of leaves mirror imaged of each other. Seeing the flower pot gave me the idea to have them "standing" on the ledge of the Little Labels Pop-up die set. Now it was just a matter of making it.
I started by cutting a piece of bright pink cardstock that measured 7 inches x 10 inches, I scored along the 10 inch side at 5 inches to create a top folding 5 inch x 7 inch card.
I cut my patterned paper panels and adhered them to he inside and front of my card.
I die cut the Little Labels Pop-up die from blue cardstock and adhered it to the centre of my card.
I die cut the flower pot from the Flower Pot Pop-up die set three times from terracotta coloured cardstock and a bunch of flowers and leaves from both the Flowers and Bee die set and the Flower Pot Pop-up die set. I assembled the flowers into the flowerpot and added them to the two outer labels. Before adding the pots to the labels, I trimmed the label down slightly on each side so it wouldn't be seen when the flower pot was attached.
I used a Honey Bee Stamps stamp set to add the flower to the white label and adhered it to the centre label of my card.
Along the base of the pop-up I added one of the borders from the Border Blends - Trims die set.
I die cut two of the labels from the Crosshatch - Labels die set, cutting the label about 2/3's of it's size and adhering it to the base of my card.
I used Karen Burniston's "Hello" die to add the sentiment on the bottom label.
To finish off the inside of my card I added butterflies using the Butterfly Collage Add-on die set.
I used elements that I used on the inside of my card, to decorate the front of my card. The patterned paper, the flower pot, and flowers. I added the flower pot onto one of the Crosshatch - Labels die set.
To finish off the front, I stamped another sentiment from the Honey Bee Stamps stamp set, which I added over the flower pot.
Monday, April 4, 2022
Pink Floral Slimline
Friday, April 1, 2022
Square Rose Sympathy